


gotcha now philcheers buddy
the more i think about it, the more i might just cut the whole lot out & just rebuild it as i go

gotcha now phil
the more i think about it, the more i might just cut the whole lot out & just rebuild it as i go
hi lee making some good progress there, i just cut the hole thing off then welded along the top edge of a flat piece of sheet metal leaving enough to trim off level with the outer sill when you sort that out. once youve got the top welded on just use something like a flat pair of mole grips to clamp it then bend it inwards then lower down back out to meet the outer sill. you will see what i mean when you do it?

if it aint broke, break it!
like this
if it aint broke, break it!
cheers mark. got the seat & harness/belt out tonight between finishing work & taking the kids to football
think i'm going to cut the rear seat crossmember off near the end then chop out & replace the corner floor piece in the rear seat area & around the floor/inner tub area. then i can chop the inner/outer sill off as per normal then once the inner is tacked in i can sort the piece above in your pic
oh, more advice too if possible please???i'm thinking keep the inner sill complete as it's got a neater drainage channel & the welded join would be under the checkerplate flooring too.
Originally the floorpan and inner sill were one section, TBH I'd just do whatever is the neatest.
http://escort.accelerator.org
1968 MK1 Escort 1300GT
1969 'Big Wing' MK1 Escort
1972 MK3 Cortina 1600XL
1984 Sierra XR4i
And other junk I don't like to talk about!
the inner sill definately has a better shape to it.
hopefully get a bit more done this weekend
Lose the chequer plate??
it doesn't weigh that muchOriginally Posted by dangerousdave


Did you not get a bit more done then?
a bit but it's not been the happiest of days anywaywe lost little jerry the hamster
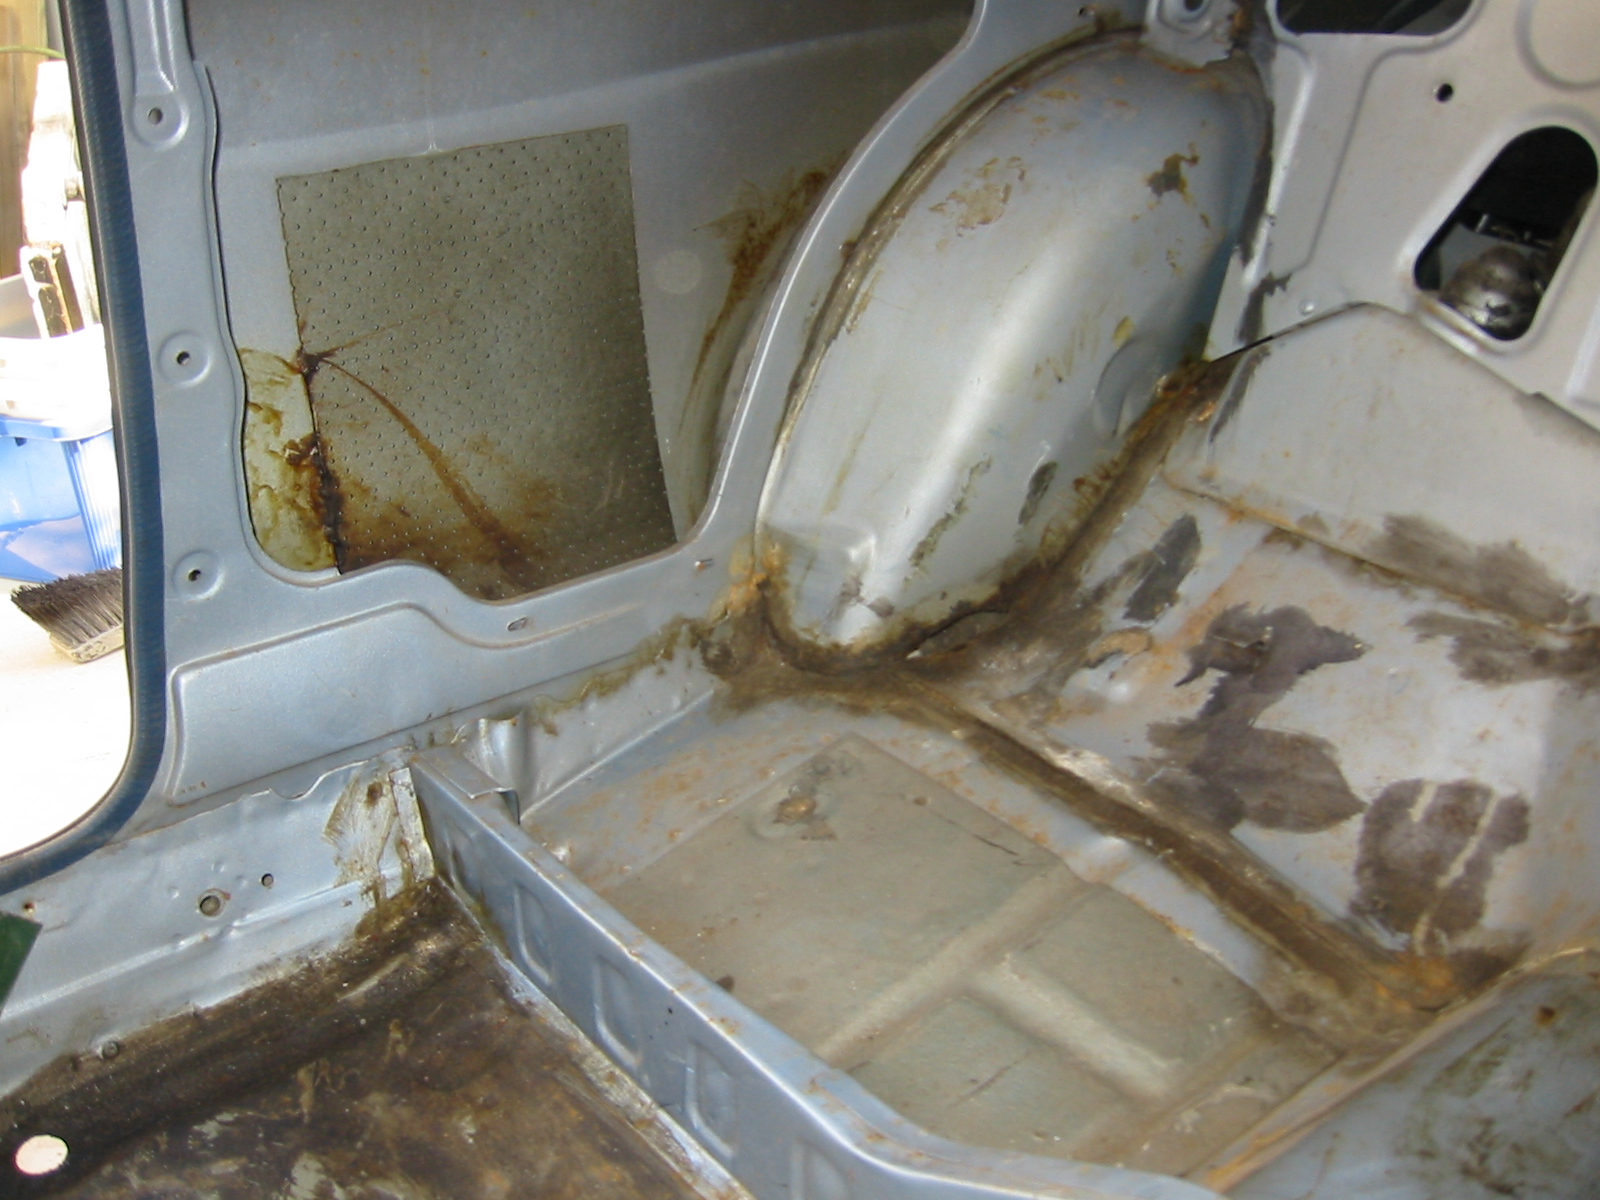
& i'm struggling like hell with what to do with that little piece [inside skin] that runs underneath the very bottom of the rear 1/4 card....
......unless i just cut it all out?
Just make it up as you go mate. All the bits I have seen you do are of a very high standard, I am confident (more than you seem to be
I don't think I would cut the inner and outer sill both off at the same time. It is the outer that you need to worry about, that's the bit that has to look right.
ps. sorry to hear about Jerry.
Chop it all out Lee
Ref to inner sill ,just looked of photos of when i put inner sills in my blue mk1 i cut the drainage out the floor and used the drainage on the inner sill this was so i could hide the join to the floor along the flat of the floor if you get my drift
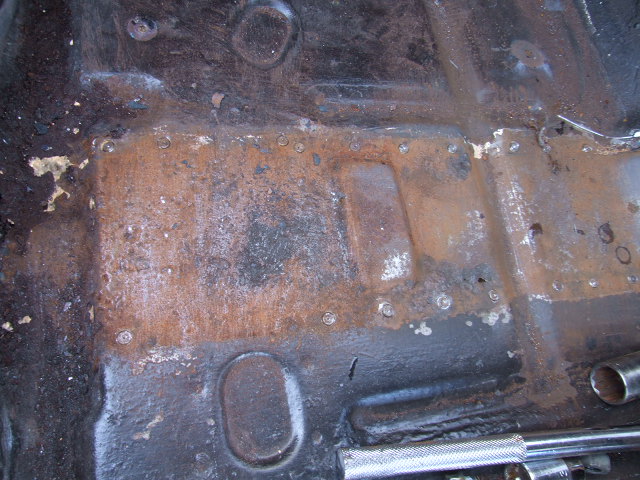
Just found this photo which shows how the panel below the rear quarter card meets the the floor that returns up under back seat.If you decide to cut the floor out i can get measurements from the chassis leg out to where it returns up about approx 90 degrees
Last edited by essyrwd; 14-02-2010 at 01:48. Reason: the pic lol
cheers you two as usual
it's the piece behind the rear seat crossmember > that goes up to the tub
i'm sure i will eventually work something out though
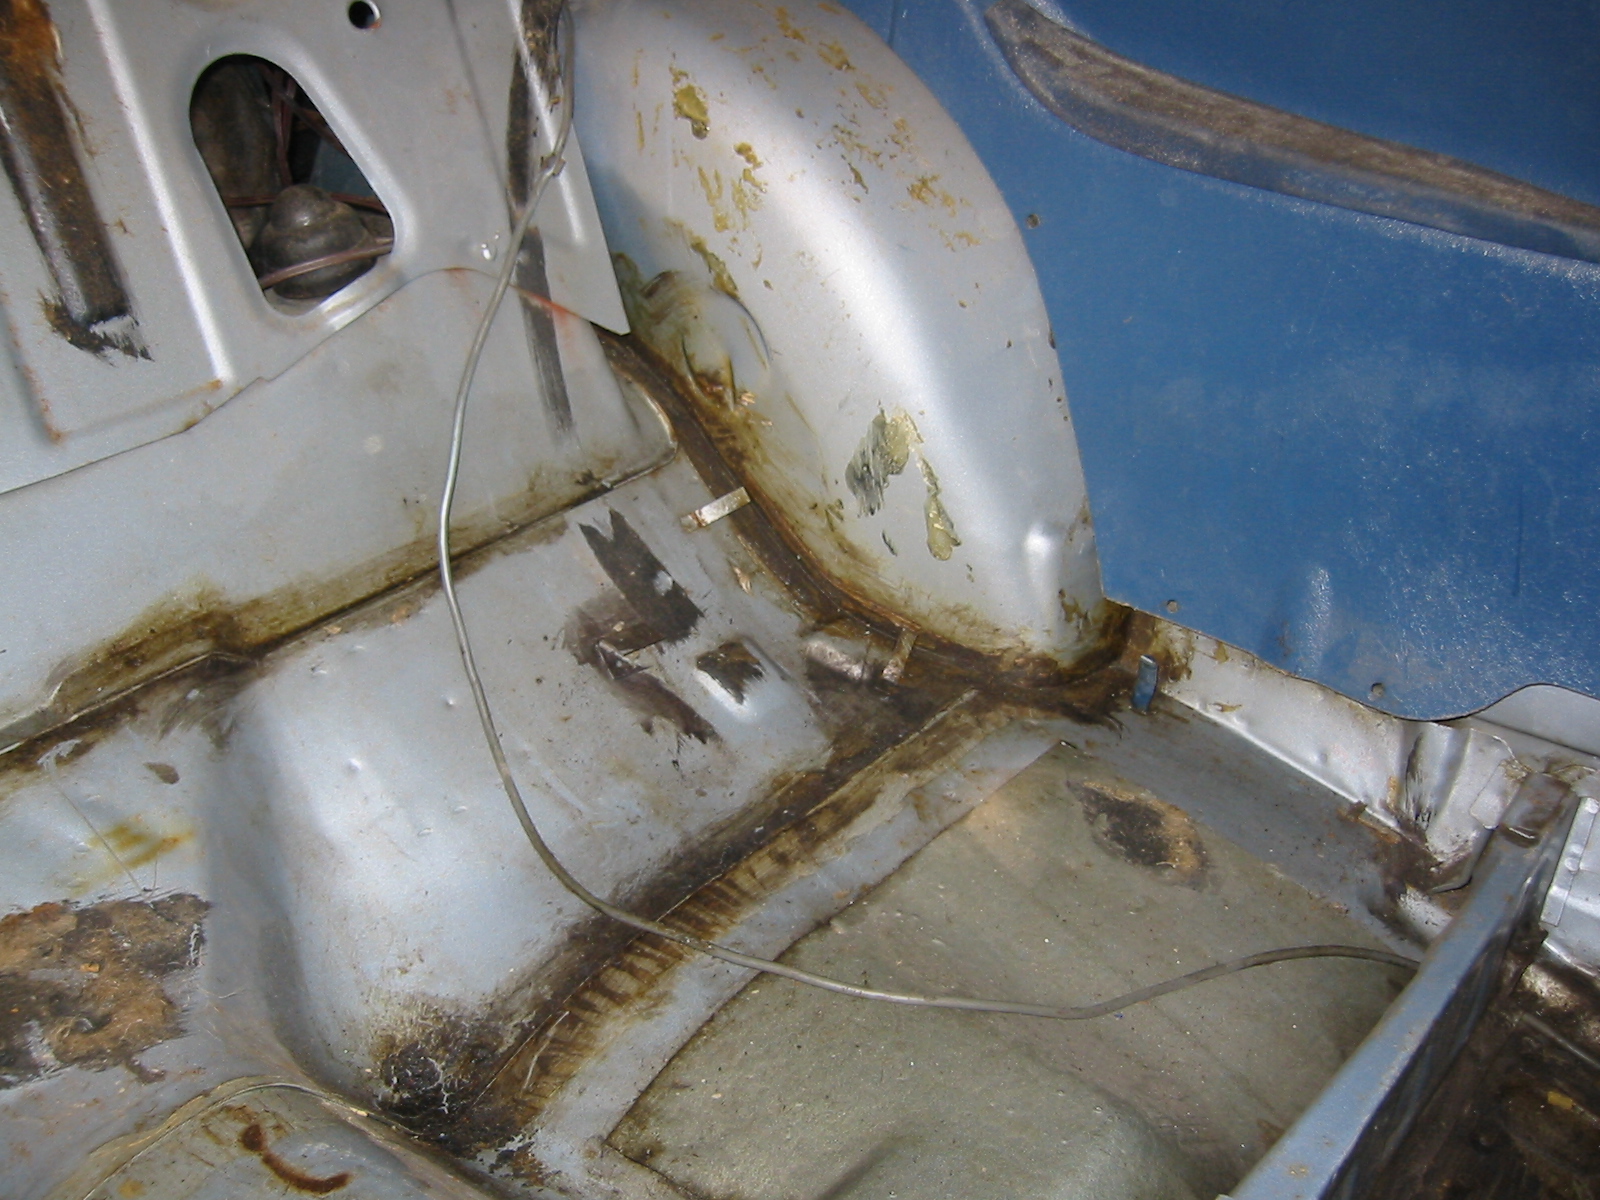
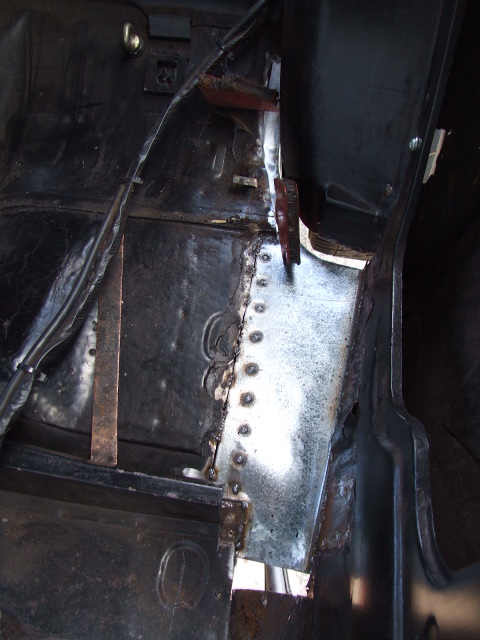
Here's some more pics that might help
This is how I made the repairs between the inner wheelhouse lip and the floor, several small-ish L-shaped sections.

http://escort.accelerator.org
1968 MK1 Escort 1300GT
1969 'Big Wing' MK1 Escort
1972 MK3 Cortina 1600XL
1984 Sierra XR4i
And other junk I don't like to talk about!
cheers buddy
your still cracking on with this matey, its looking good.. keep at it..
gringo!!
i am a happier bunny today
pics to follow at some point!!!
good man.. its amazing what a good day on the car with good results does for your mood... get them pics up...
great work as per the norm lee,get the new pictures up as ewll bitch
thanks boys
rear section all finished as promised
good stuff lee, first time I have seen this one as said keep them pictures coming
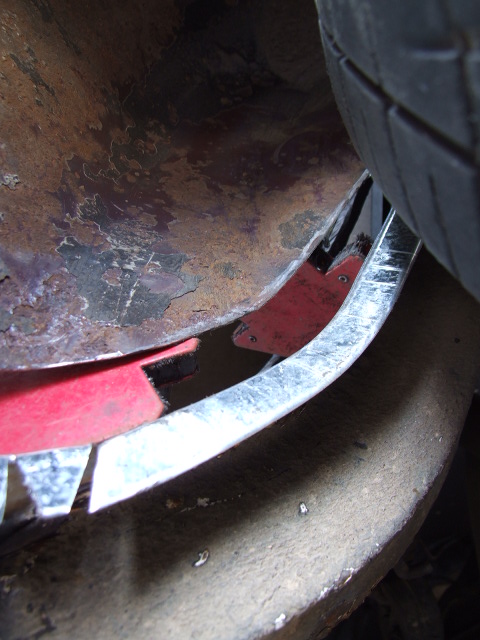
right then... before my thread contains more pics of other peoples cars.......
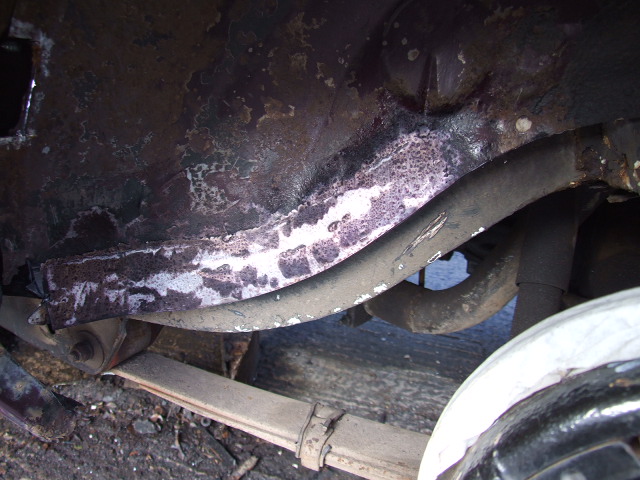
it was the right hand side of this piece that was doing me in yesterday. had a think about it overnight & managed to chop another 10mm from the 'inner sill' section there which just means that the repair panel sits slightly higher on the outside edge. not a problem at all just that i've 'lost' the start of the drainage channel as it's stretched more now. will just have to join the inner sill up to match
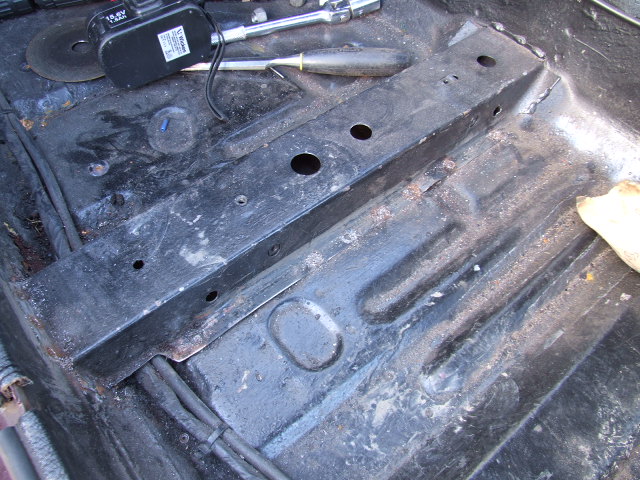
got this little section in too & the other hole i found next to it on the floor
tidied & treated [got to dress the right hand side yet]
Nice one bud
I finnished knocking the garage down today
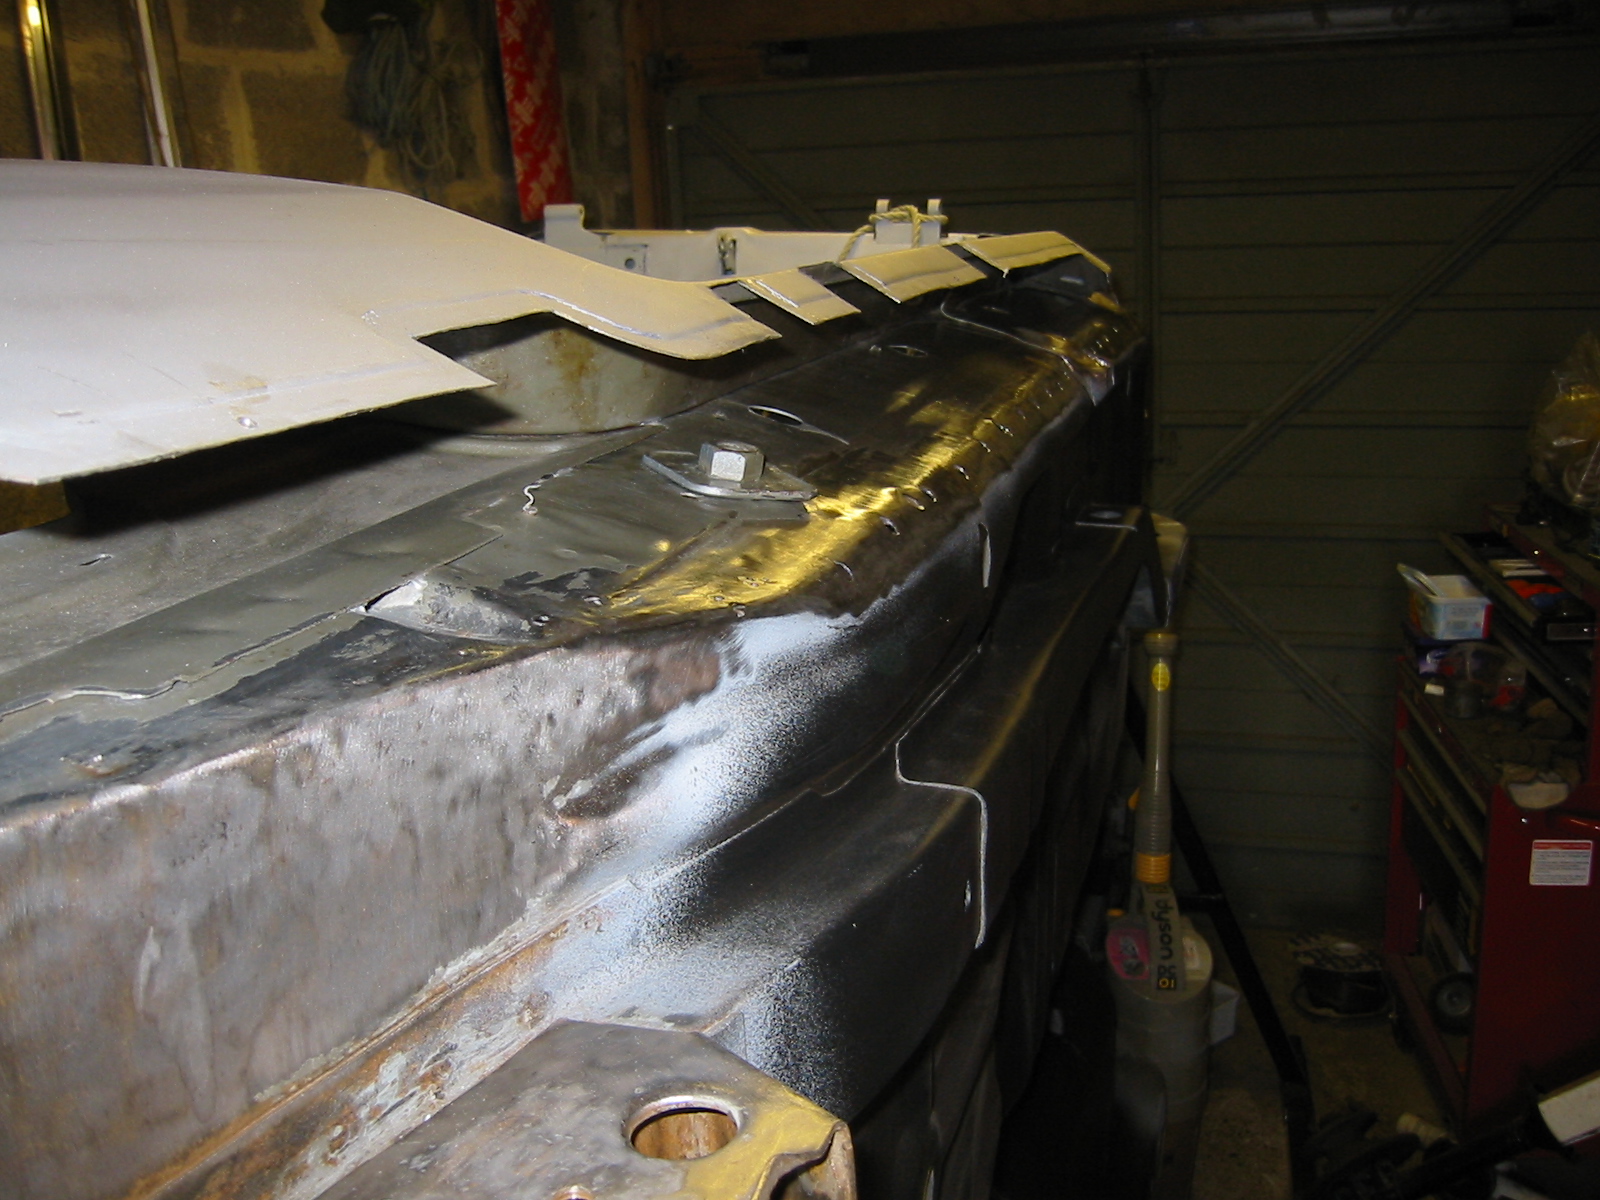
floor/down return piece
section for this piece - i did actually make this one from cardboard first
in position - is a better fit now & drilled along the bottom edge for plug welding & also going to put a few stitches on the inside where it meets the floor.
at a fibreglassing workshop all day tomorrow so hopefully get some more done sunday
very tidy repairs mate, good to see yr cracking on with it
Nice repairs Ratters, its great to see someone putting alot of care into thier work
Cosworth Electronics / Pectel Dealer, Syvecs Dealer.
Europes Largest Link ECU Dealer - Aim Sportline Dash and Datalogger Dealer, ECU Master for South East UK
UK Mahle and Reinz Distributor - 3J Driveline Dealer - Corbeau Seat Dealer
ECU & Dash packages preconfigured and custom looms made to order.
Professional conversions - Engine Swaps - Complete Project Design
0% Finance Available on all products and services.
[B]Engine Parts for most makes, all Ford parts kept in stock, Pinto, Xflow, YB, V4, V6, Zetec, Dratec, Wiring Looms Plugs, Plug Kits and Loom Products, Head Refurbishment and Porting, Engine Rebuilding Services.
w: www.shopbhp.com e: sales@shopbhp.com
Like us on Facebook: https://www.facebook.com/brandshatchperformance
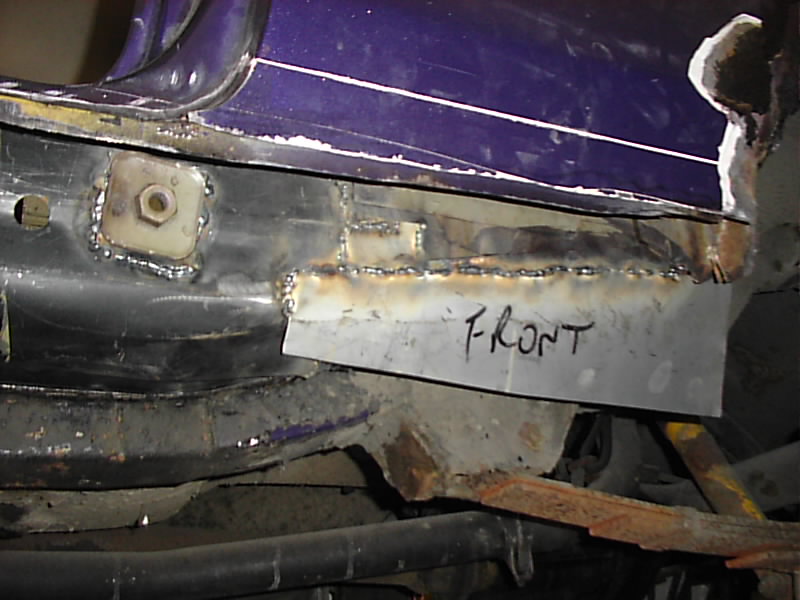
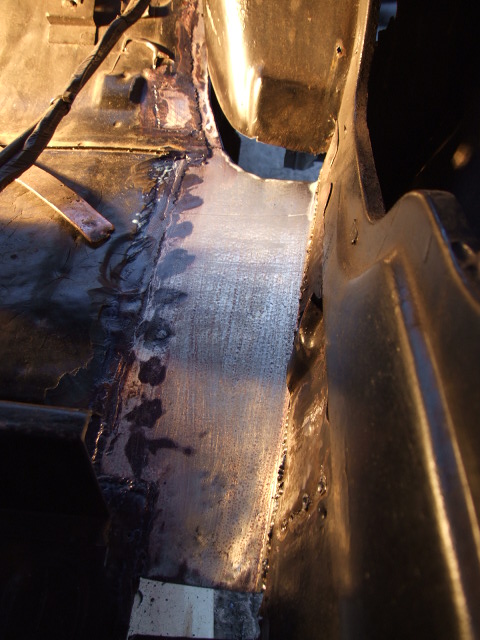
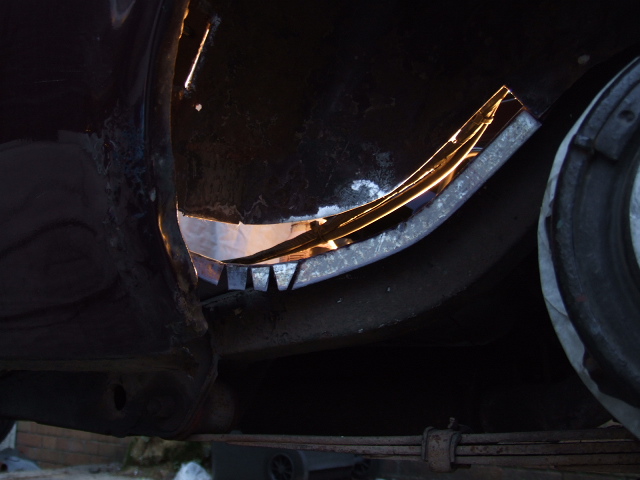
got this bit finished off earlier on. welded from this side, used some copper held against the other side in some places as it wasn't a perfect fit
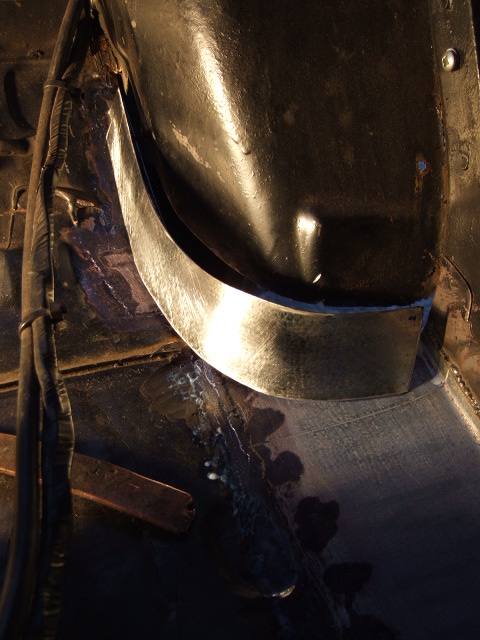
this side is cleaned up a bit, fully welded along the top edge, plug welded along the bottom & i put a few stitches along the inside where it meets the under-seat floor area too. it's not painted or anything yet, just worm poisoned for now which is fine.
too fooking right
Nicely done again lee was gona try pop in to see you and andy this weekend but as useale other things
cheers bud
we all seem so busy with stuff at the moment
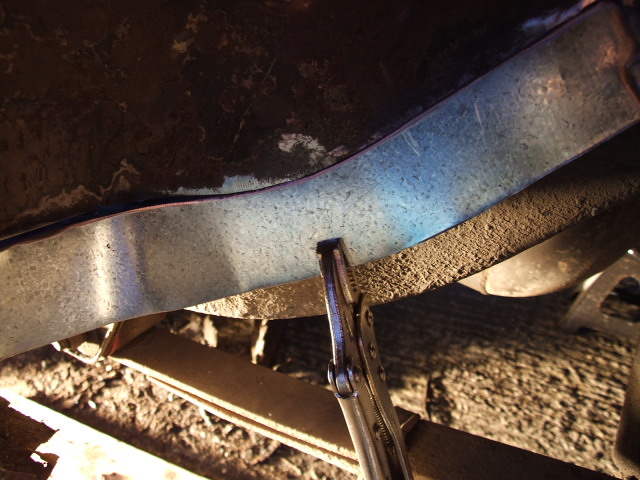
moving forward slightly.......
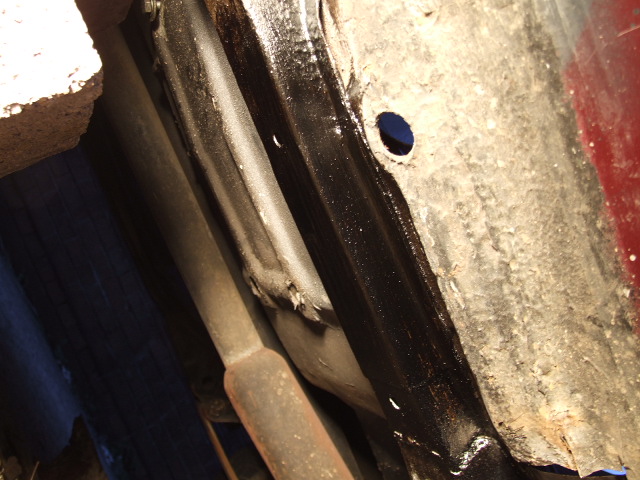
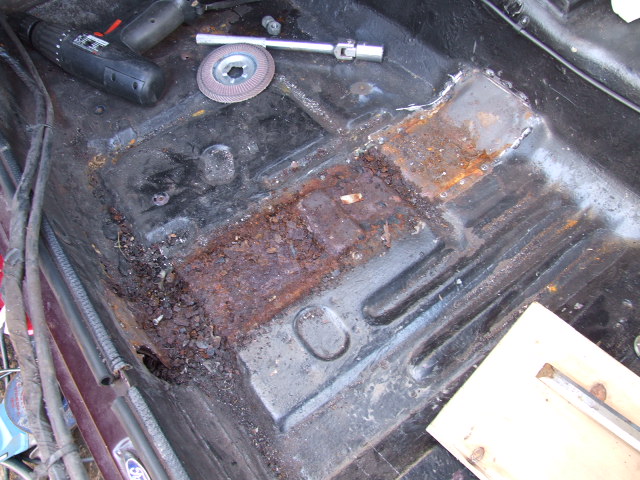
inner sill gone here too as i guessed
few pin holes in this under-crossmember section aswell
looking good bud ,
lightening gone but never forgotton
Looking good mate some nice repairs
cheers fellas
have done a bit more than that so will update once the pics are off the camera
that didnt look to bad till you took the seat crossmember out! keep at it bud.
if it aint broke, break it!
 Posting Permissions
 Reply With Quote


Bookmarks