


Perfect, thanks mate

Perfect, thanks mate
what a lovley car and a great build.
EVERY DAY,S A LEARNING DAY
Like the uploaded facility. Since photobucket held everyone to ransom the forums quietens down but alas now some great help for the people like me who are not IT literate.
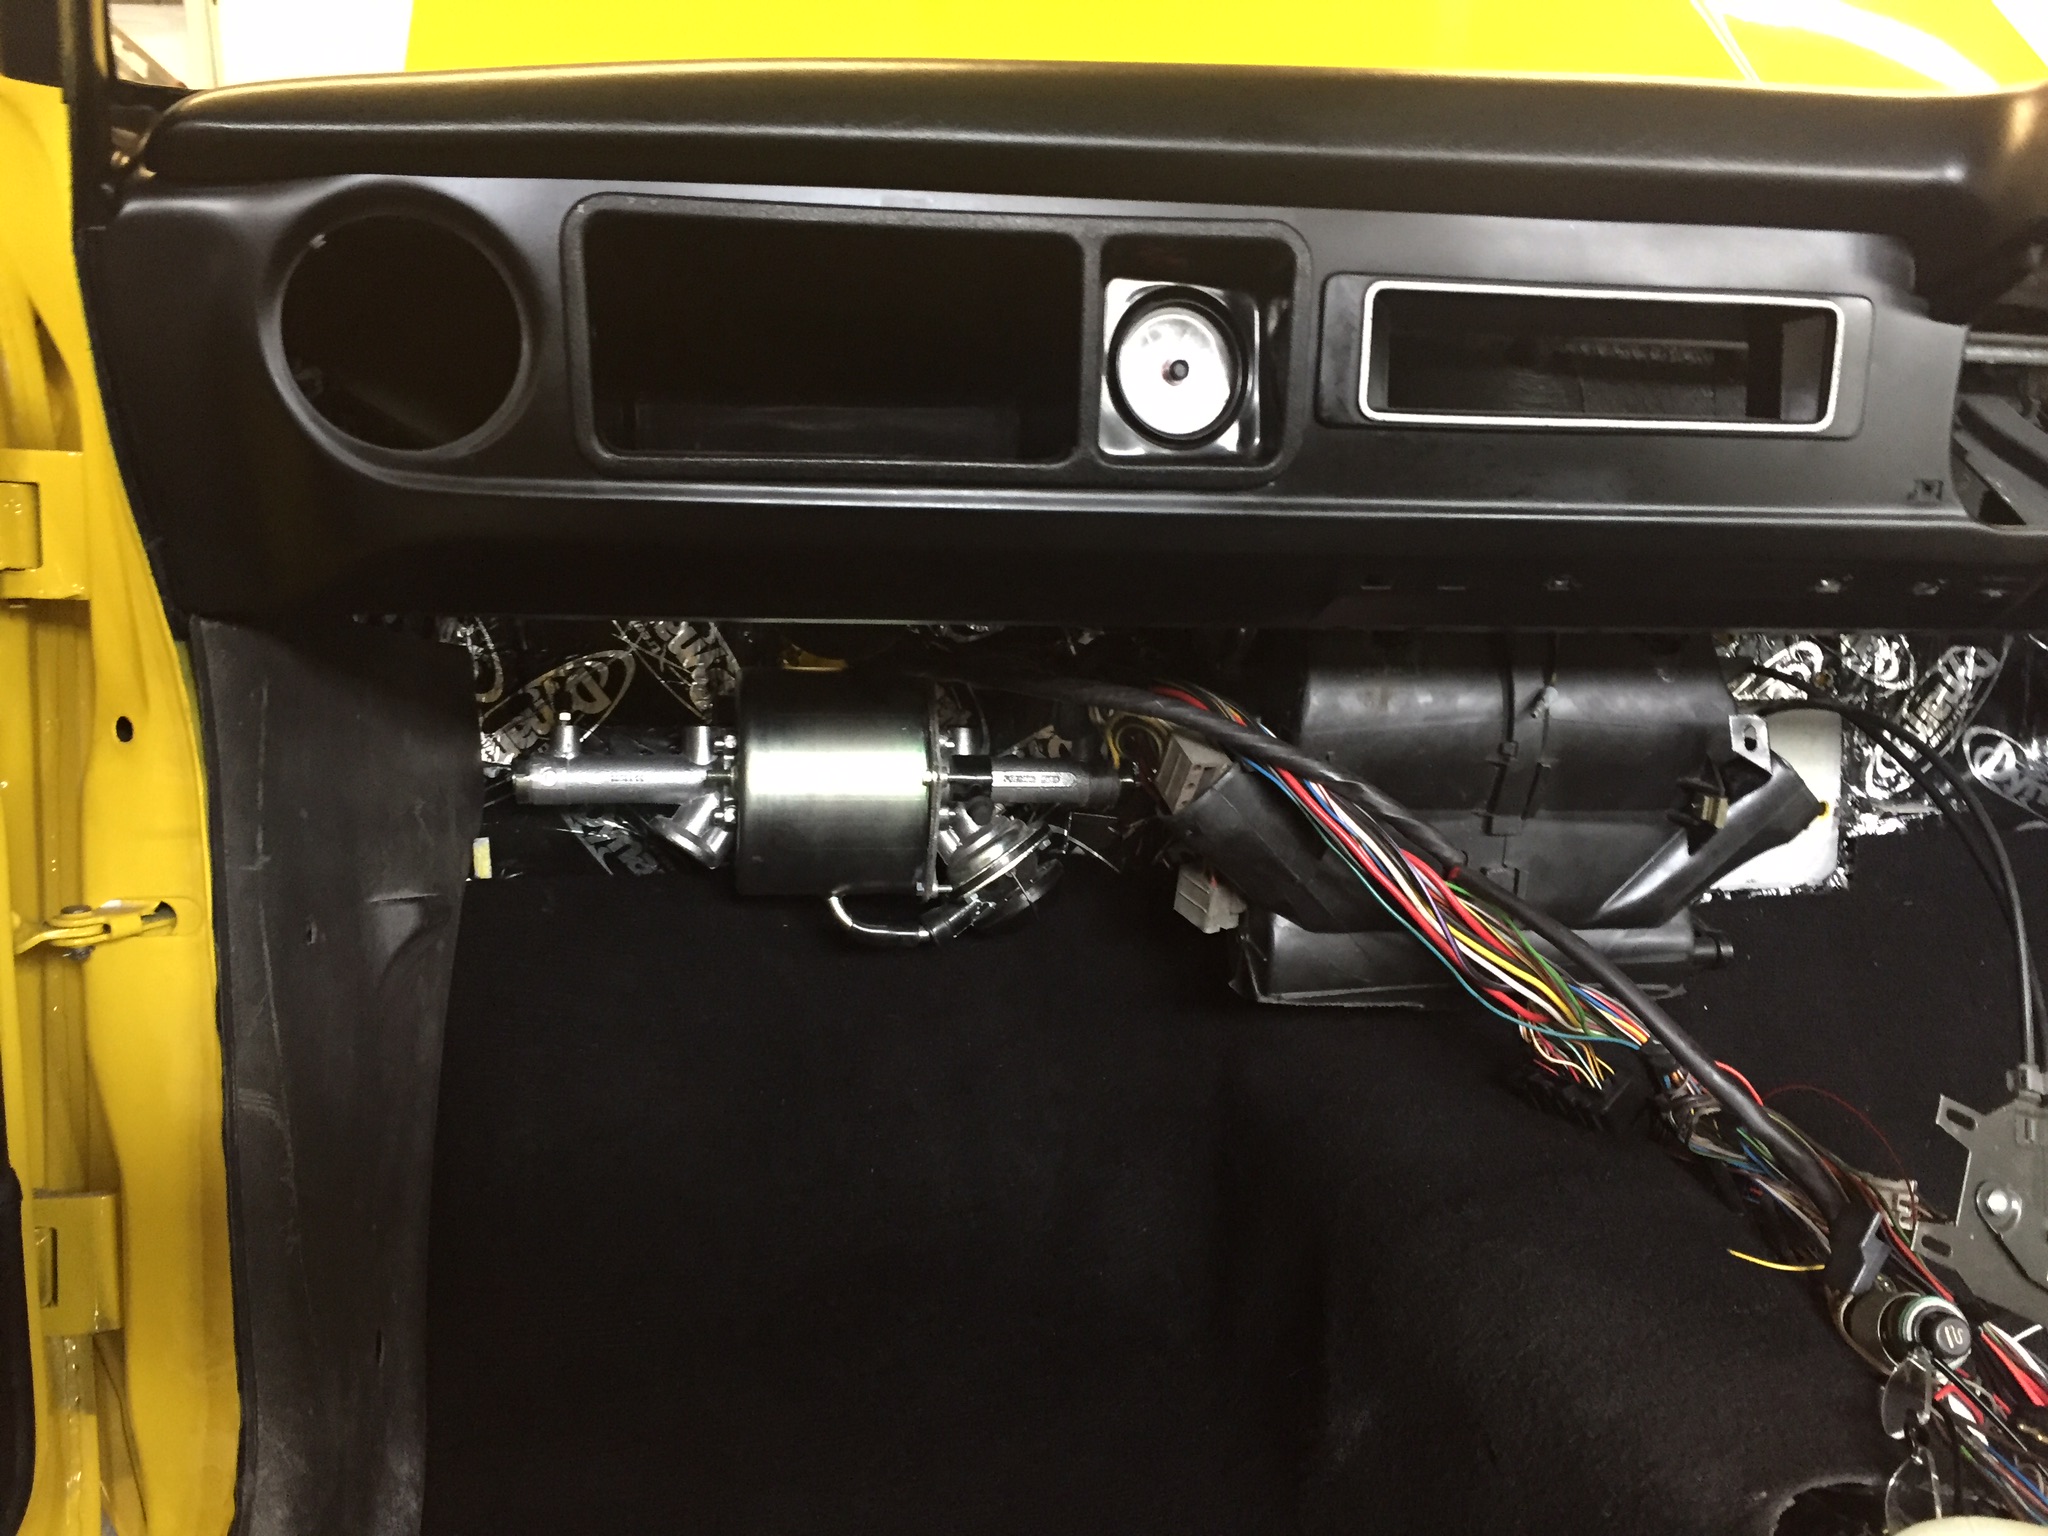
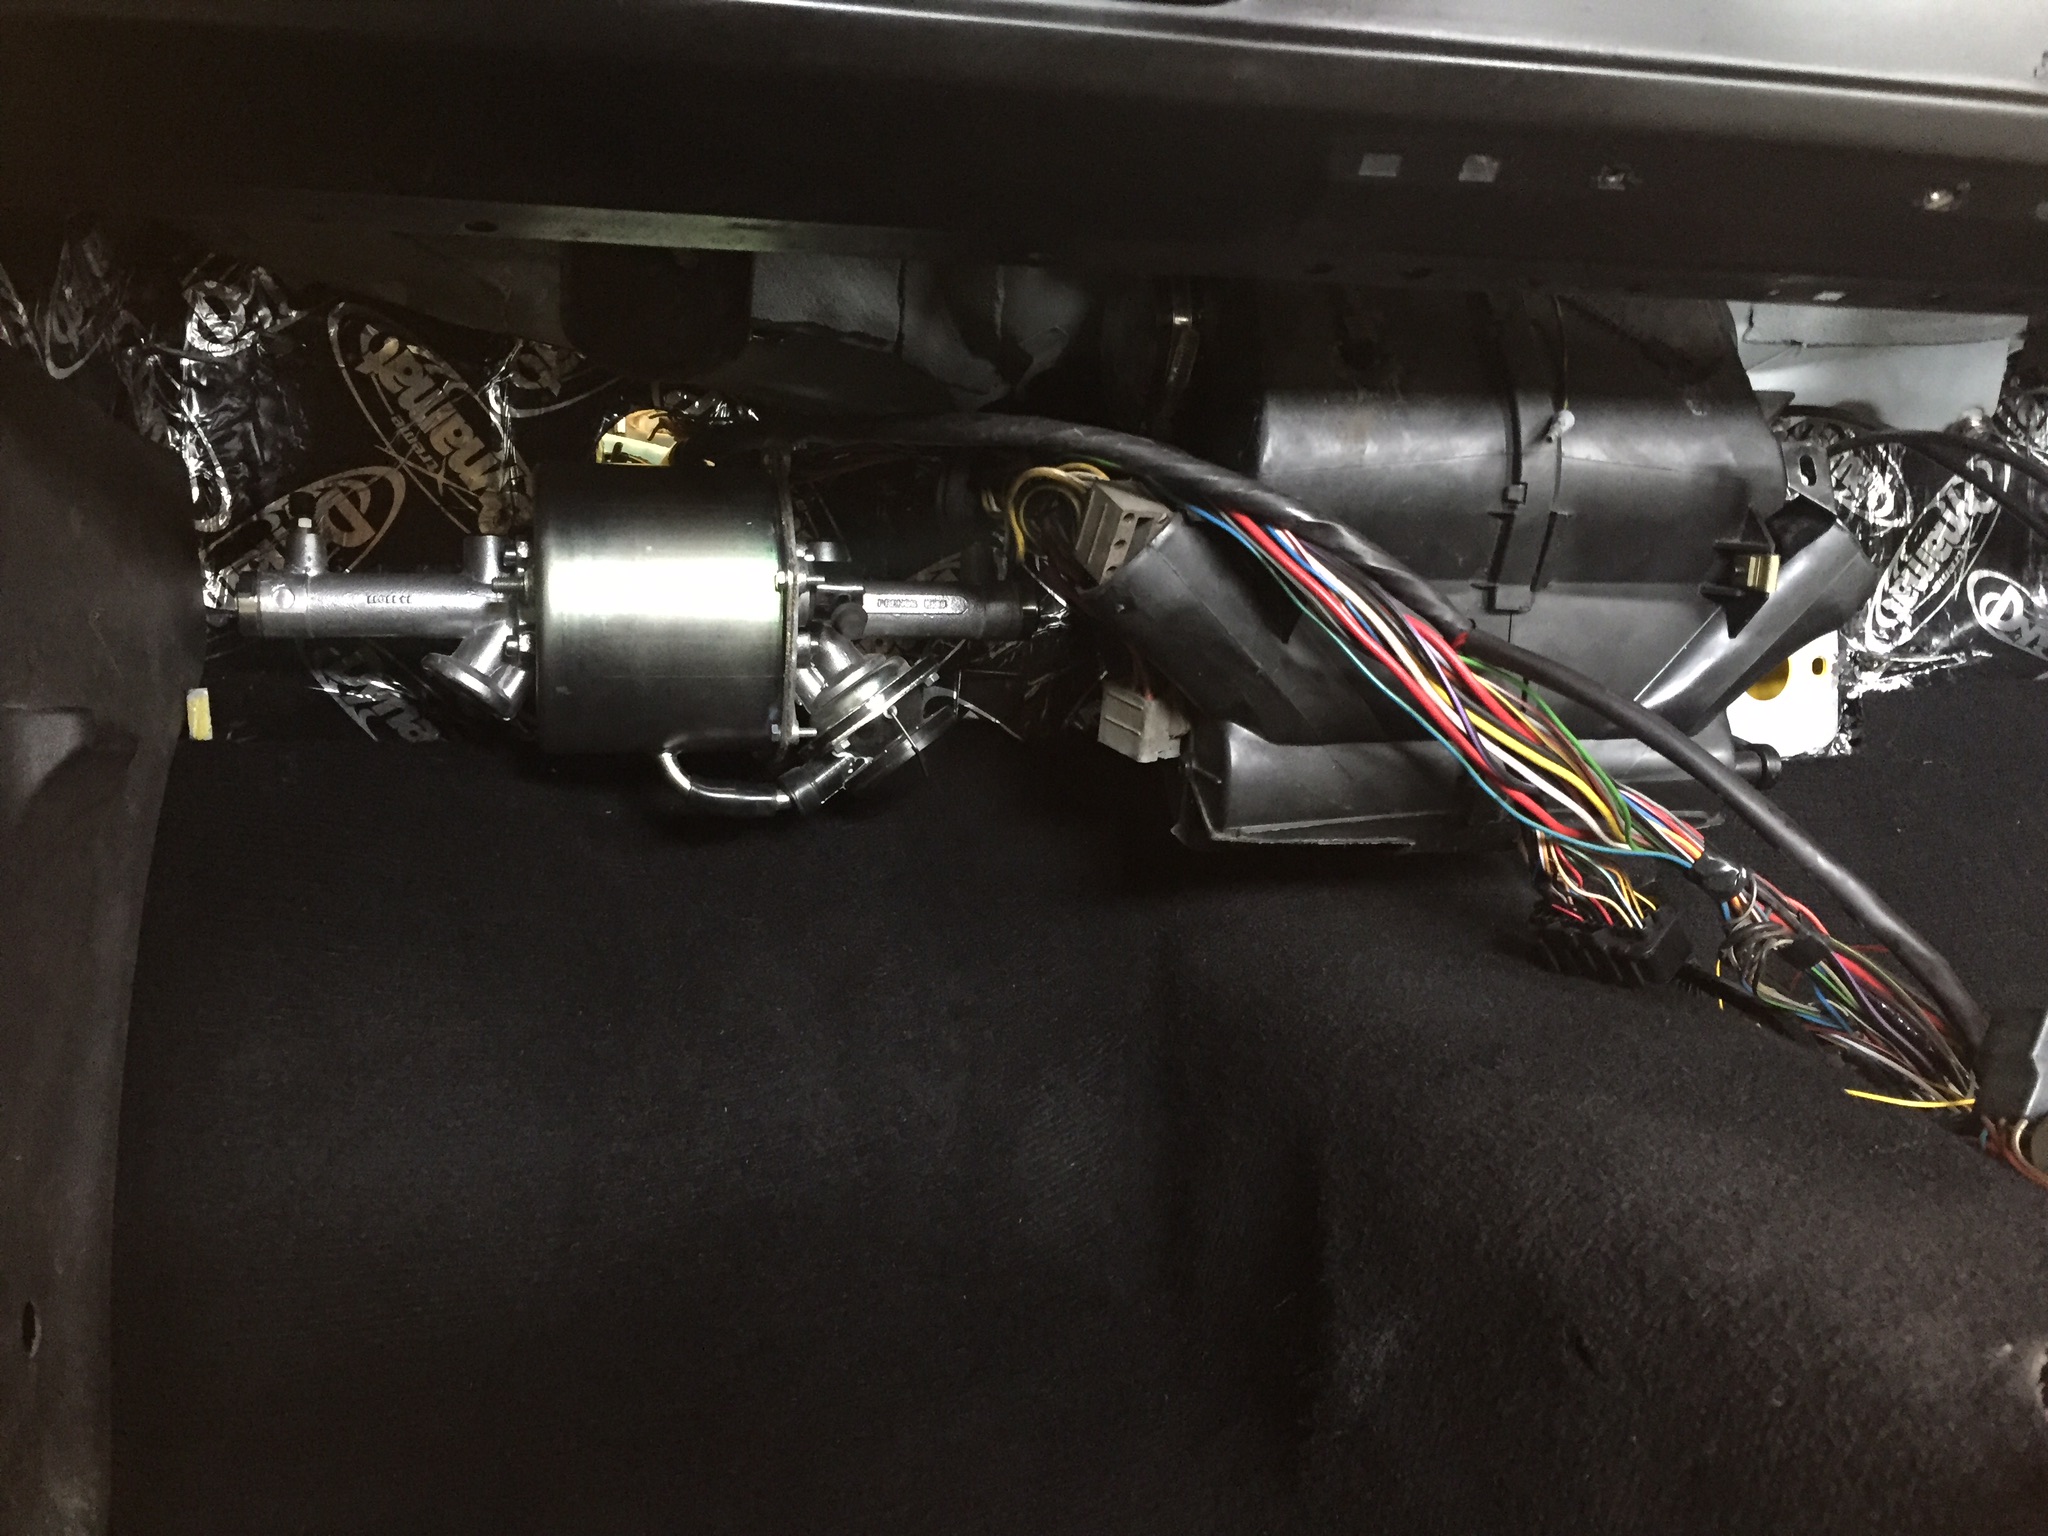
Only a small update but brake servo location is the next step
Servo is duel servo sources from a company called VWjim
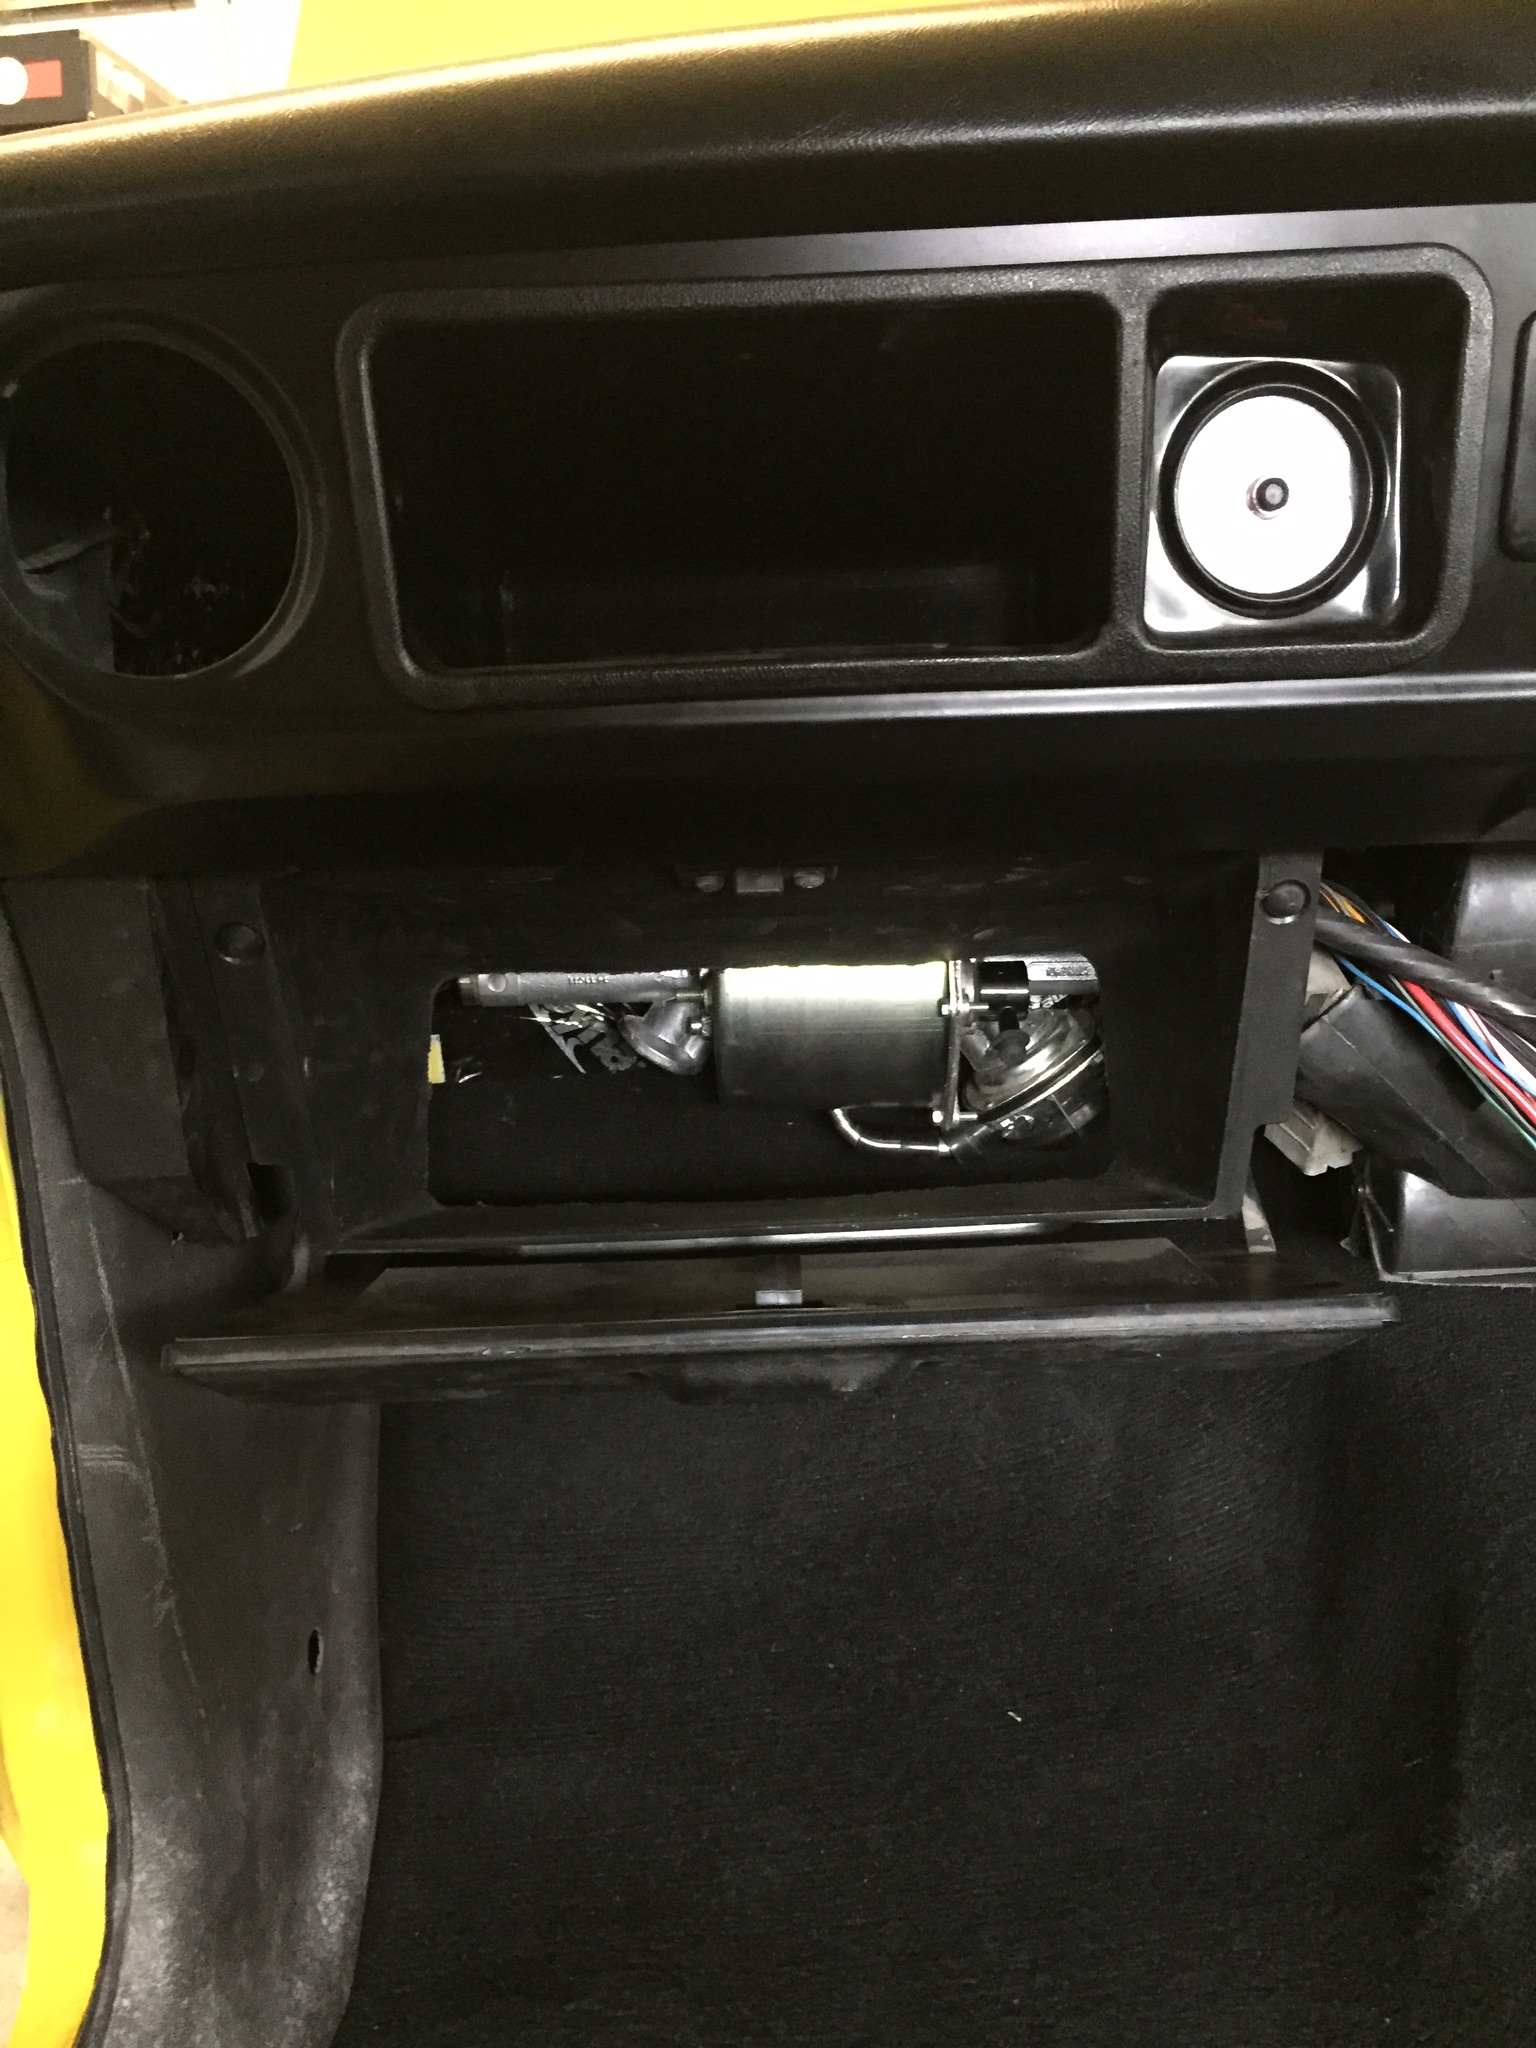
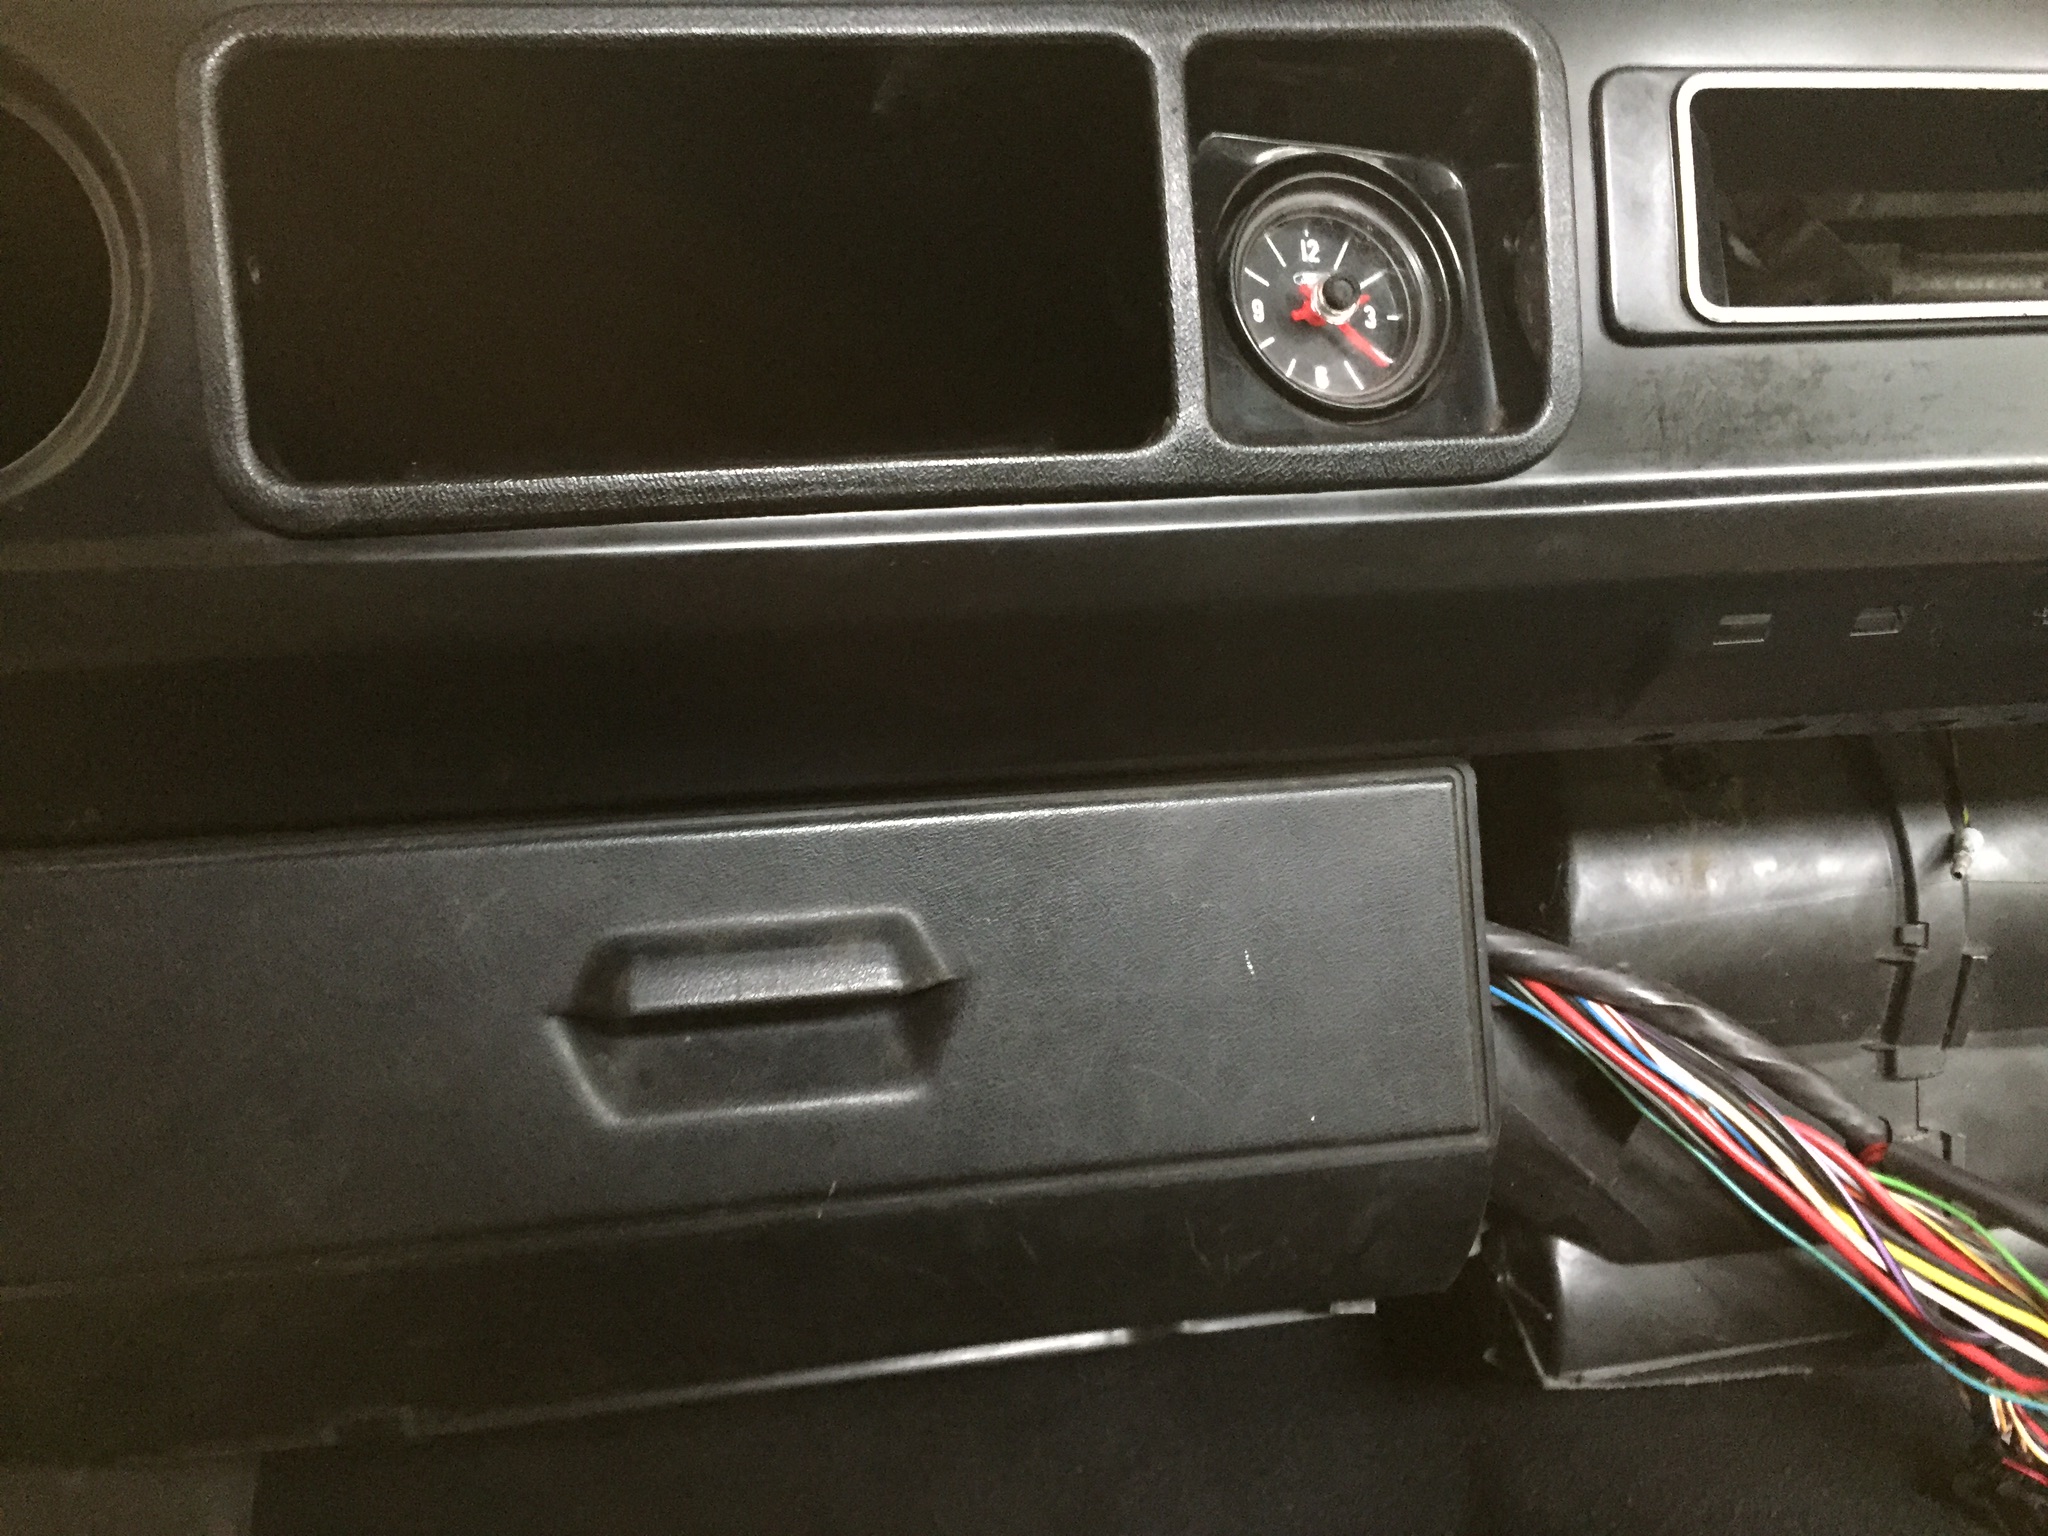
Hidden behind the glove boxes keeping it nice and clean.
Last edited by donnie; 20-11-2017 at 21:43.
just read from start to last post, fantastic looking car and just what i needed to read as inspiration to get on with mine as it's the same set up, ST170, type 9 and atlas, i also dynamatted mine including inside the doors makes a lot of difference, can't wait for the next update.
All very nice
Thanks gents, will need to do the same and dynamat the inside of the doors and rear wings. Want the classic look and some modern comforts
Love the workmanship on this build Donnie. It looks great!
Where did you get the carbon dip for the cam cover done?
Love the workmanship on this build Donnie. It looks great!
Where did you get the carbon dip for the cam cover done?
Thanks beeRS, got the cam cover and bits done in Elgin but it’s a franchise called the dipping lab. Just thought I would try something different under the bonnet
Last edited by donnie; 23-12-2017 at 19:03.
Did this get finished ?
Not yet, been 8 years so far but hopefully next year she will hit the road in anger, last month was the first time I touched her since the last update so it was fuel and oil system
Fuel pump and lines now in place
Used rivnuts to fix the clamps to the chassis
Engine bay looking tidy now
Disappointed with the retroford radiator as the brackets are the wrong way round for an RS
So expensive isn’t always best as it wasn’t cheap so will have to cut the brackets, turn them, reeled and re powder coat it the next time I am back
Great workmanship on this build! Great Idea with the rivet nuts for the fuel line clamps! I will copy that...
Yeah - its a real pain cutting up a good rad to reverse! I cut the fixing leg off and obtained some 2" aluminium angle - problem is my argon bottle ran out as I was welding and blew a big hole which my skills weren't up to filling so got a pro to do it ! Double pain for you with a PC finish - still its only money!Originally Posted by donnie
Well done mate thats just fantastic
Thanks gents, left it in the cornet of the garage without touching it for a long time then my wee brother bought an RS so that got me remotivated
Then just to cheer myself up as I decided to treat myself to something different
Makes me smile every time she fires up
The fuel pipes are done the same way I done them on my car. Your car will be stunning when finished
Thanks turboman, feed a while in the making but worth it
Donnie, where are you planning to fit your washer bottle ? Lovely work. Get it finished, you can’t be that far off now. ��
Washer bottle is next to the expansion tank on the inner wing
About the only place I could get it to fit as there isn’t much room left
I can see the light at the end of the tunnel now, wiring next time home and 5hen finish off the brakes, rest is just install the glass, interior and then just wee odds and sods
Just need to find rear quarter glass, sekurit and that will be it, just struggling to find it but just need to be patient
Last edited by donnie; 07-07-2019 at 18:44.
You didn't use the original bottle that you had carbon dipped. Was that just a space issue or other reasons ?
Is that clear rear 1/4 glass or tinted ?
It was purely down to space as it wouldn’t fit anywhere neatly so bought a smaller universal bottle
Tinted rears
Makes sense and looks neat.
Sorry can’t help with the tinted rear 1/4s.
So what’s happened since the last update, went a bit backwards as it had to go back to the pain shop so it was strip it down again and send her back, had to smile as it was 4 years to the month from when I originally picked her up
Now painted and ready to pick up again
Picked up and ready to come home again
Now back in the corner of the garage

Last edited by donnie; 08-02-2020 at 09:34.
Always advised as a young man to start at the back of the car as it was easier and then to motivate yourself you can walk round the back and it will look complete and cheer you up so here goes with some before and after
Now to add the rear section of the wiring harness
Great so now get the rear lights back on

Next it’s the fuel tank and lines
First, quick check to see how clean the inside of the tank is
Put her into place
Now it’s to reinstate the pump and the supply return lines, now where I have put the pump concerns a few but plenty rooms or the supply line to the pump that is unless the spring comes within 2 inches of the chassis next to the hanger
Return now in place
And finally in the bay
Just need the engine back in next time back to finish it off so brakes next
Next was the rear axle and brakes
Rear suspension finally back together for the first time in 8 years but with new shocks and bushes
Next it the discs and callipers
They need a good clean and callipers need some paint
Next, servo already in so just need to get the servo vac pipe sorted and blessed with a penetration as going hydraulic clutch so the old cable clutch routing will do nicely
First it’s a bit of 12mm instrument tube inserted into the vac pipe
Penetration for the original clutch cable
Hose inserted
Hose on the servo connected
You can now see the instrument tube sticking out the bulkhead engine bay side ready to connect the hose to the inlet manifold once the engine goes back in
Then plan was to make up and connect all the brake lines from the pedal box to the servo and back to the transit on the bulkhead but alas need to more 90 degree fitting for the servo as it’s tight so that can wait till next trip
Next it’s the headlining one last time and then the glass
Headliner first and if it was only that easy
Now finally some glass with the rear quarters and rear fitted, saying that trying to find a genuine solid rubber for for the rear screen as not happy with the repo
Front screen in, easy with the genuine rubber and that’s basically as far as I got
Next time back the plan will be to complete the brake lines, fit the handbrake cable and finally install the engine and box for one last time.
Forgive me if i'm speaking out of turn but . . . . .
http://i1257.photobucket.com/albums/...21E9FAA1F9.jpg
Mounting calipers that way will make them a bitch to bleed! Swap left to right and right to left makes it easier and bonus is. it makes the handbrake cable connection / routing point the right way!
Last edited by katana; 08-02-2020 at 14:05.
Not out of turn at all, only noticed it when I came away that I had fitted them arse about tit
the tank to pump pipe will properly get nipped by the spring on full compression,ask me how i know
solution was longer pipe with the bend towards the axle
Had a few comments about it and it looks as if you have been stung by a similar set up so will loop it round the back of the hanger, that way I won’t be cursing as the fuel is pouring out of the tank and I am stranded at the side of the road and telling myself that I should have listened -��
LOL's - good boy! Horse to water and all that!
Great to see you're back on it donnie, and thanks for the detail pics.
Why did it have to go back to the paint shop ?
Bit of paint peeling in the boot and as it was 4 years I had put a few marks on it so better getting it sorted now rather than later
what fittings did you use on the fuel tank ? any more pics off how you done it
thanx
MY MK1 ESCORT (Now turbo'd)
No problem Stevie, started off with the original tank fitting
Removed that just so I could see what I had so once removed its broken down into the 3 separate bits
Main part that required the modification
Looking at the forums various thread pattern sizes I.e 3/4 BSP, 3/4” UNF but it didn’t matter as I needed to AN8 so decided to cut the nut of the existing assembly and weld on an AN8 fitting as follows
Once that’s done I just need to sort the filter out so found a filter on eBay with M12 thread so cut off the small section of pipe that the original filter was attached too and drilled and tapped the hole for the new filter, looked like this after I was done
Then it’s simply screw it back into the tank and it was job done for the supply
The return, just used the original location in the sender unit, drilled it out and used a bulkhead fitting for AN6
Hope that helped
thanx ill get modding mine now
MY MK1 ESCORT (Now turbo'd)
Well done. Nice detailed bit of info there on the tank fittings.
Not that I need it personally, but none the less thanks.
Last edited by rallyrob; 11-02-2020 at 12:55.
That was one of the benefits which I really like about forums is that people can help and motivate each other, shame they are so quiet but still some great detail in previous posts. I know they were a good help to me over the years
Well said Donnie, and understand the return to the paint shop. Hopefully you’re still at it up there and making more progress towards getting back on the road.
Donnie,
Just read start to finish .
Foooking outstanding mate When Can I buy it
 Posting Permissions
 Reply With Quote


Bookmarks