


amazing work.

Originally Posted by MK1_Oz
Thanks guys...love it when a plan comes together.....cheers mark
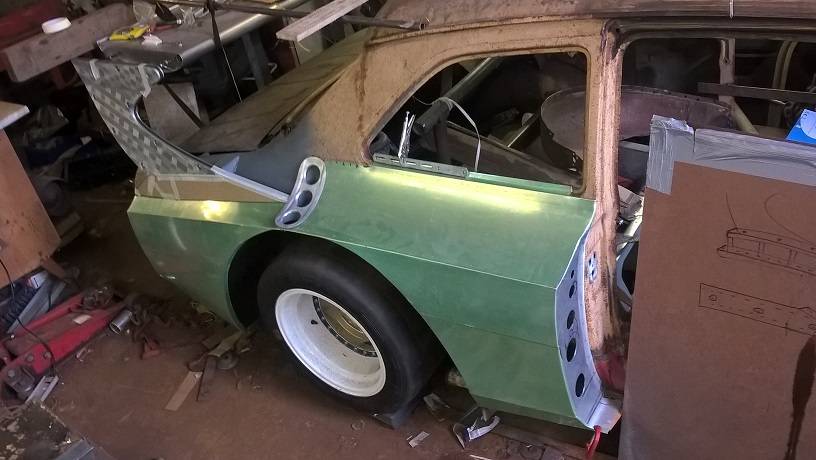
Little bit more done this afternoon...
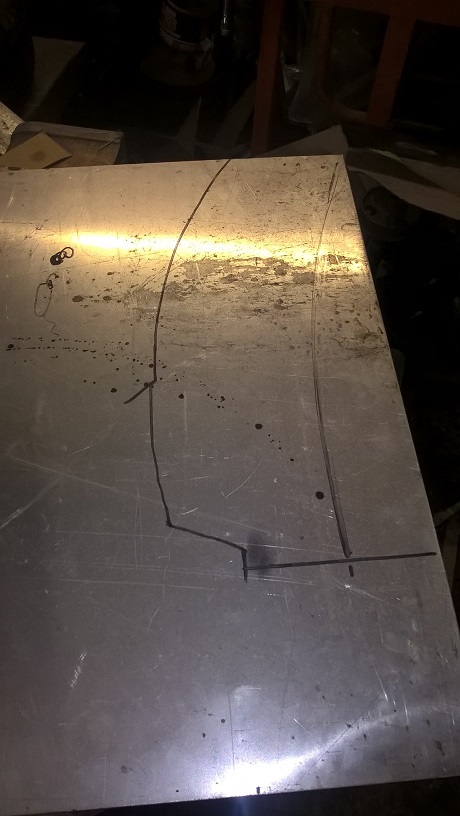
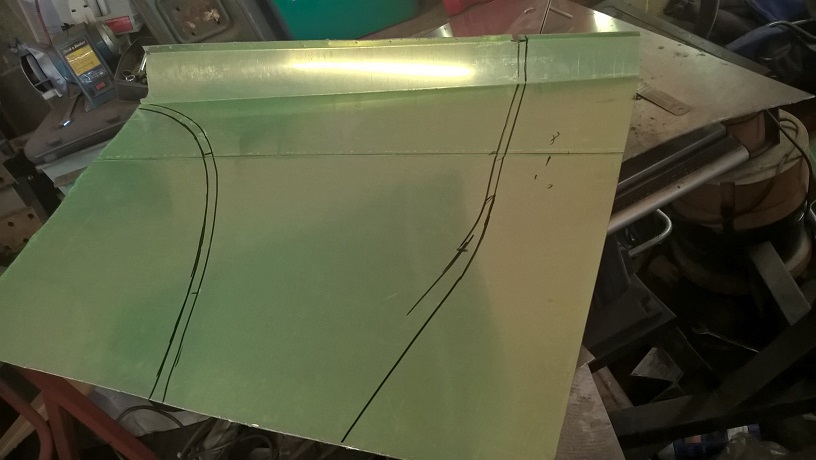
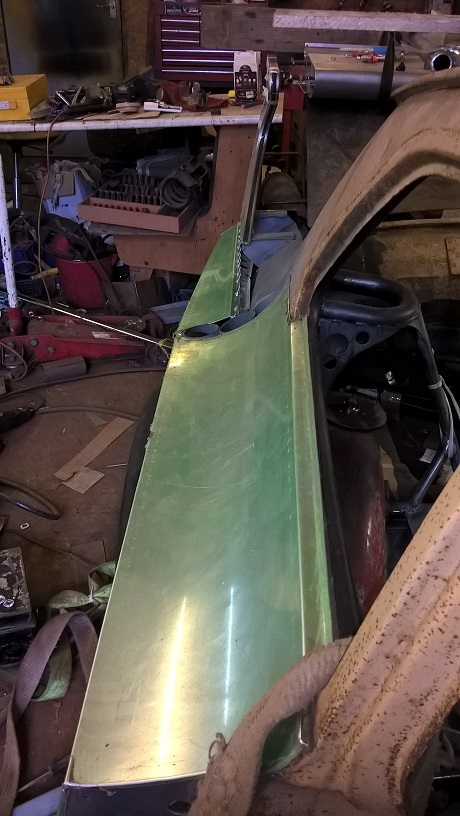
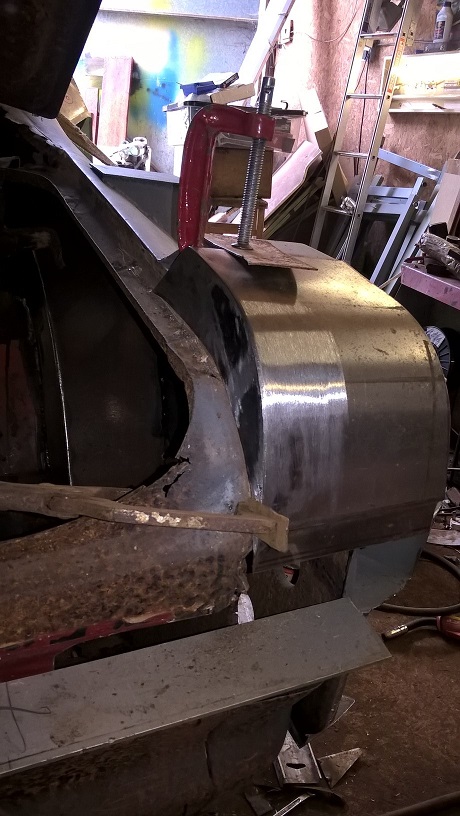
First job is the inner return on the wheel arch...so marked where the inner arch is ...then marked a line 15mm away...this is my cut line...#
Took the 1/4 panel of and trimmed with my angle grinder..
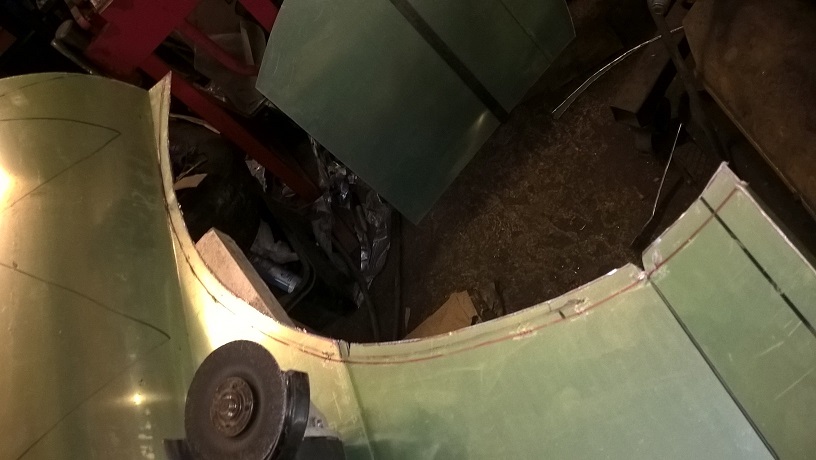
once trimmed . the 1/4 panel was replaced....strapped in place and the inner lip was hammered into shape
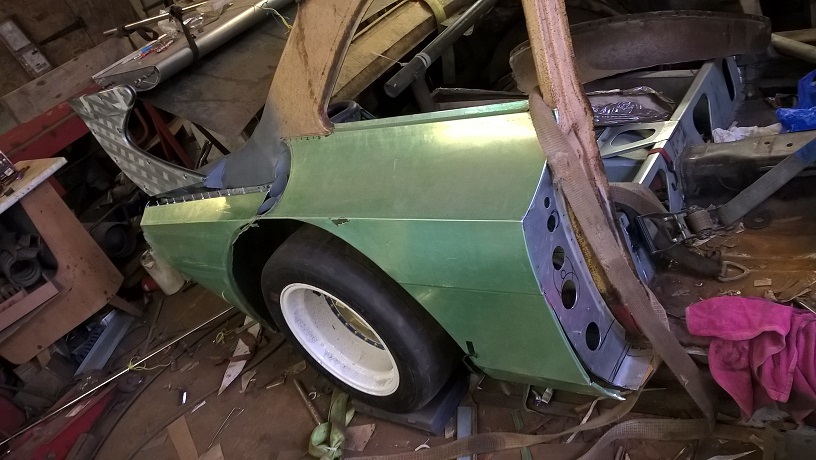
i whacked the wheel in position..to check for clearance
All good so started stringing out the rear 1/4 panel profile....
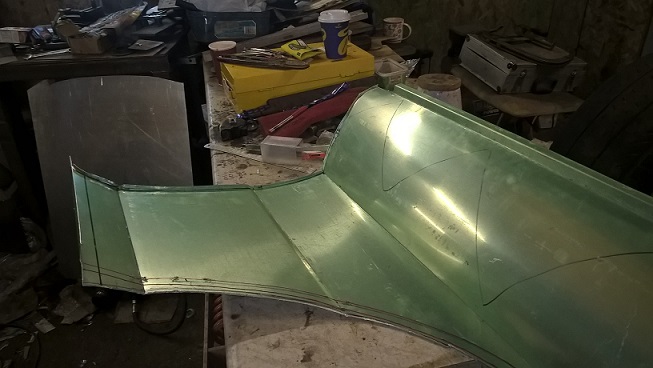
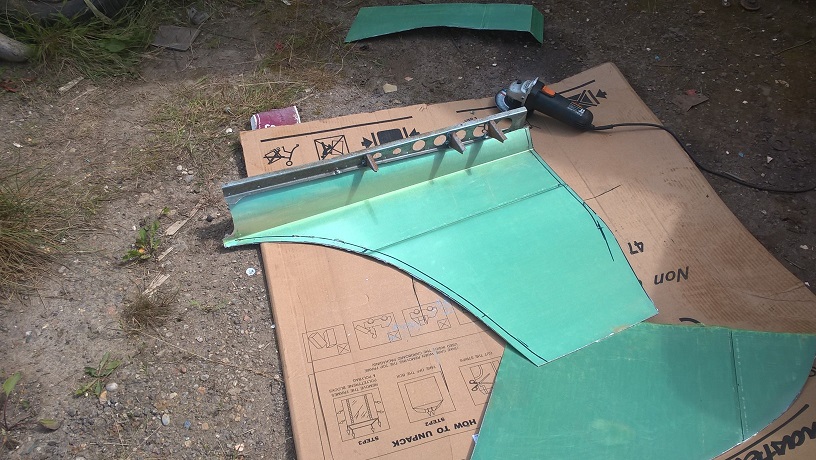
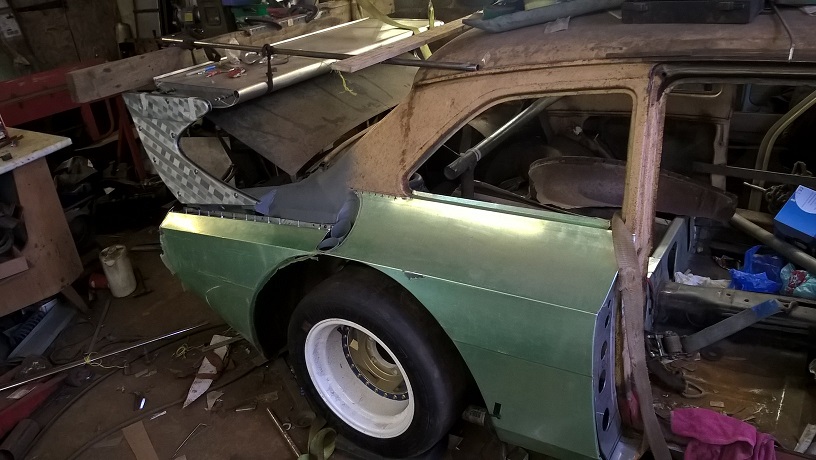
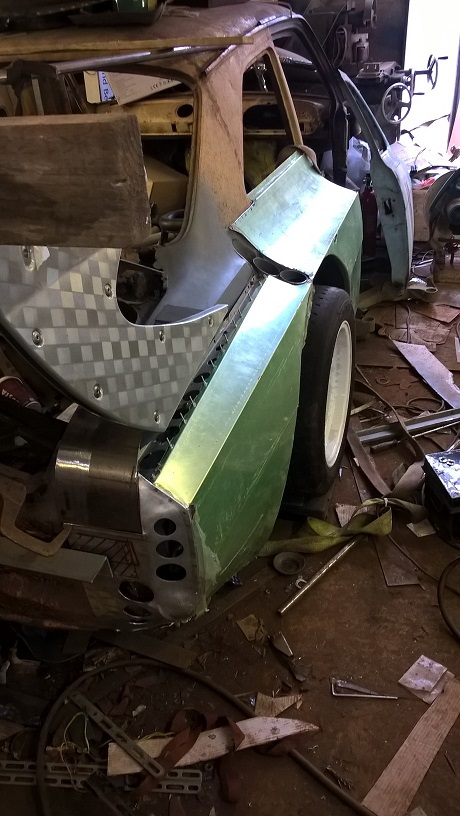
befor i can make this panel.i need to make the rear wing supports...and the joiner strip between the two 1/4 panels....
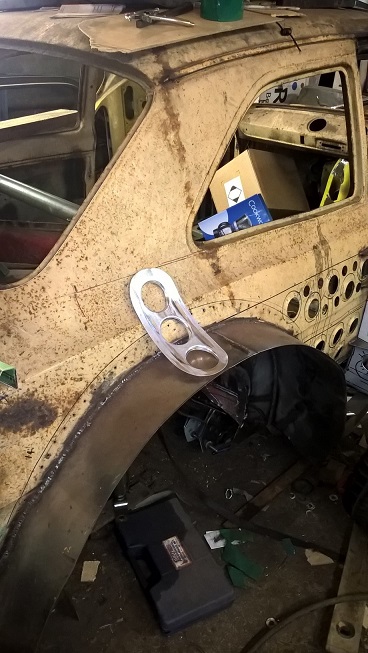
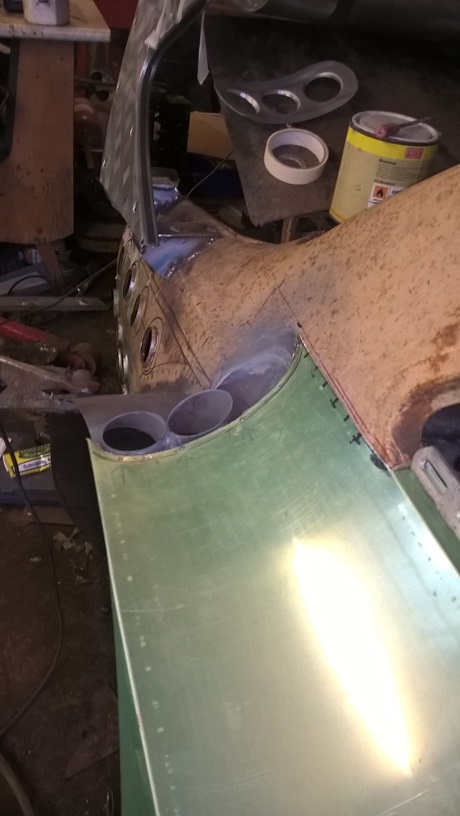
i started with the joiner strip( as i didnt have the rear wing with me)
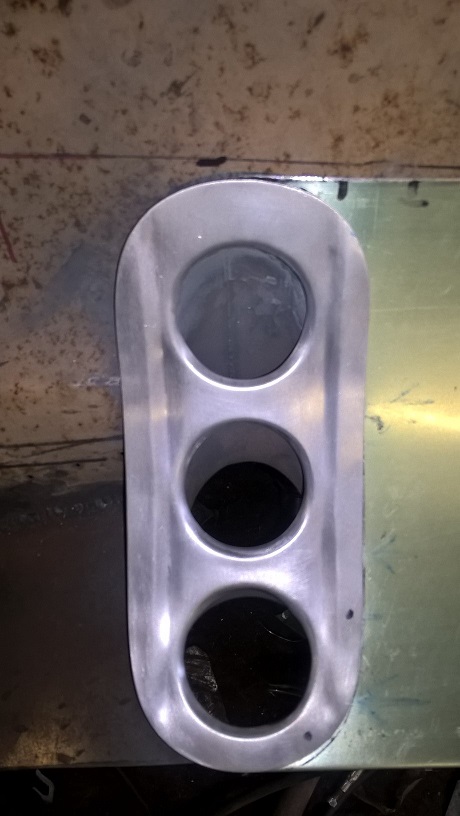
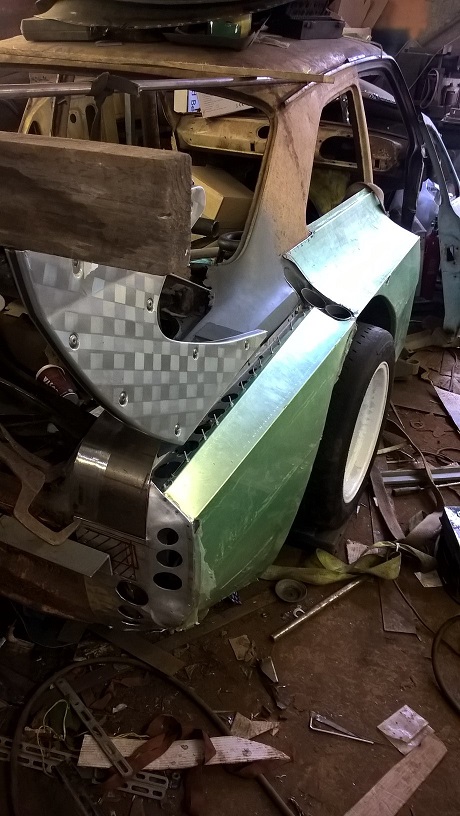
the joiner strip has 3 jobs (1) to join the two panels together..(2) an external firewall (3) a vent for the wheel well...
its curved ...has 3 holes full swaged to match the outlet pipe and a joggle running full length both sides..
60% finished...
Will finish the details in front of the telly later...
And last a money shot (because i couldnt help my self)
Cheers mark
Wow!
'68 1100 Deluxe-bog stock soon to be a twincam rep.
Brilliant work as usual.
I have no idea how you dream up the ways to do this.
How are you going to join the rear of the quarter panel to the original quarter panel. Are there going to be vents of some sort like the Zacspeed Mk2?
This is better than any show on Discovery.
Rgds
Tom
To finish first, you must first finish
Thanks tom...
The rear wing platforms will hide 80% of the join...and the vents will be at the rear on the back panel to help the join there....i think...
cheers mark
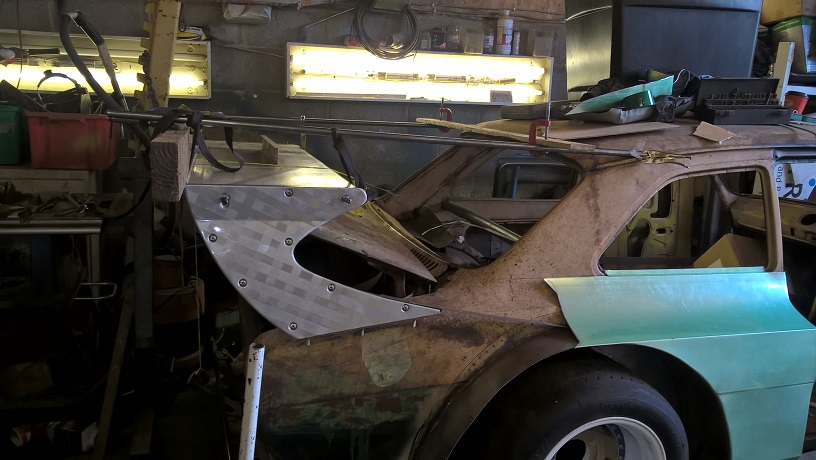
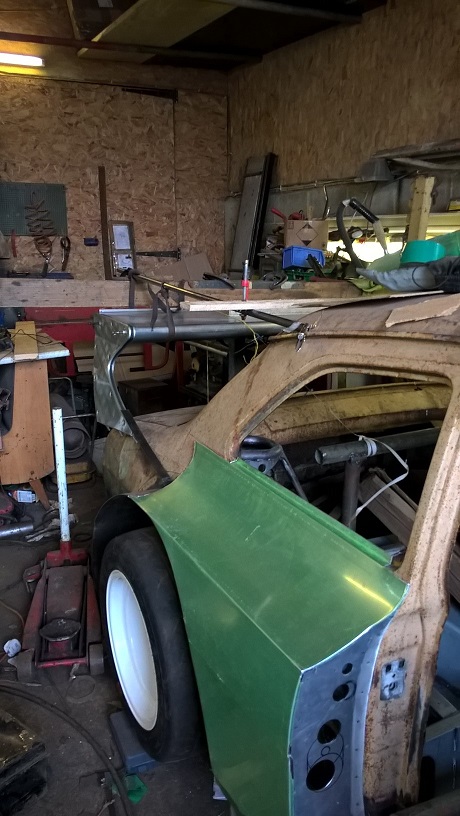
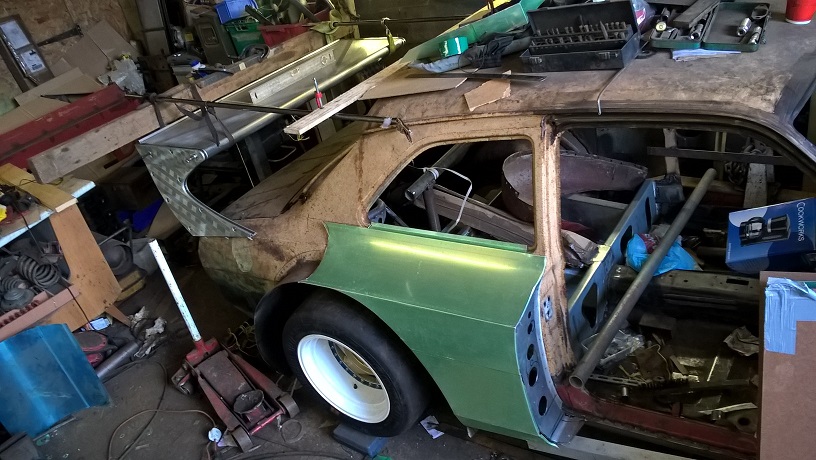
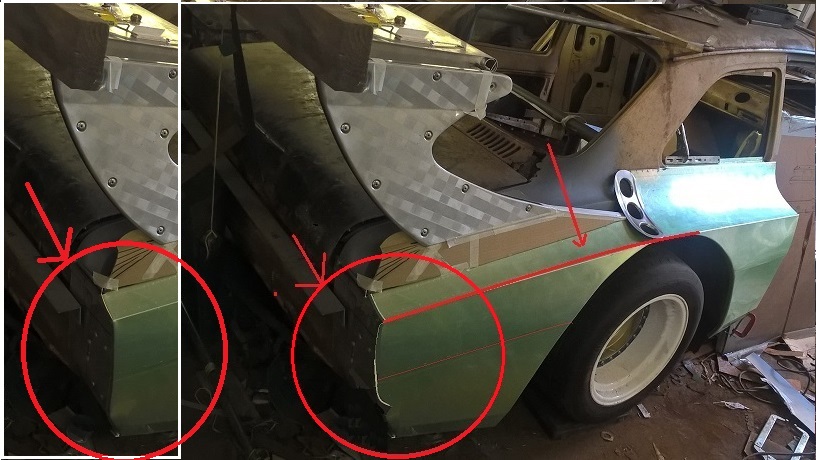
On to the rear of the 1/4 panel....
Before a can fit the 1/4 panel..i need to build the rear wing supports....i am makimg these adjustable and fine adjustment on the actual wing
I am also altering the rear panel /boot line...im moving it up 30mm..because im going under floor aero..and when the cut out is in place it looses its "escort look"
so spent the day positioning the rear wing and working out dimenstion and brackets that need to be made......all will become clear in the end..
some pics
Ive set the wing at - 3 degrees static (obviously when set up it will be positive prob 5 degrees)
set the rear wing overlap at 100mm past bumper....(the bit of string)
ive also set the height of the wing fixing rails to align with the raising of the rear panel/boot...i am raising this section marked
there are 4 panels to make ...
a couple of shots of the general idea...
cheers mark
You need to go into production on those rear wings!! I'll buy one for sure
Love it
Thanks matt.....i could finance the build.....
Cheers mark
I'm very serious though. I would buy one...
Looks nuts Mark
Cant wait to see how the rear end turns out
Thanks ...
me too.......
Back on it tommorow....hope to get some progress....and some pics
cheers mark
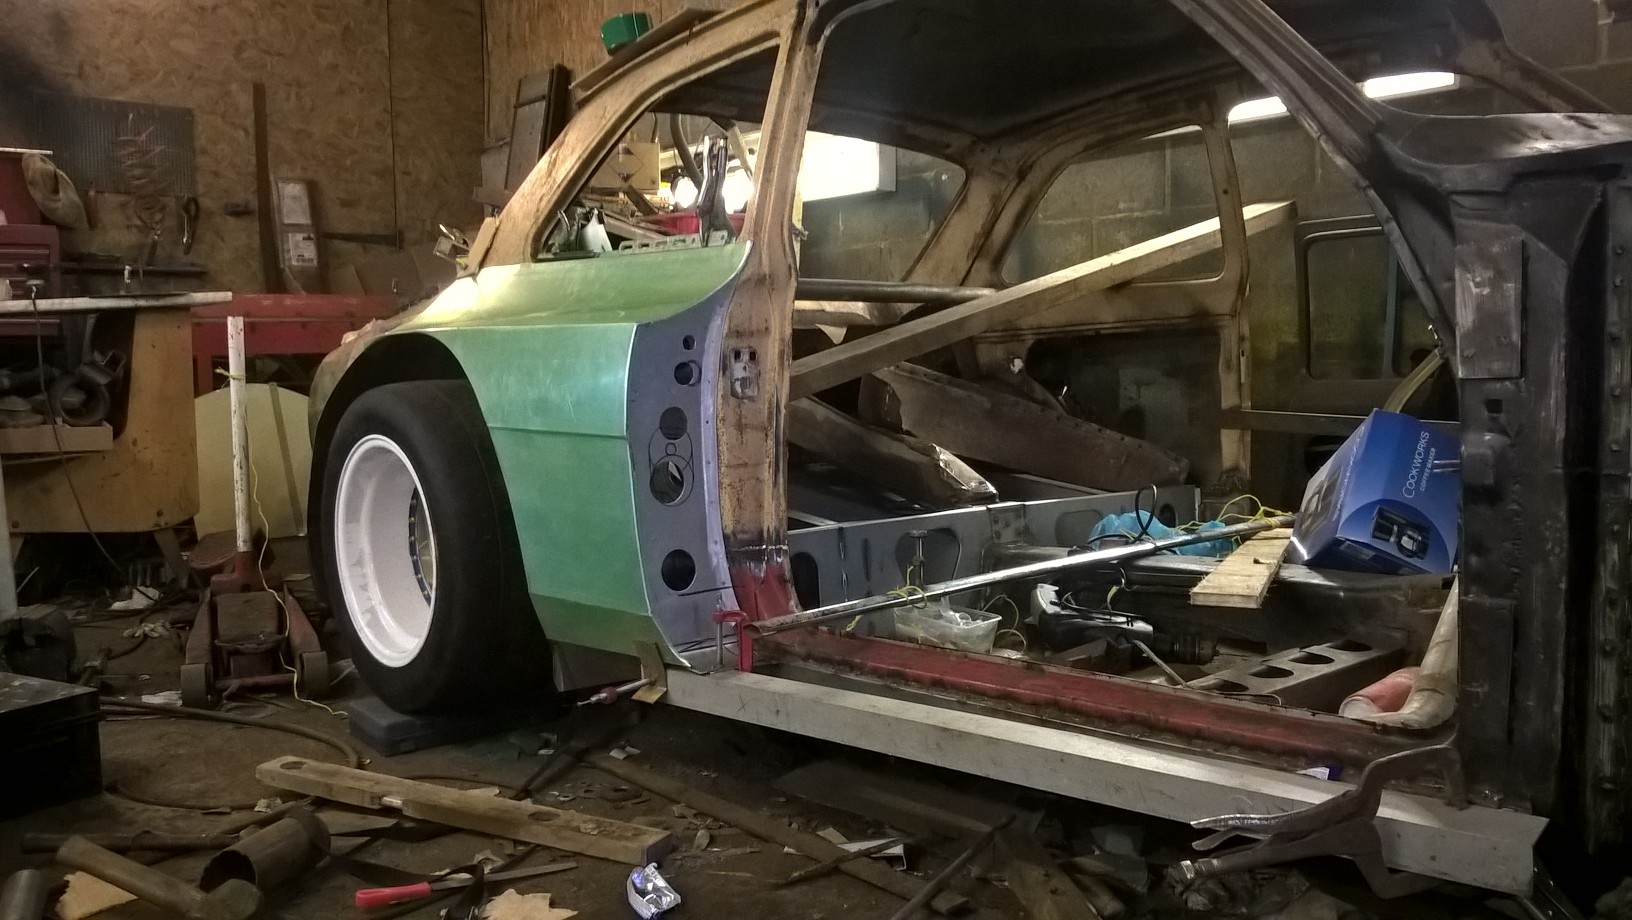
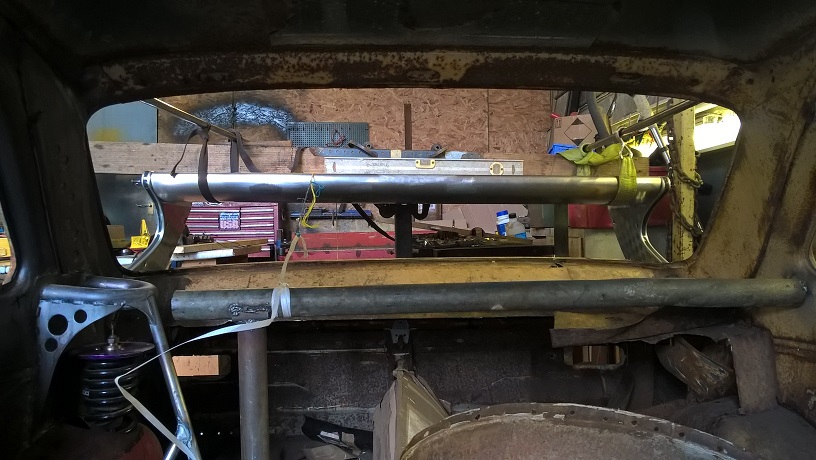
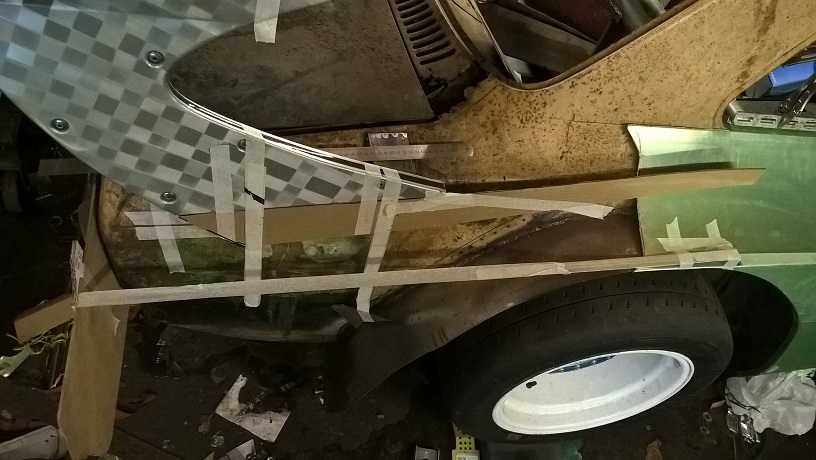
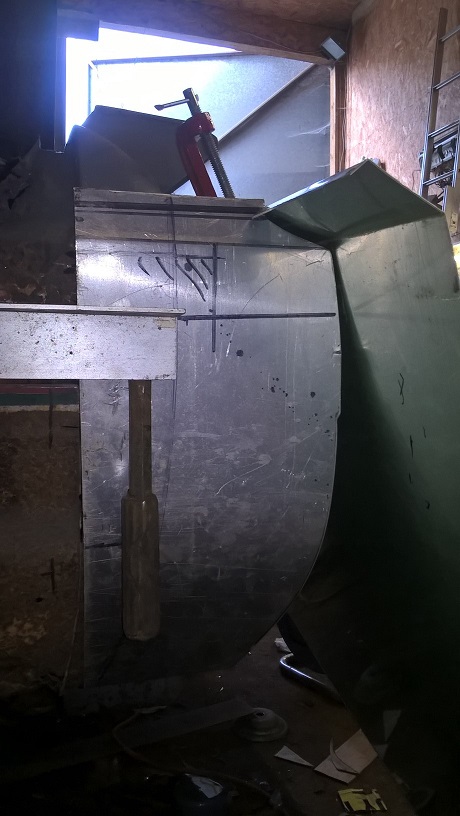
Made a start on the rear end...there is a lot happening at the rear 1/4 end....first of i designed the rear wing wide..(so new body fixings to be made) i also designed it square/parralell..but the escort body tapers at the rear....i also want to make the rear boot and spoiler a breaking aid( when you break it rises to create an air break) as well...and the rear wing needs to be able to have adjustments made to alter angle and height quick and easy(small angle adjustments can be made on the wing itself) and lastly the silouete of the car needs to comply with the rules
Any way ...it means i have to make 3 panels...rear 1/4......lower rear wing panel...new boot/side panel height...
first check my dimensions with card board and masking tape...
When happy.i made the rear wing fixing bkts..these are also the new boot height and angle..
the wing can be adjusted easly with shims...for height and angle....
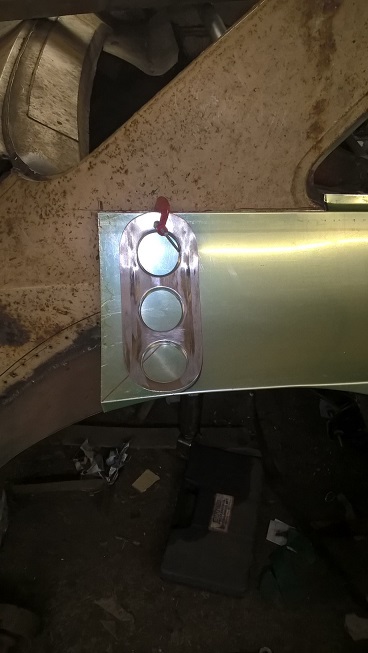
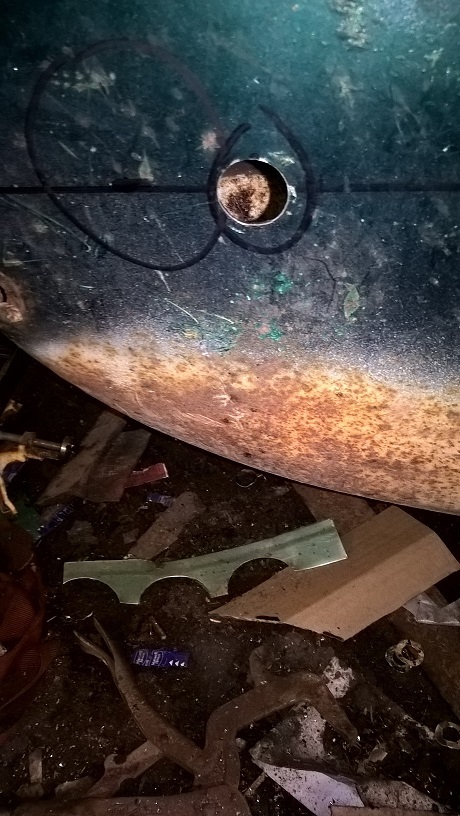
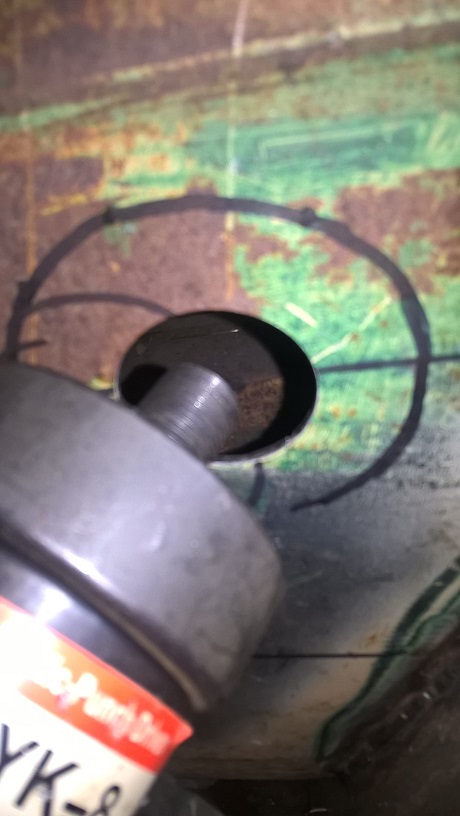
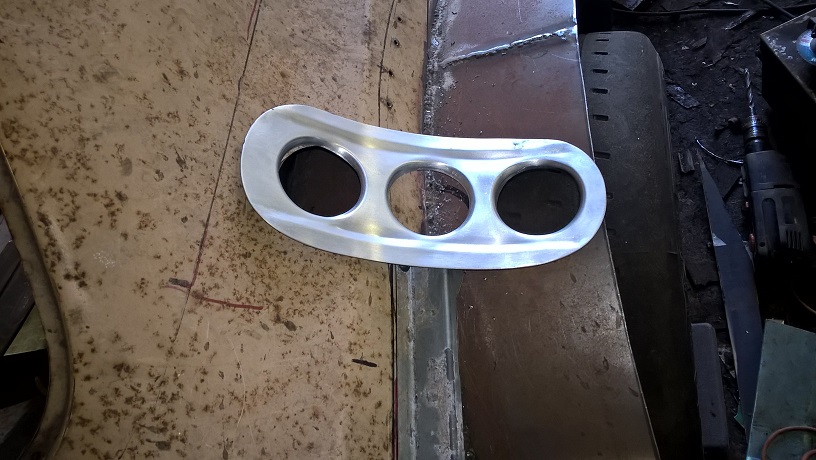
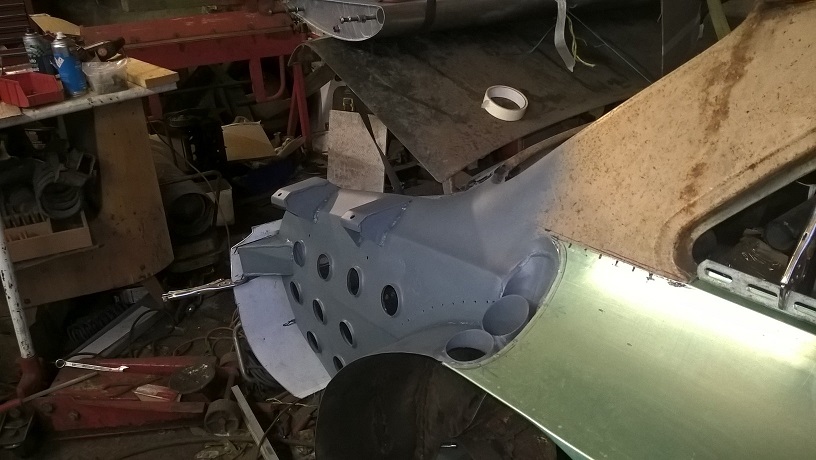
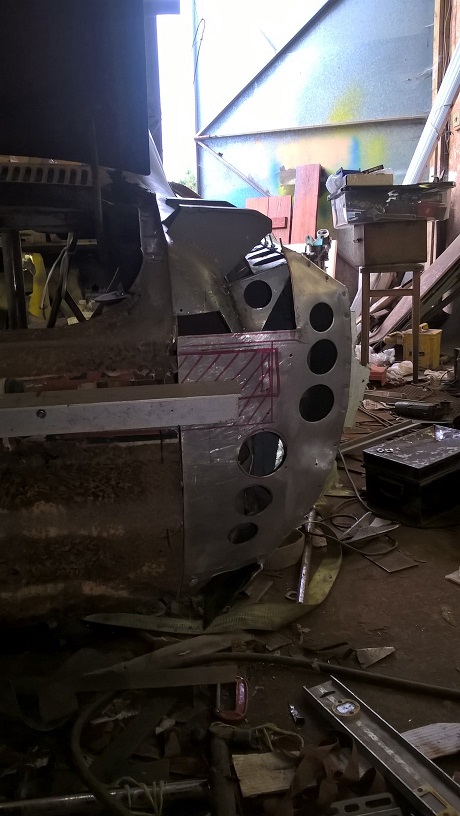
next punch and swage some holes to reduce some weight...i wanted full radius swage this time so the method is slightly different
first punch clearance holes 22mm
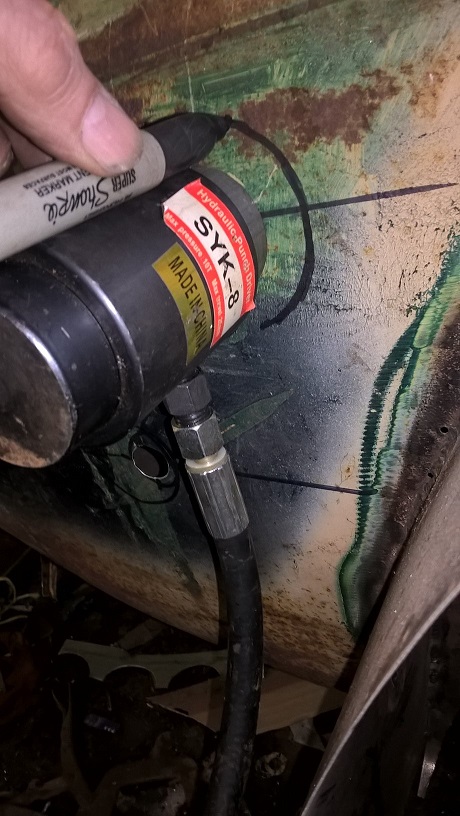
then punch the inner start hole ...i marked around the punch with a sharpie because doing it ths way you have no location hole...so use the sharpie markings to align the hole
hole and sharpie markings
you can see here why i need the sharpie markings.
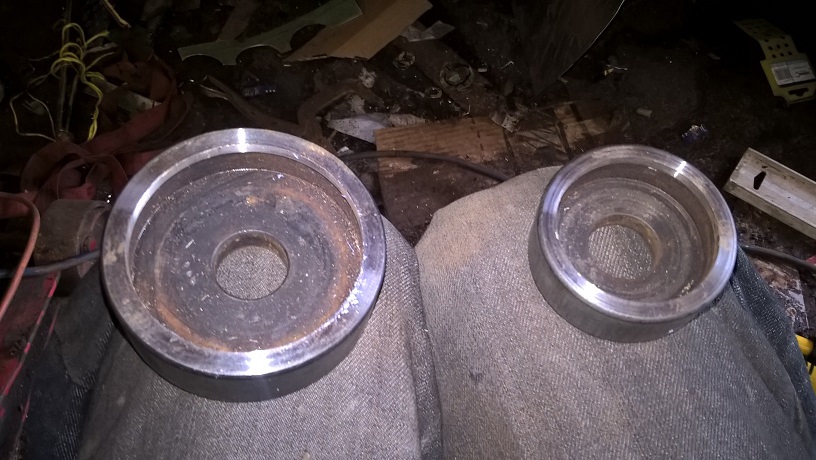
view from inside pulling the die into the larger die on the out side..
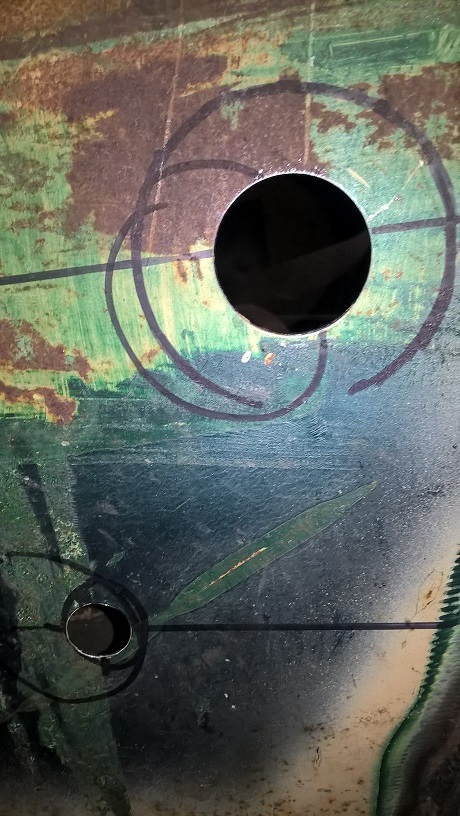
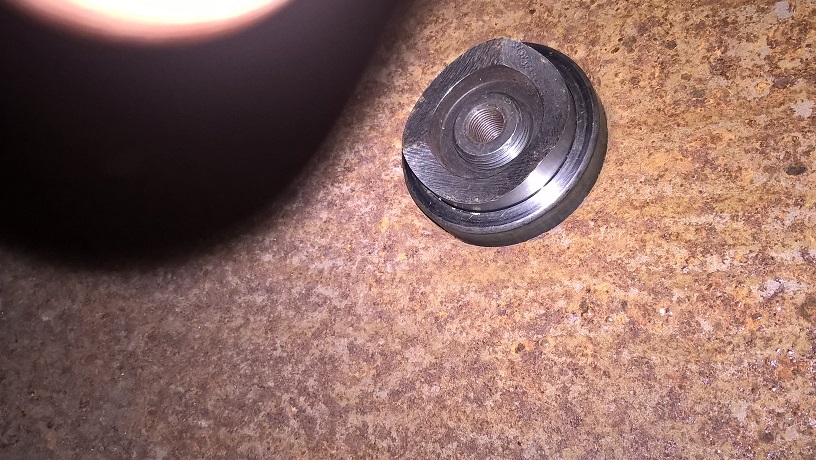
the finished full radius swage 8mm
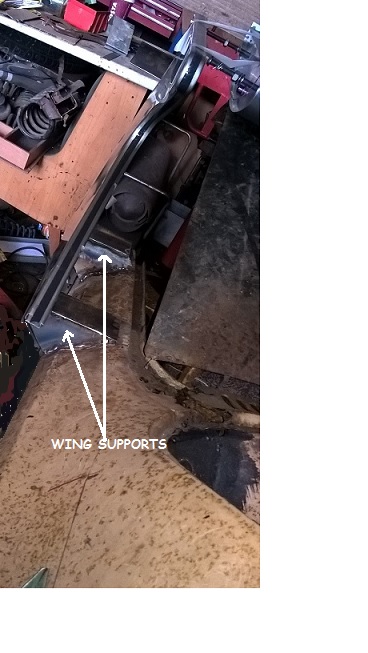
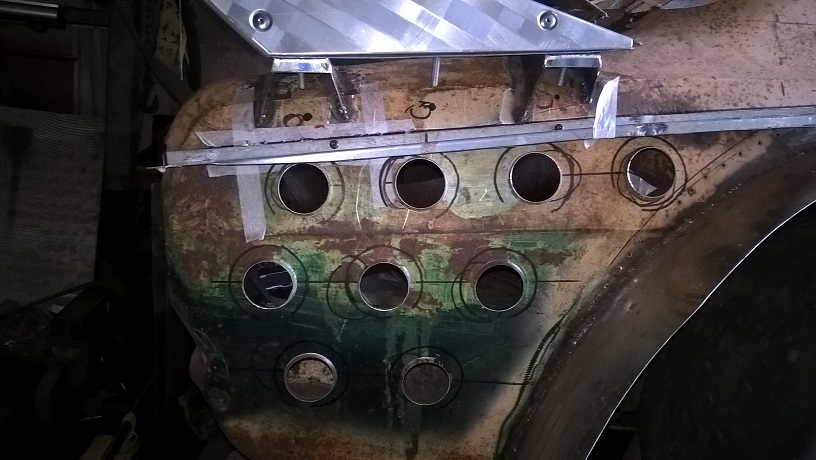
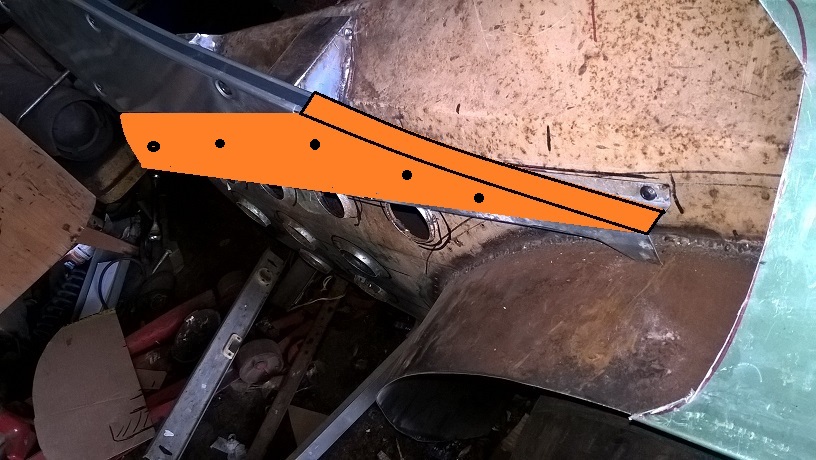
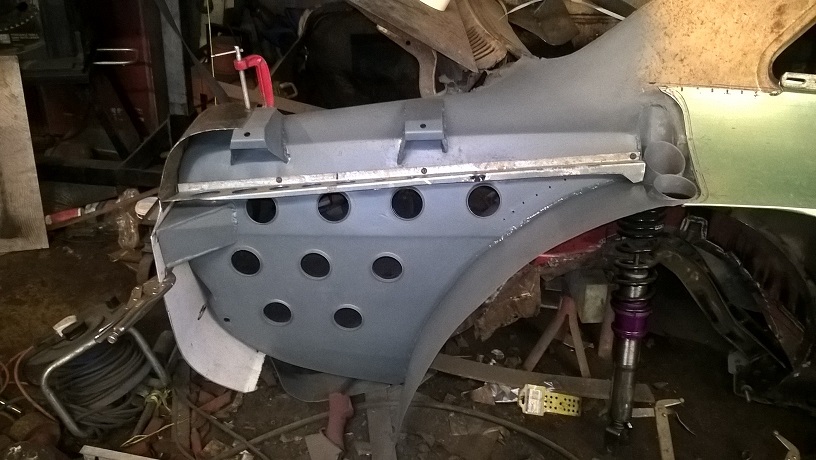
next is the rear 1/4 panel fixing bkt (its bolted at the moment,but will be welded after the 1/4 panel studs have been pressed in(
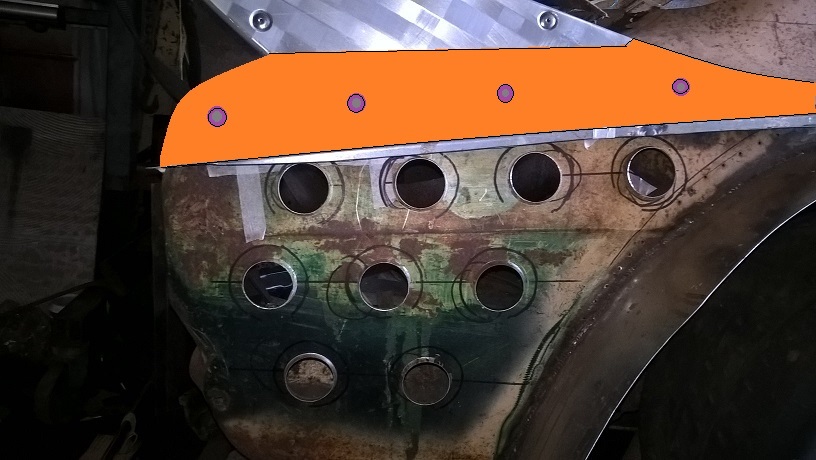
the gap in between the wing and the rear 1/4 panel will be a removable panel for quick wing adjustment
the removable panel will be the part in orange...
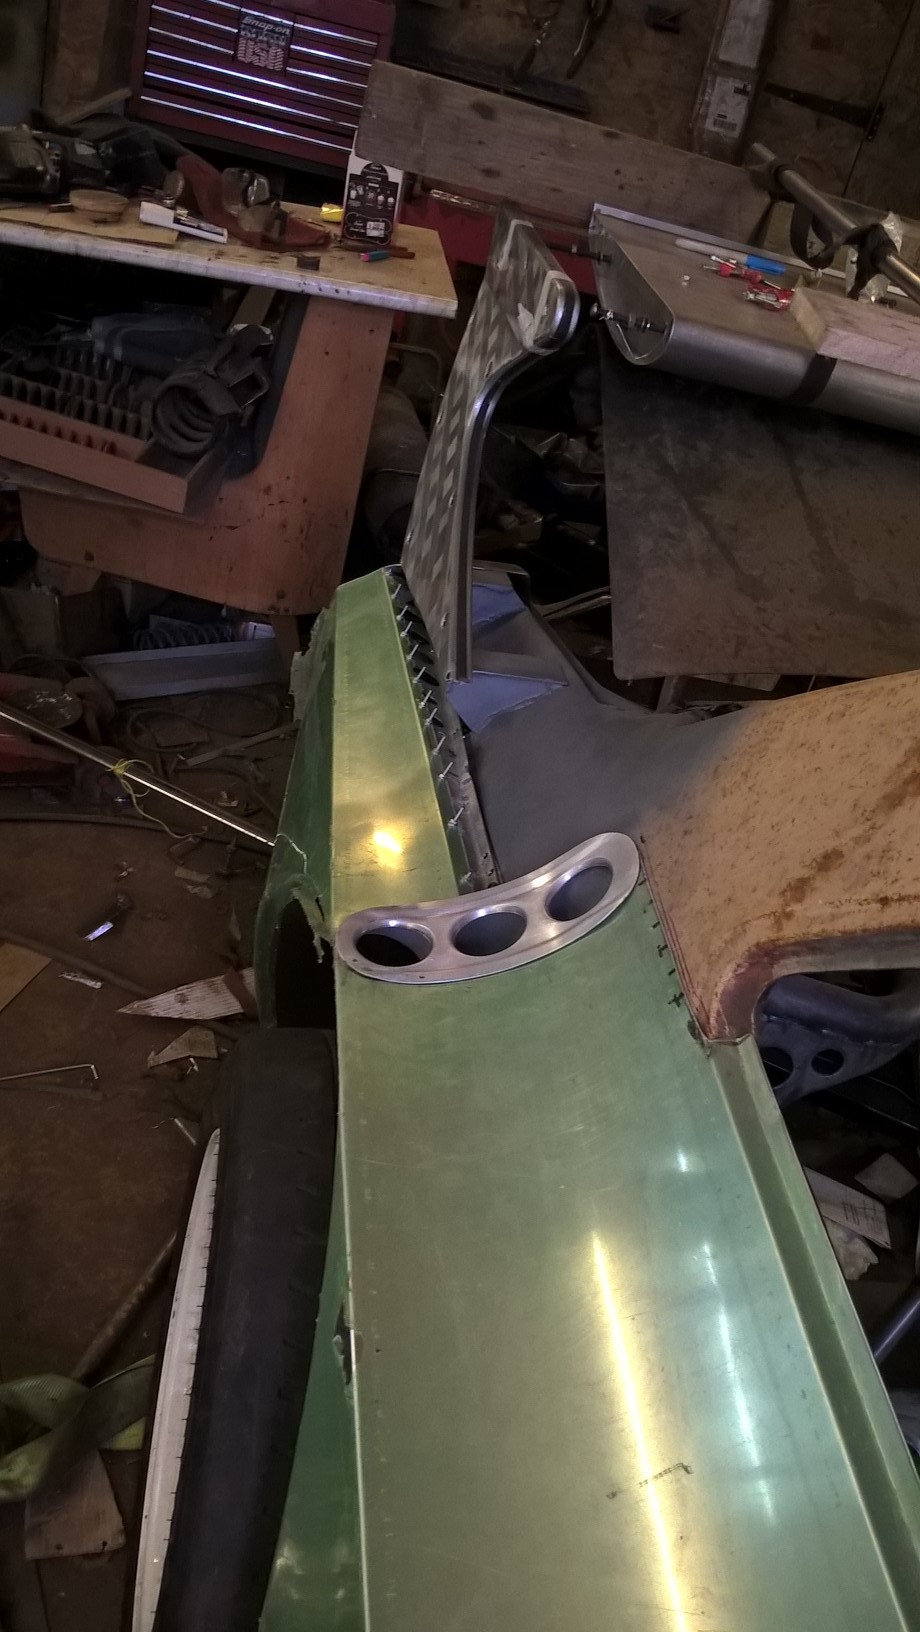
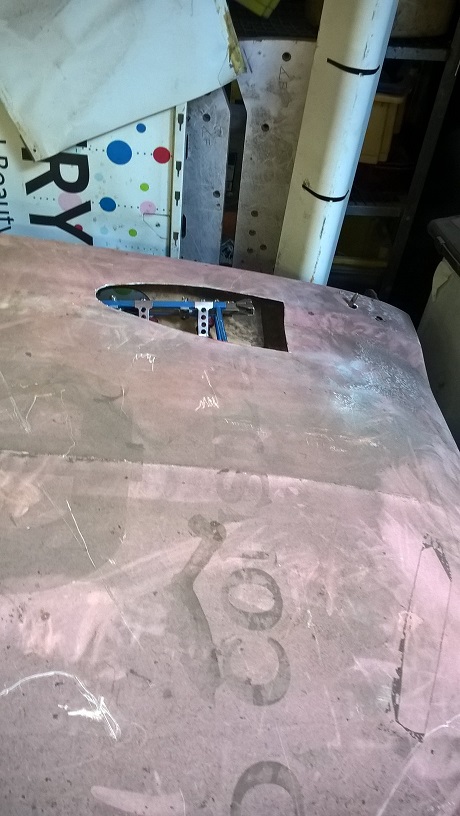
next part of the jigsaw is the inner wing boot/rear light profile....
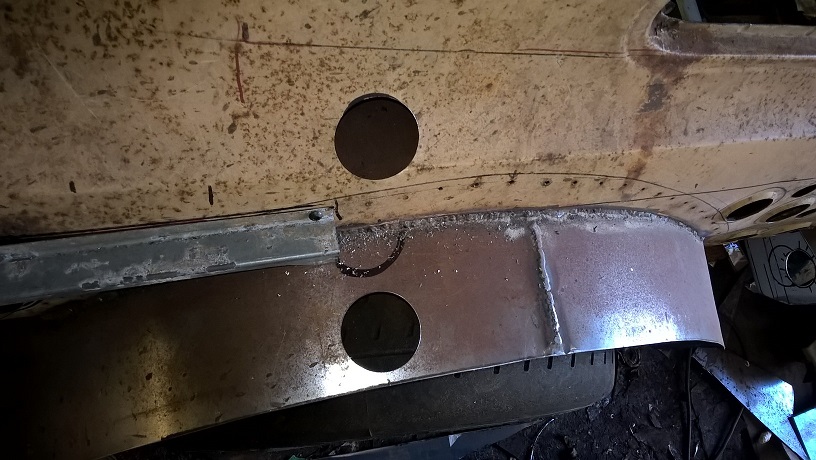
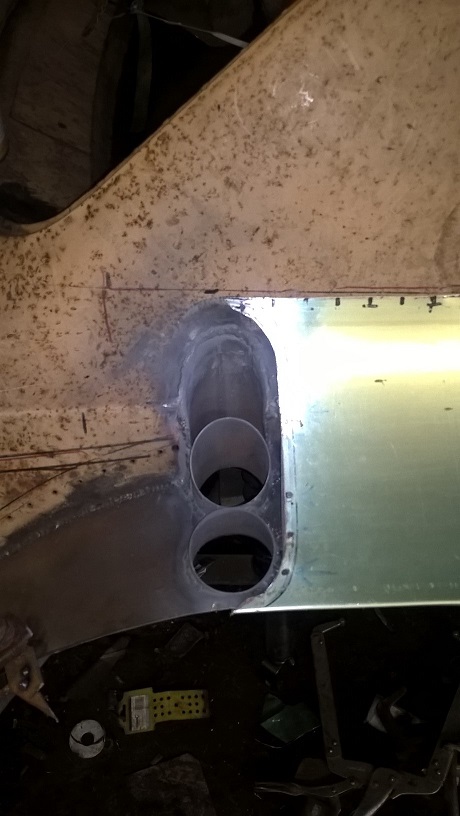
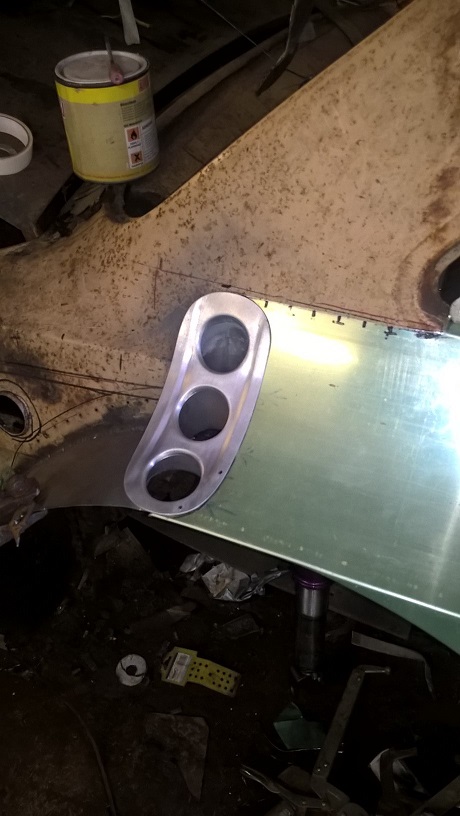
the other part i started is the joinig strip/which is also the rear wheel well air vent...rather than the normall louvres i went with a simple round hole....
i made the cover bkt first... then marked and staretd to puch the holes...2 down 1 to go...
because rules say i cant see the wheel through the holes. a mini cooling rad will be fitted insde the wheel well ( To cool something)
that took a whole day...
Cheers mark
Loving this!
1700cc MK1 ESTATE DONE. MK1 2DR STARTED
Will you be my Dad?
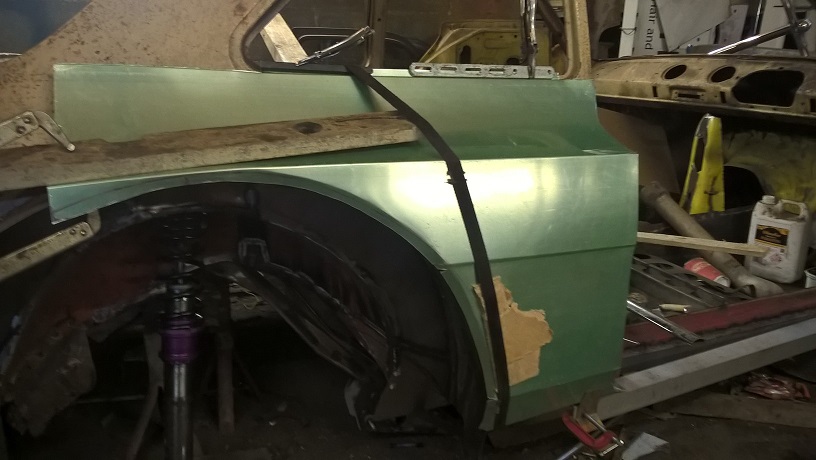
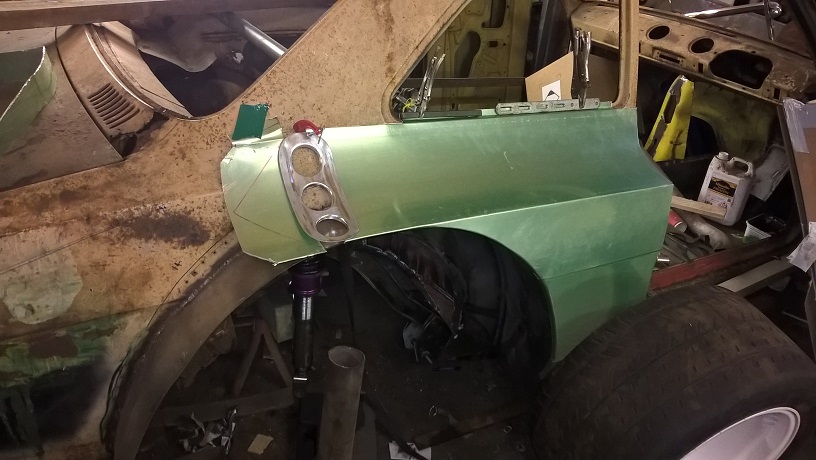
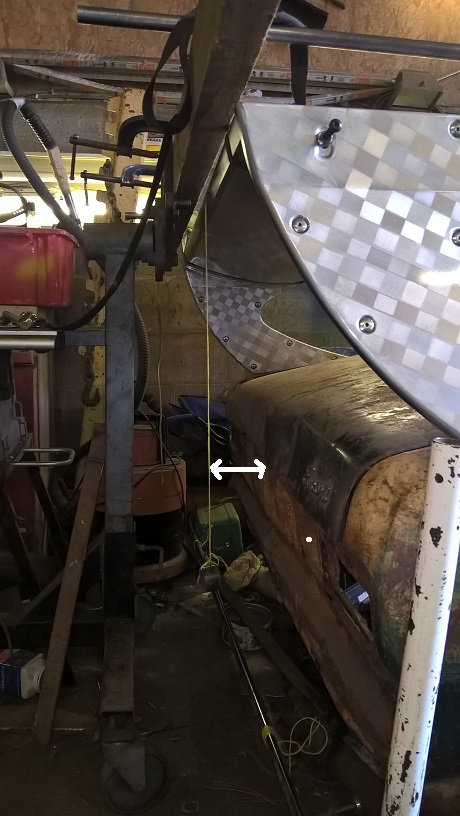
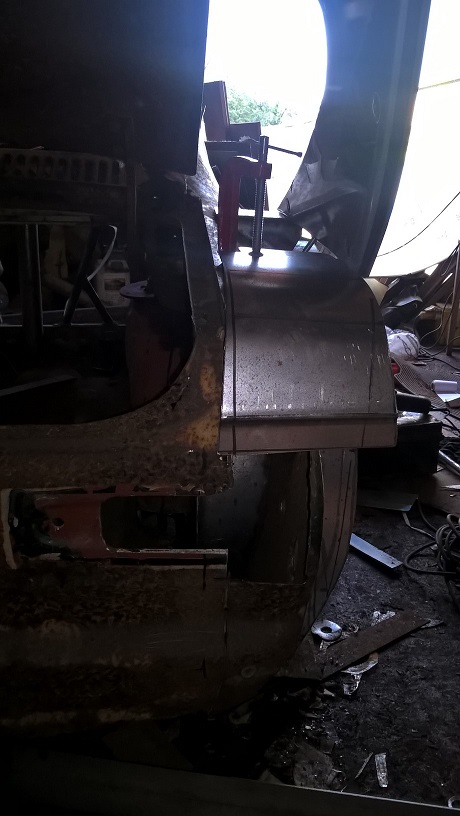
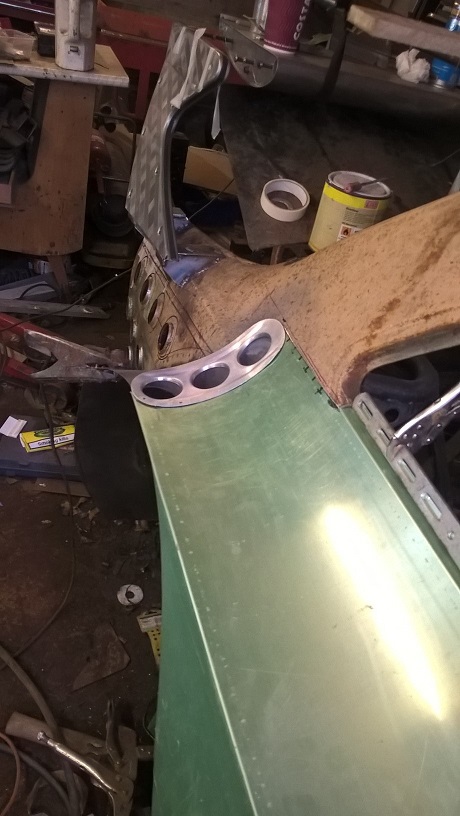
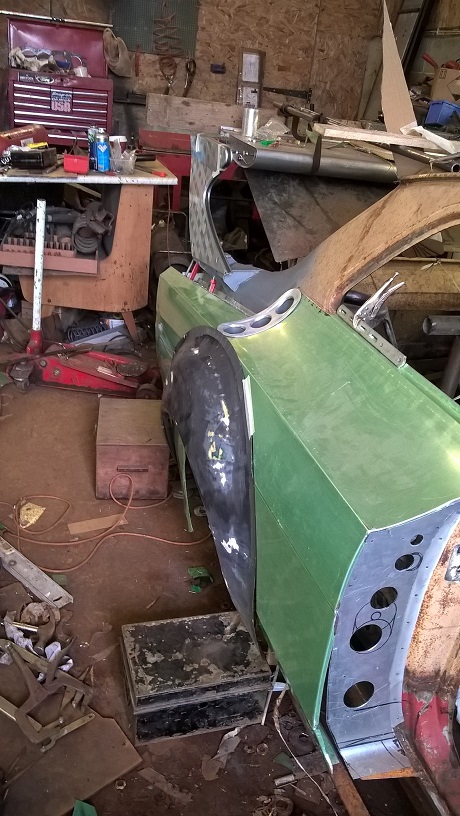
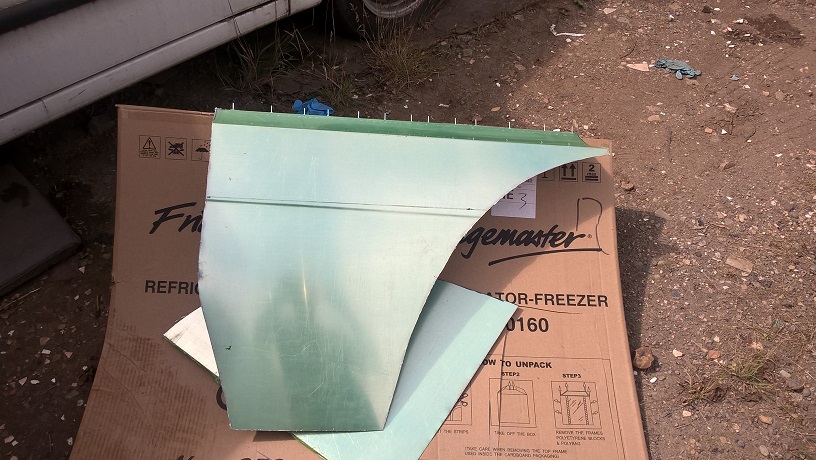
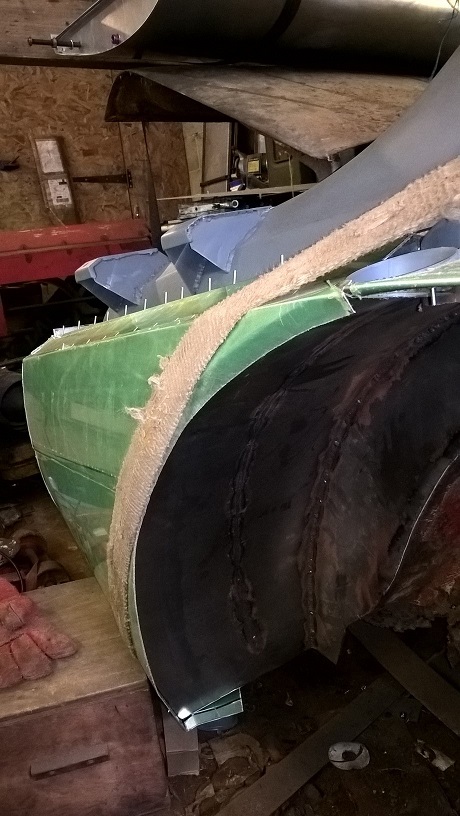
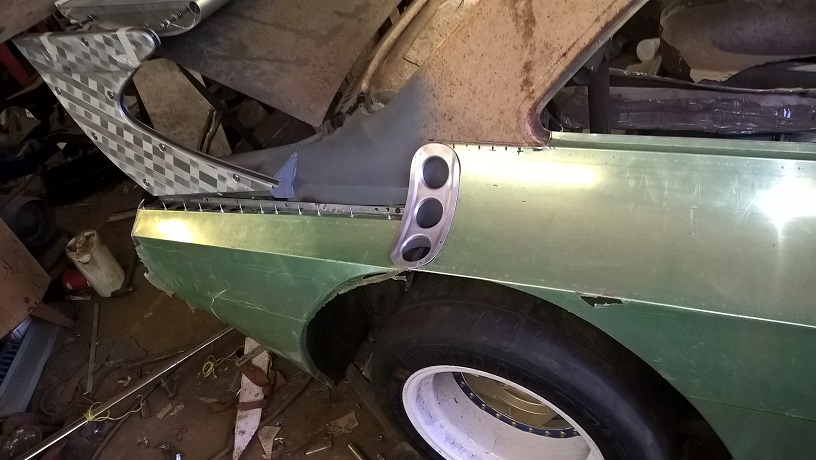
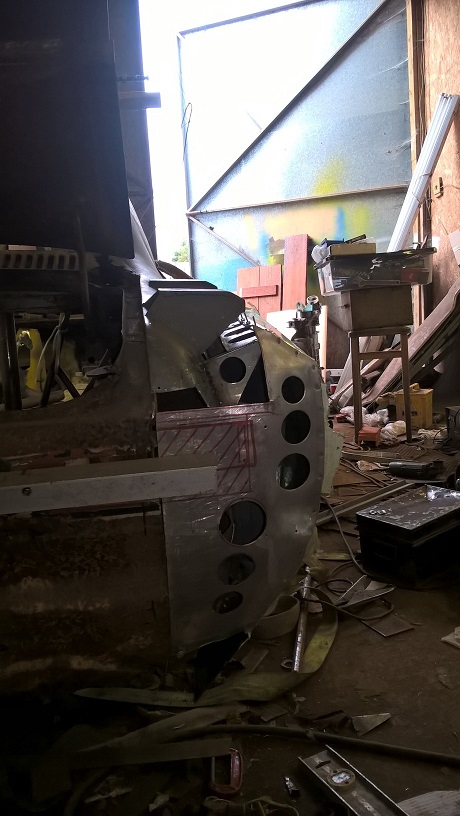
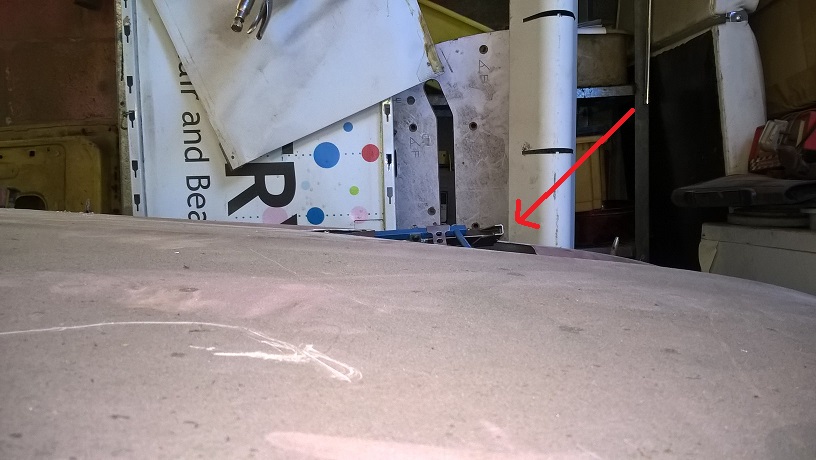
Bit more done...finished of the wheel arch vent/joining system....
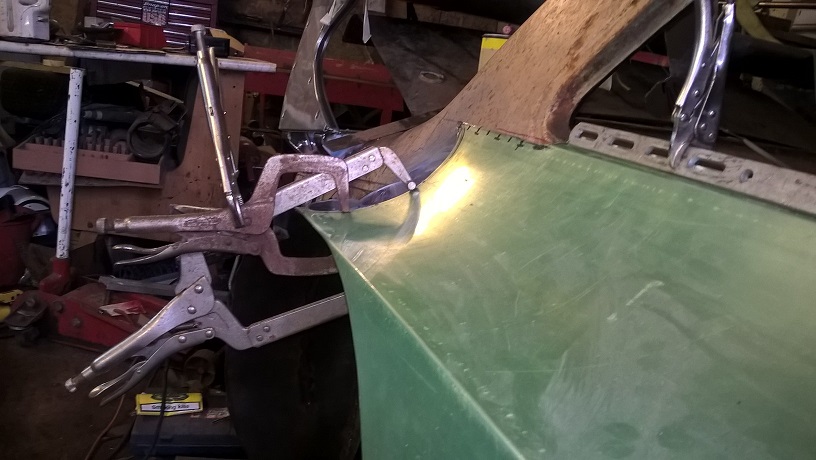
finished punching the 3 holes...cut some tube...shaped to profile and welded in position...i also made shaped gusset that fits under the new wing extension..this creates an external firewall and gives me a fining point...
drilled and temp fixed the wing extension to the gusset bkt
checking the fit of the cover...this will be fixed to create a clamp effect..
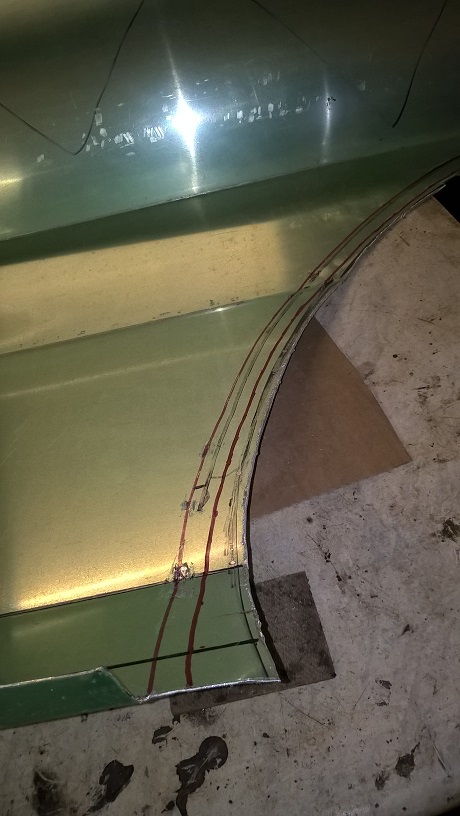
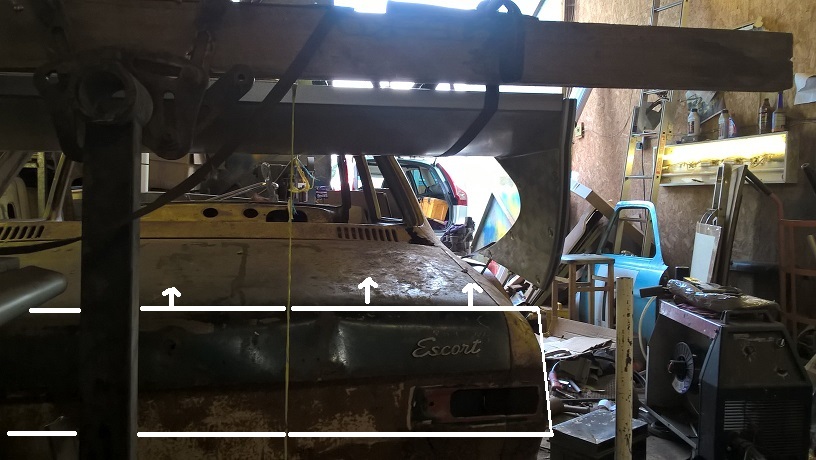
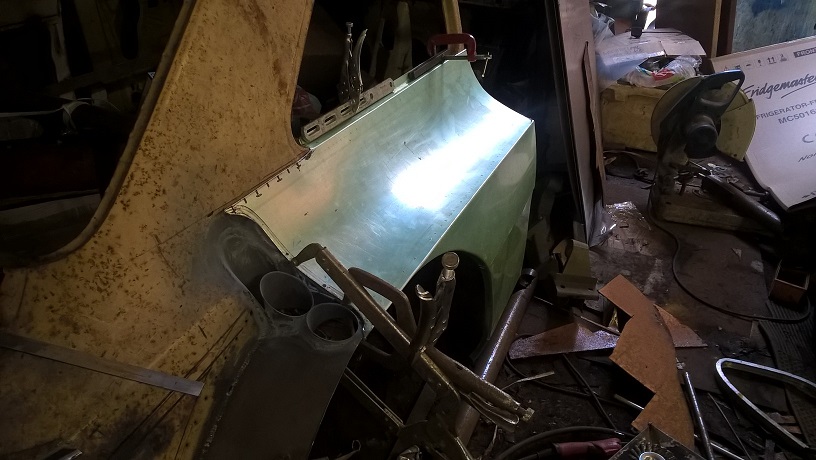
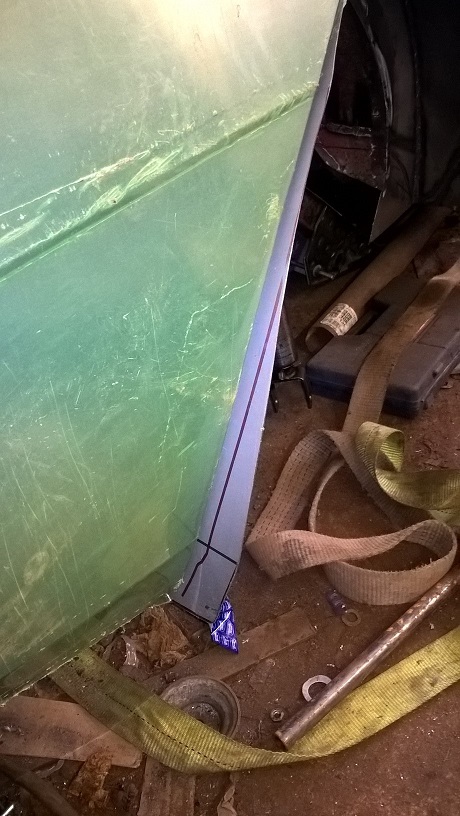
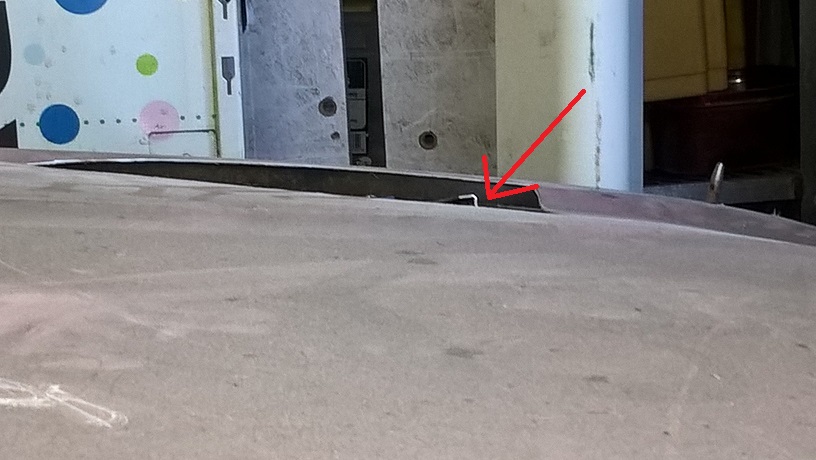
...started the rear panel...this profile matches the arch profile with a 15mm taper...marked and cut to shape..
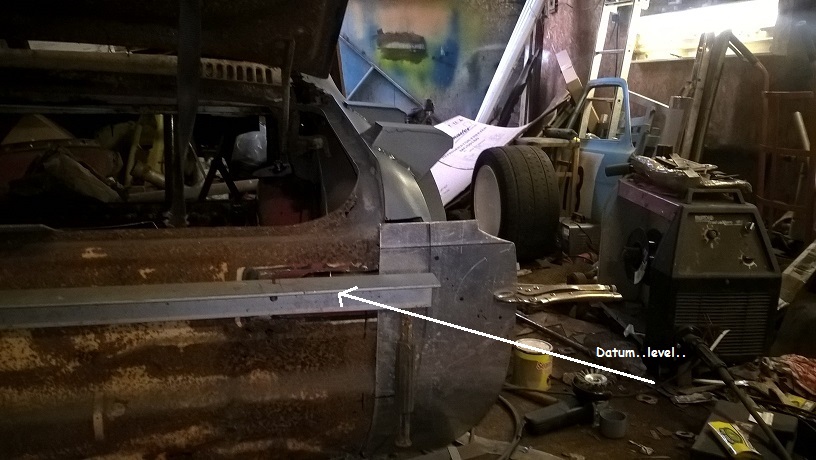
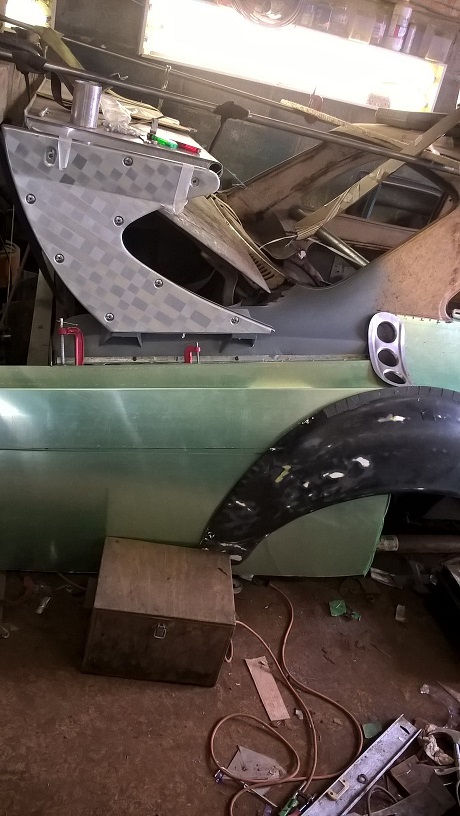
before any fitting i needed a datum point for parrallel and for rear lightlight positions...so bolted a length of angle through the light fixing holes...
new part clamped in place...
checking my profiles match...and working out my new rear light position...up 30mm and out 30mm....so i can make the top fixing gusset that will also house the rear lights..
.
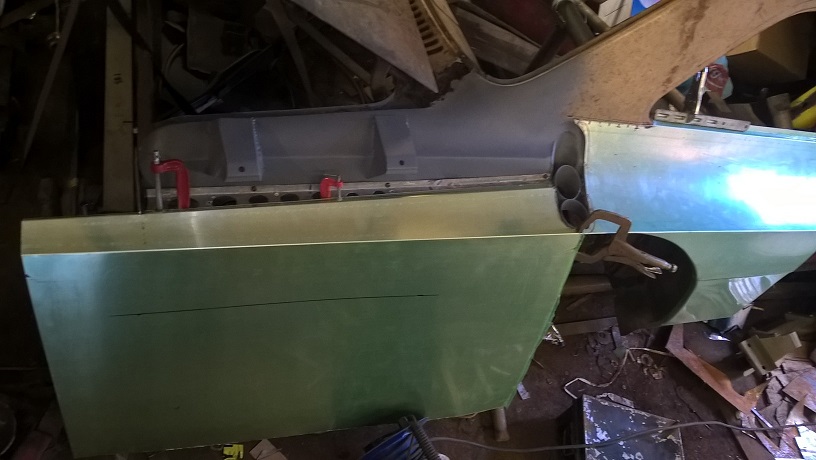
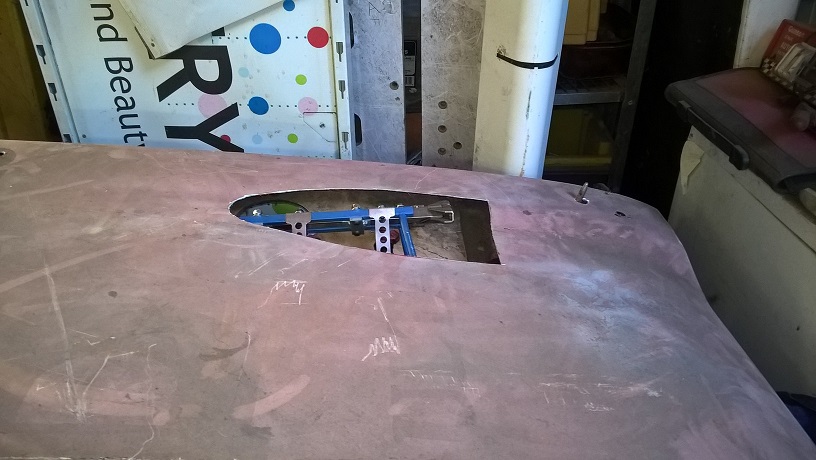
gave it a coat of zinc primer...finished the top supprt/ rear light gusset..
checked the wing rail still fitted....
all good....just got to make the lower gussets...then i can wrap the ally rear 1/4 panel
next time....cheers mark
Made a start on the rear panel...
i will let the pics do the talking..
Thats where i got to.....i designed it to copy the capri zakspeed rear end which is flat...the problem is it looks horrible on the escort...so i will put the curves back in the rear panel and give the swage line a bit more curve...kind of like this modified pic...
cheers mark
Clap Clap Clap.
Amazing
Cheers matt...it seems to be one step forward 2 steps back all the time...luckily i enjoy the challenge...
going to try the engine in the bay this sun to see if the stacks clear the bonnet and inner wing....fingers crossed
cheers mark
Thats amasing mate well done can not wait to see it finished
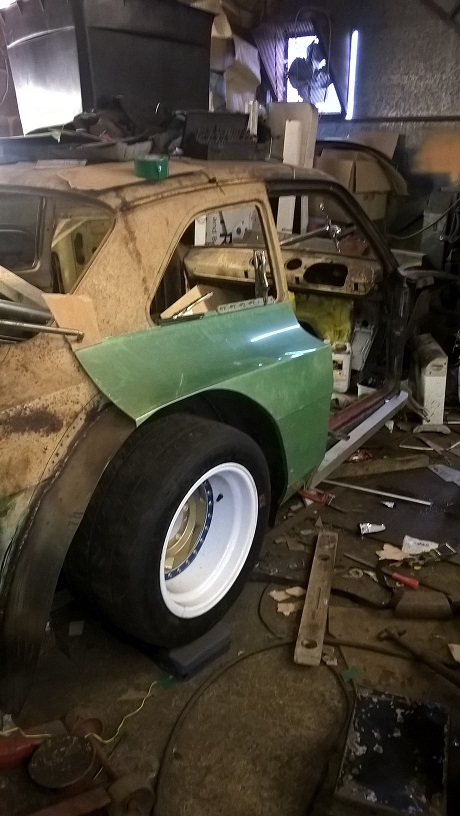
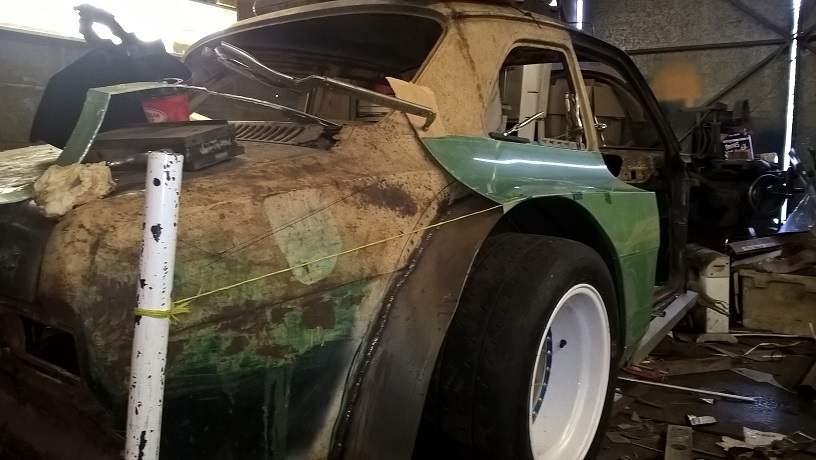
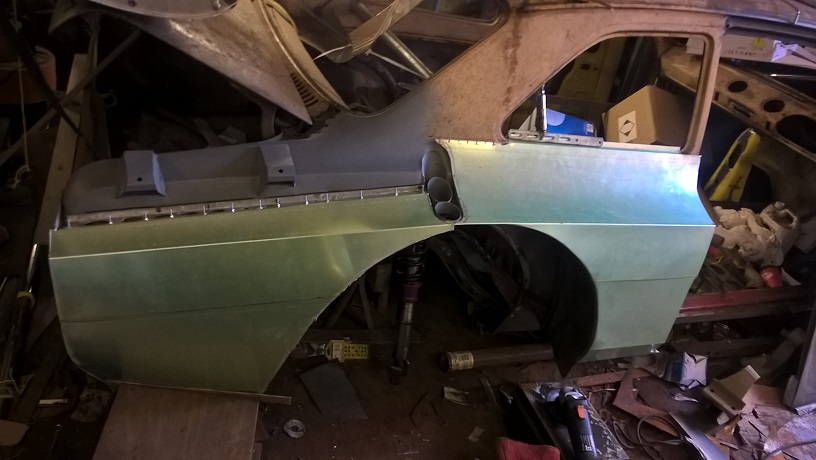
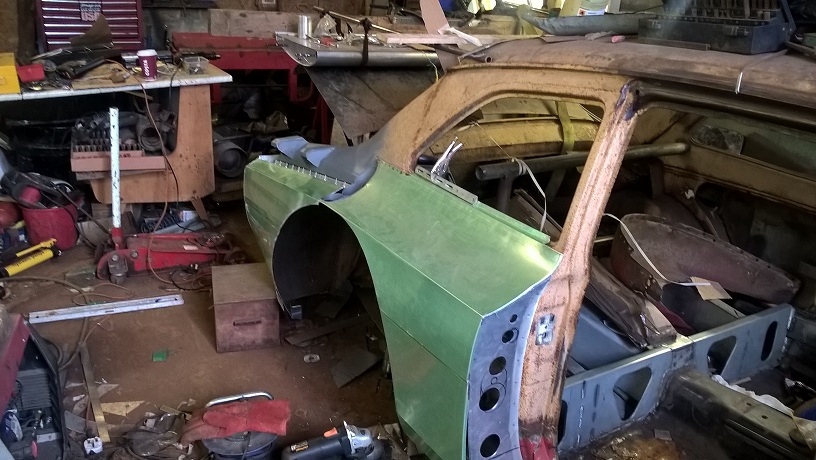
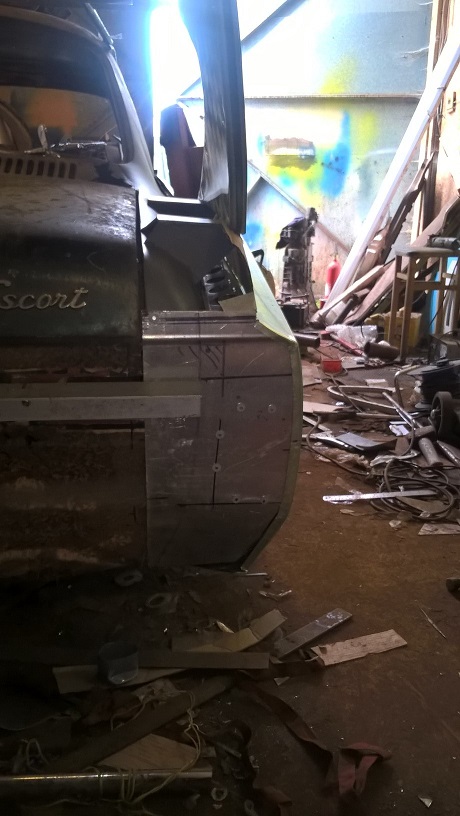
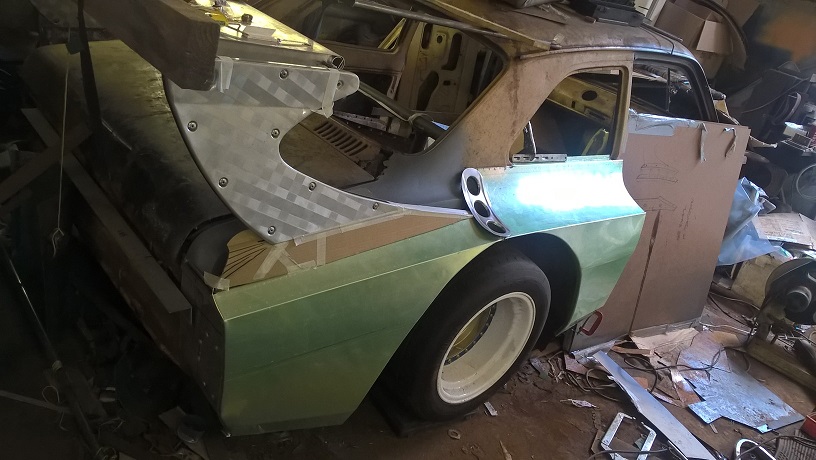
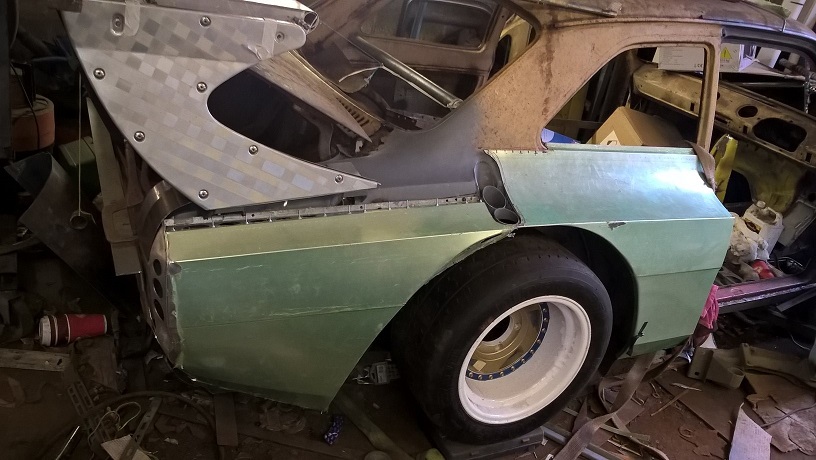
ok..so i wasnt happy with the last rear panel..it looked to angular and the lines didnt flow...so i redesigned it a little...i moved the panel line uo 55mm at the rear end...i made the complete panel 40mm shorter and i gave it the same countour as the standard rear end....i also changed the rear end plate ..i gave it the same curve as the standard rear end...and i also changed it to external fitting...i wanted it to look oldschool rivit fixing so i used clinch studs and slightly overpressed them in....of course you cant use clinch studs on a curve..so once the were pressed in i pressed them out ..and fitted each one in order using the nut to pull it back in its existing pressing...worked out great on the end...
i also made the rear boot/wing closing panel..this will be welded in place later....pics
I also moved the rear wing back 25mm...and set it at its lowest angle.....when its at its highest angle it would be level with the swage lines...
next up is the closing panel that fills the gap.. and allows for height adjustment access...
cheers mark
Great job!
I hope we can admire the finished result soon!
Me too....but maybe 4 years...if im lucky....projects seem to just go on and on....
I just spent last hour reading this with jaw stuck to table, i'm speechless
Awesome effort buddy, love it
Thanks...hope it inspires ...cheers mark
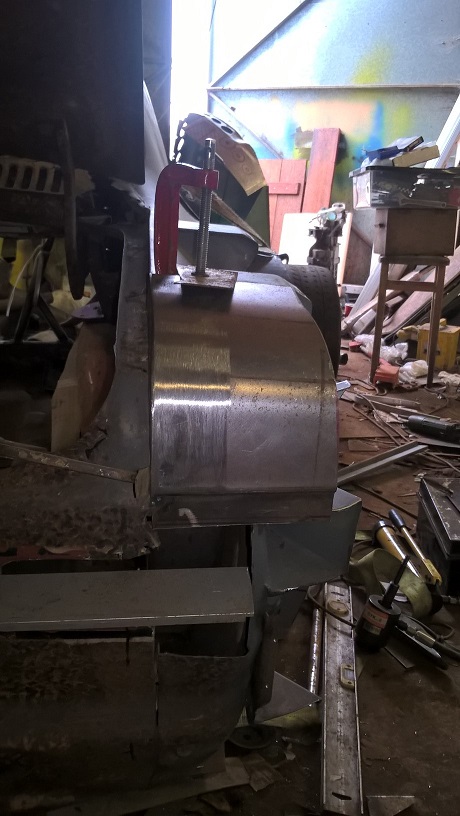
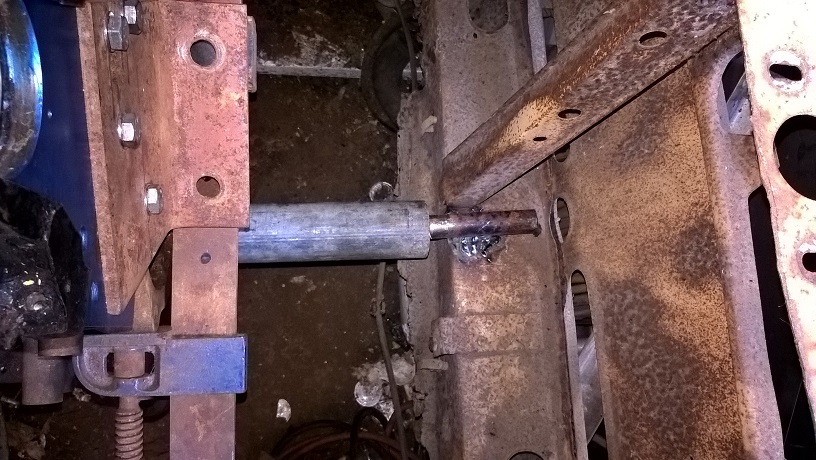
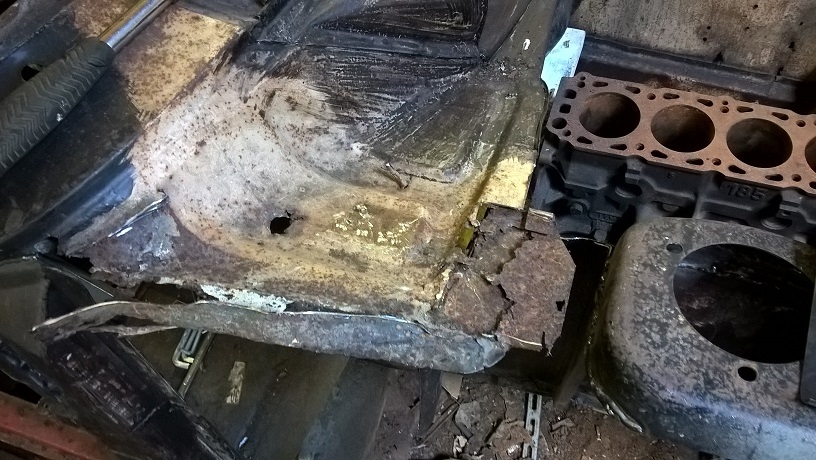
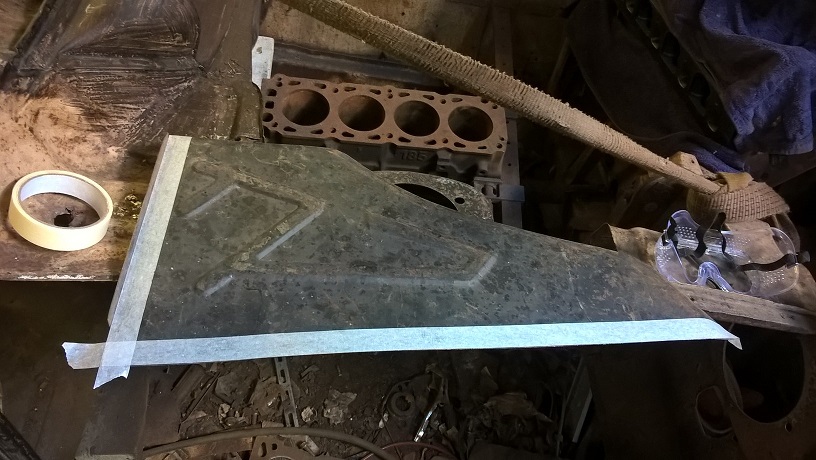
Something a bit different today...i moved to the front of the car....i want to chassis mount an old engine block ...and use the block to make my datum point jigs for when i cut the front end of and the strutt top fixings ect....
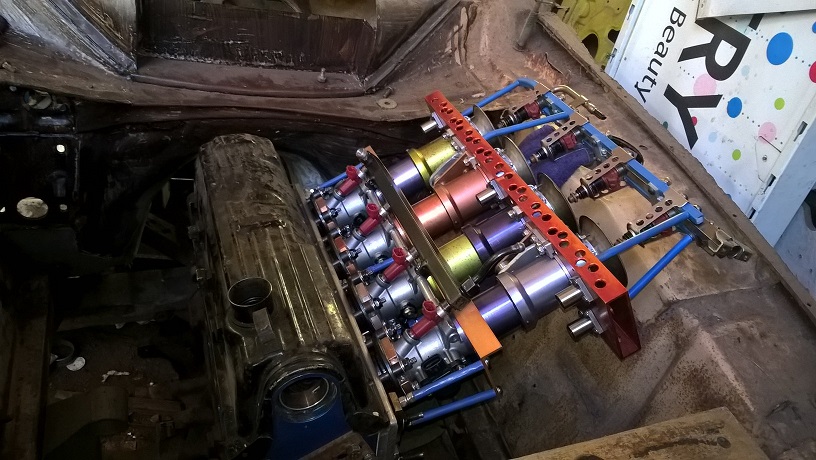
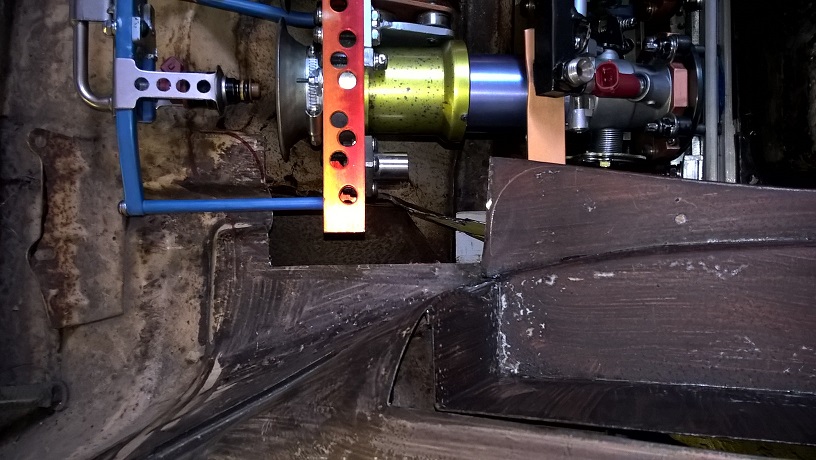
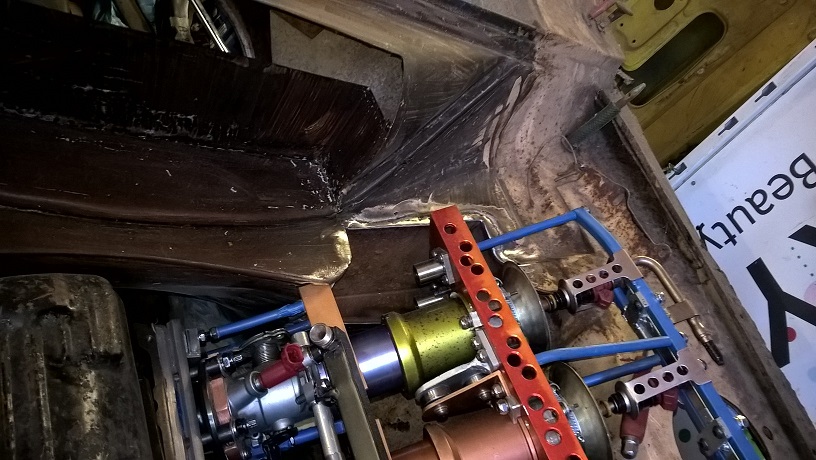
I also wanted to see how far my "Variable Velocity downdraught head build" wouldnt fit!!!!!!!!!!
i mounted an old scaffold pole in the crankshaft approx position ...and then sat the engine block on this.....Because i already no i will have to tilt the engine a few degrees to fit ...this allows me to rotate the engine around the crankshaft centre line......
you can kind off see the angle the engine will sit at..
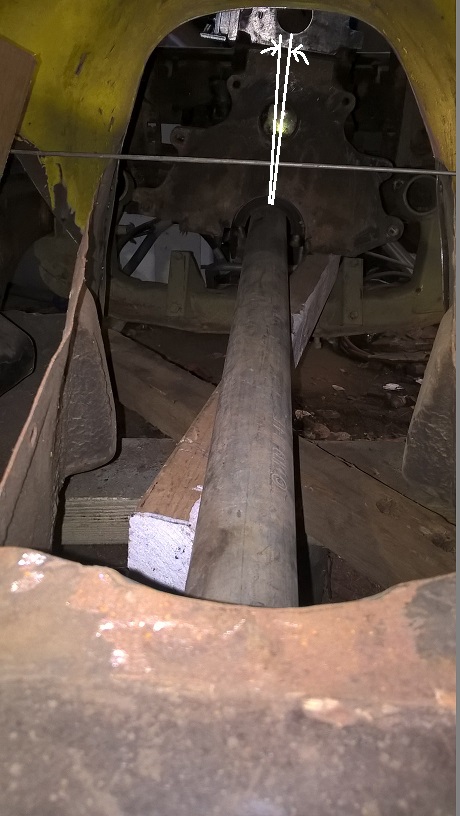
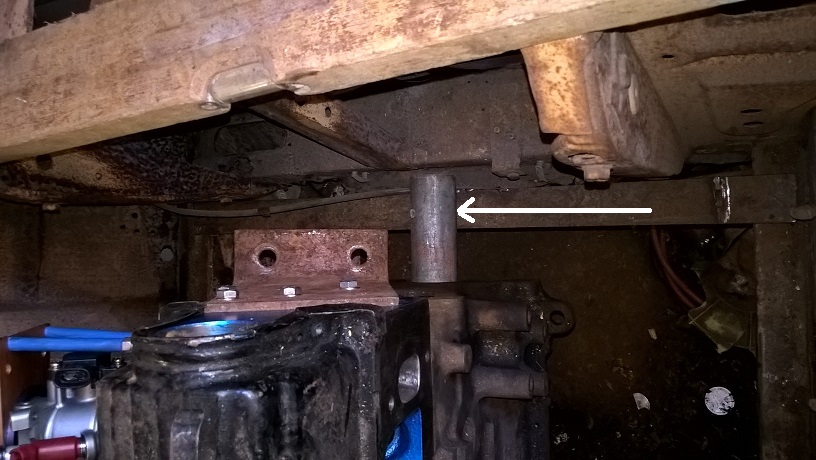
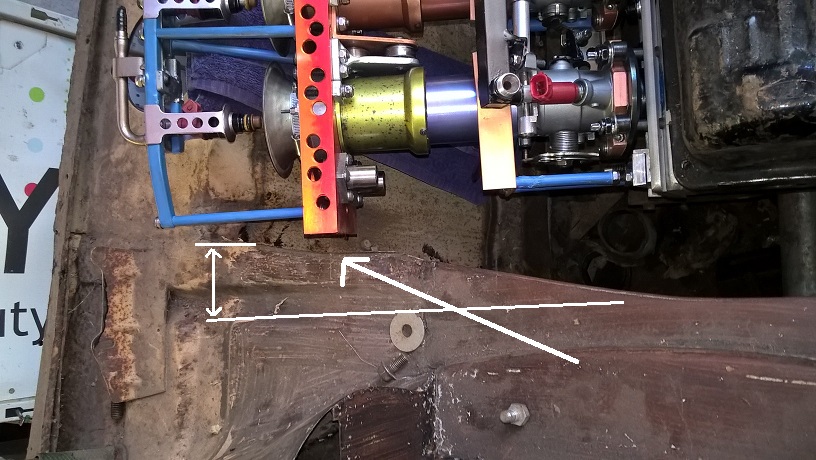
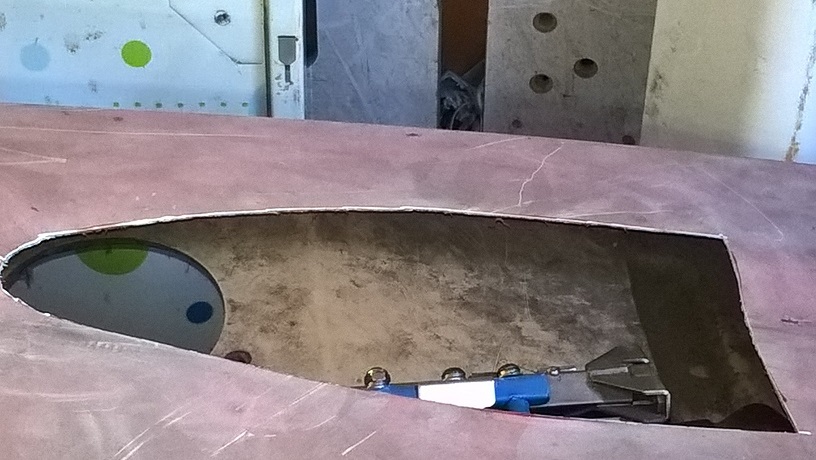
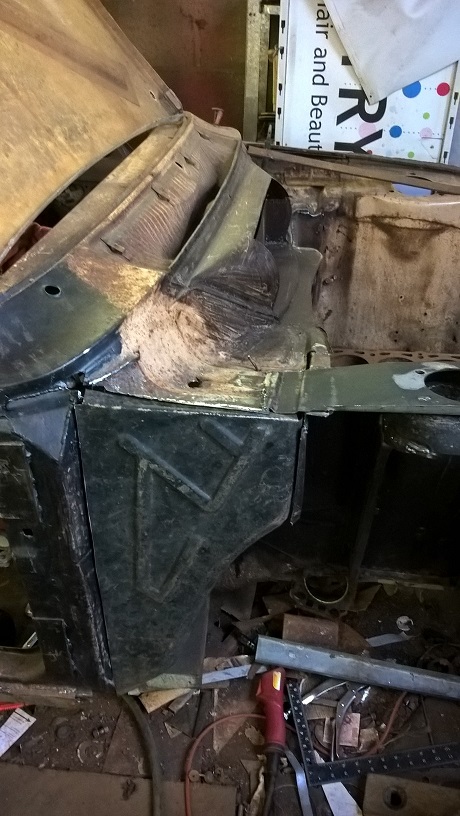
with the new head on and the stacks at full extension...it hits the corner of the bulkhead...the engine is sitting about 60mm to far forward...
this area to be removed..
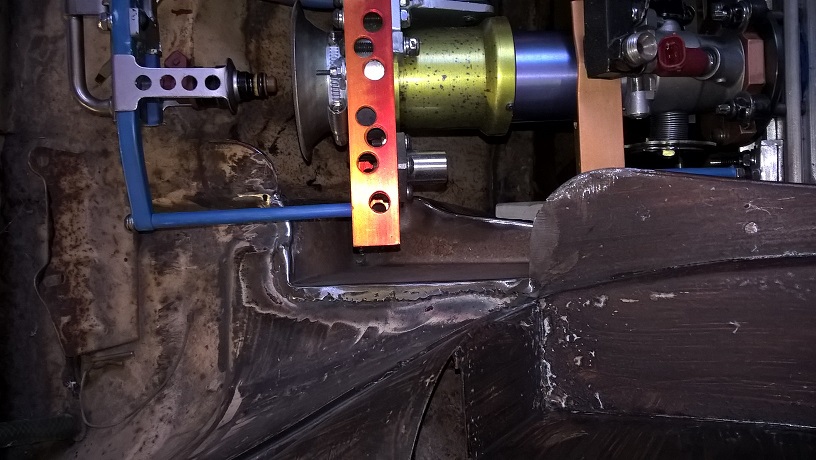
because its sitting to far forward the upper injection support arm hits (arrow)...when its moved back 60mm "ish" it sits in the lower curve...
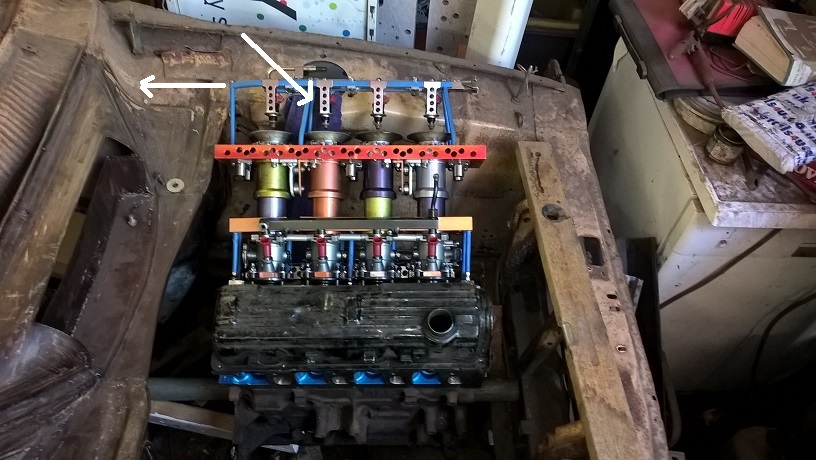
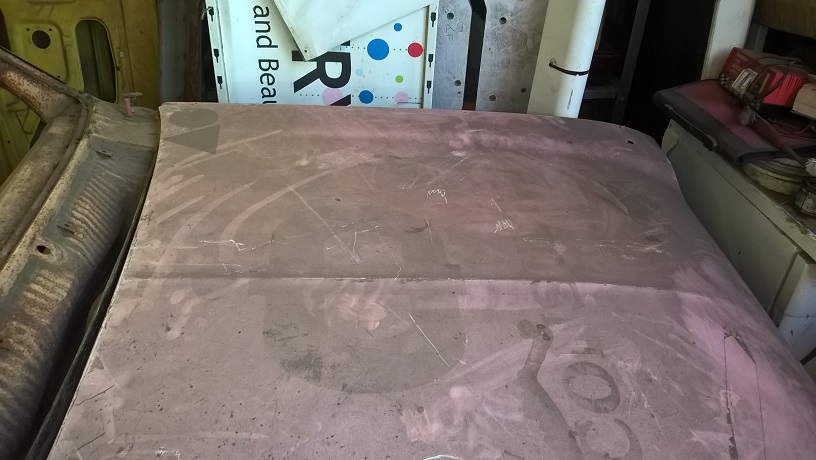
i tried the bonnet on any way just to see how far out i was....it fitted like a glove "on a foot"...but when the engine is moved back it will create about 20mm more cleareance...the engine is sitting a bit higher than it should be at the front because i need to move the scaffold pole down...didnt have time today...
and a view from the front....
cheers mark
Amazballs
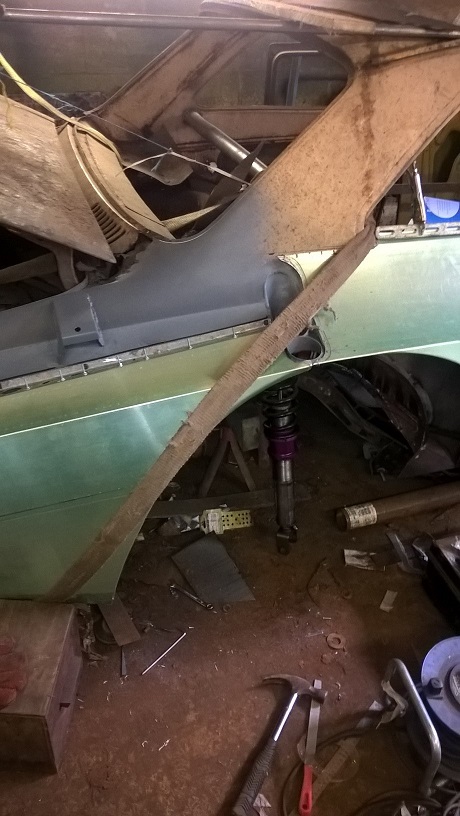
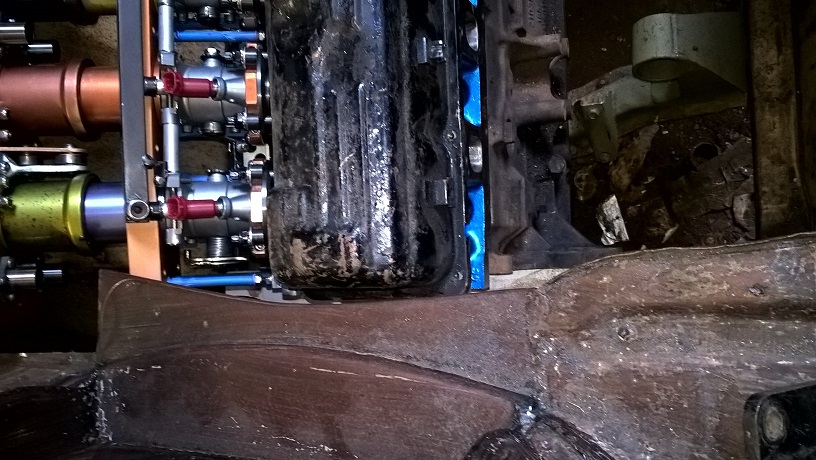
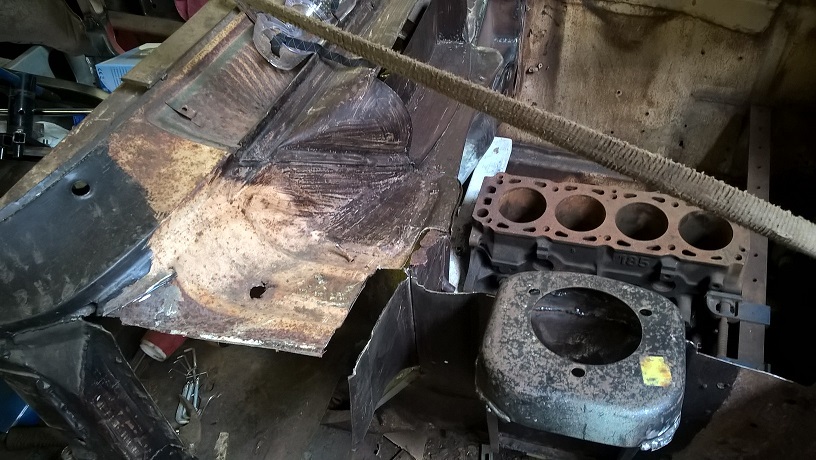
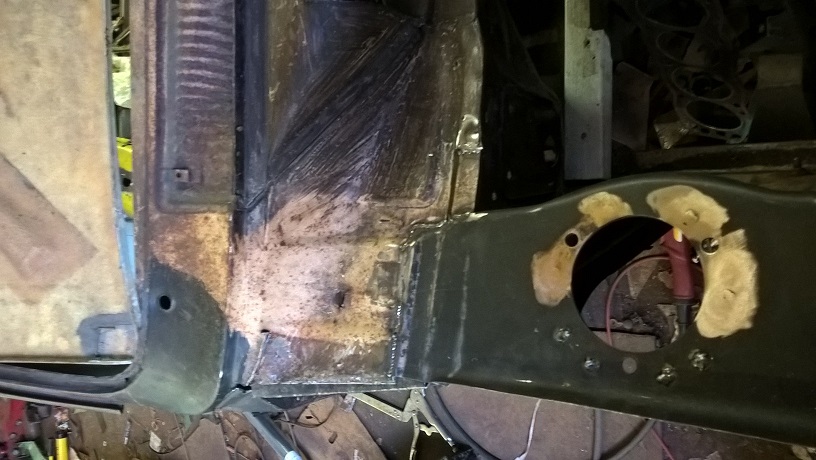
positioned the engine again....20mm lower at the front...where it should be...
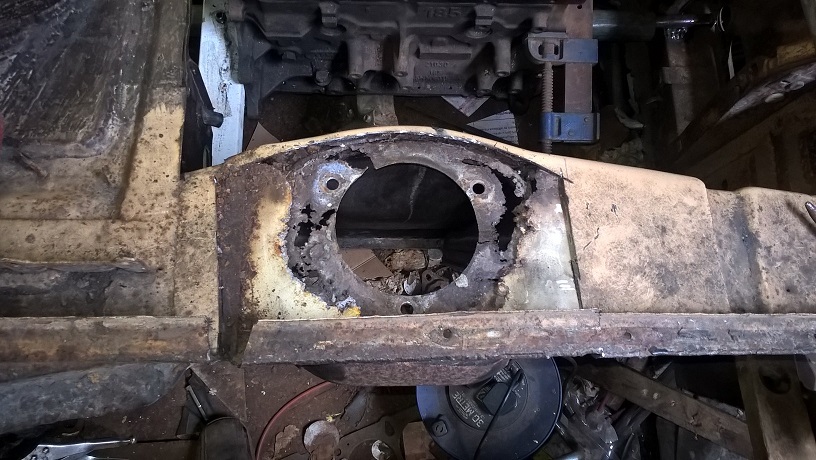
marked the bulkhead for cutting ..and cut a small section out...checked engine fit again....nearly there...
engine sitting back in correct position..
next make a box to fill the hole and to give the strength back to the bulkhead..
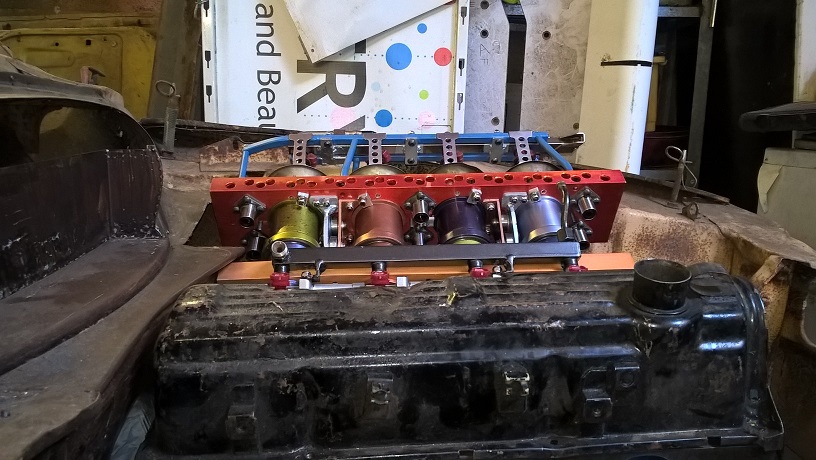
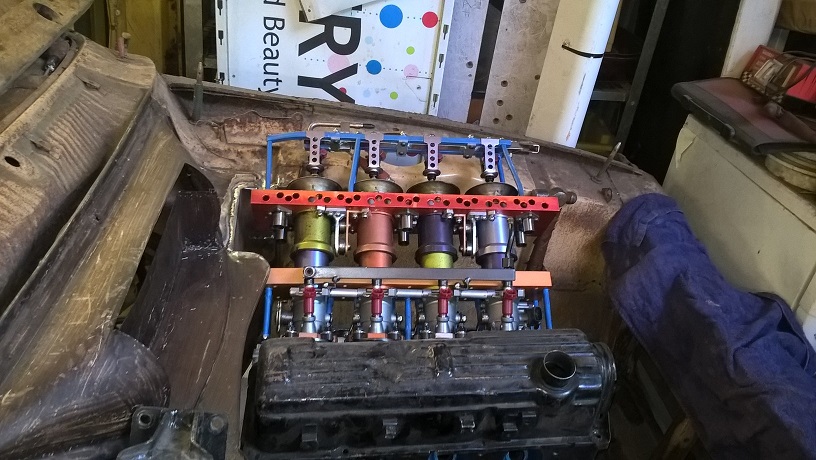
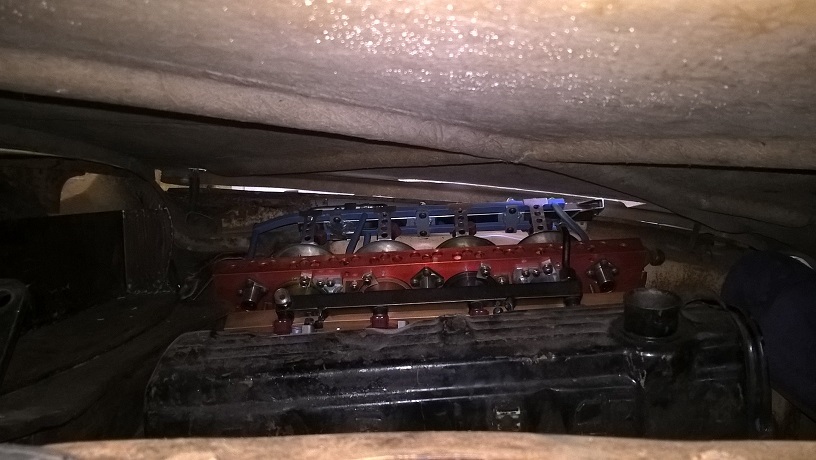
next tried the clearance on the throttle bodie movement...full extended and full retracted...all clears bulkhead and inner wing/suspension ...
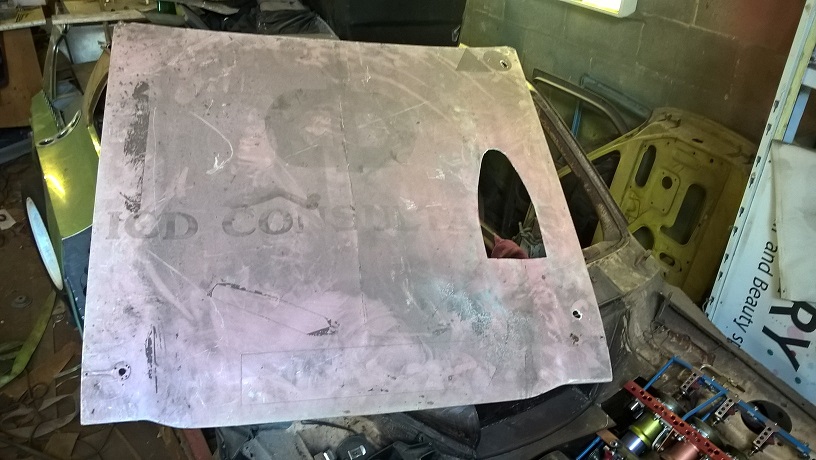
now time to try a bonnet...to see how far out we are...it was near...but needed a small bonnet hood of some design...
i decided a tear drop shape would ne cool...
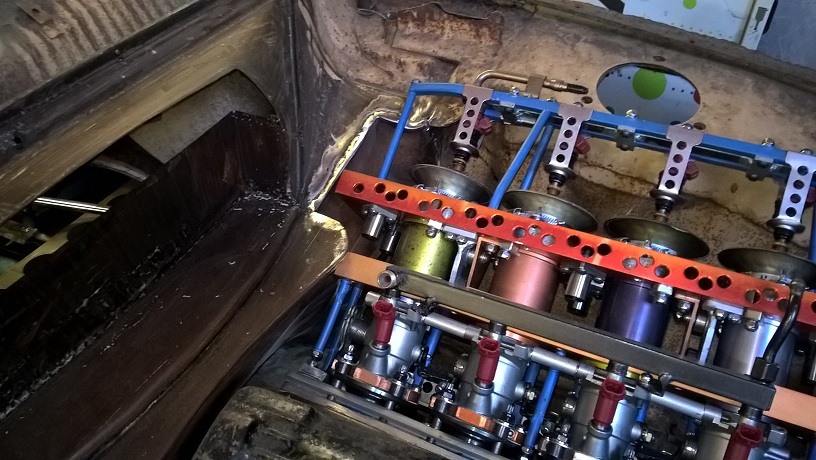
position of throttle bodies in "up" position and in "down" position...from side view...
and same view from above..
thats ok for now..i will be making an ally bonnet later...
shot to check for clearance under bonnet...
All for now...
Just noticed its my "1" year aniverssary build...wow...where does the time go...
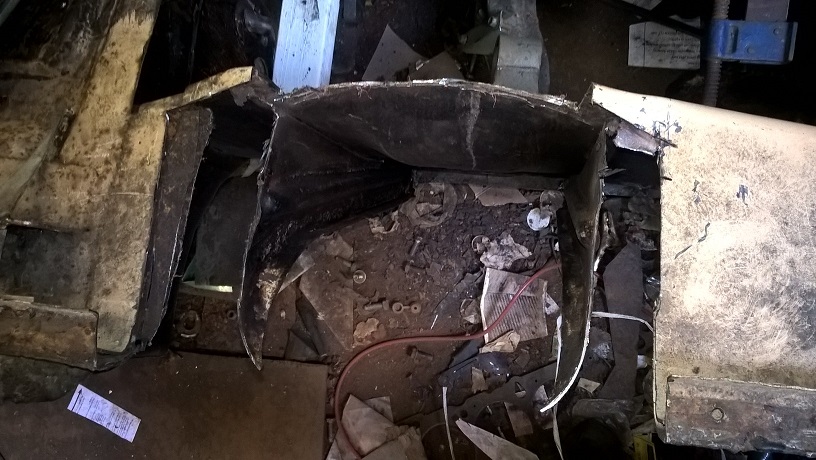
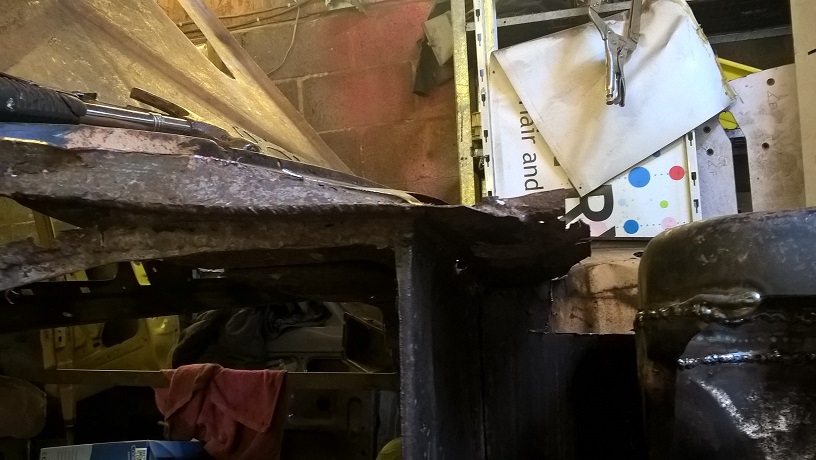
Started on the front ,getting ready for the tubed front end...before that i need to address the minor rust issues on the inner wing strurr/bulkhead ect ect..ect..
Plan of attack, make a jig for the strut position...cut the top plate of...replace with new...
Of course it had 3 top plates ..
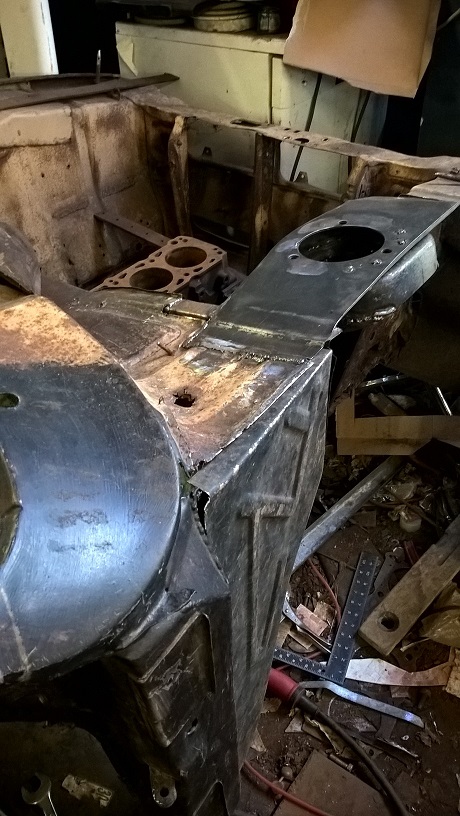
cut ready for inner strut top hat to be welded in position using the jig..
top hat welded in place..
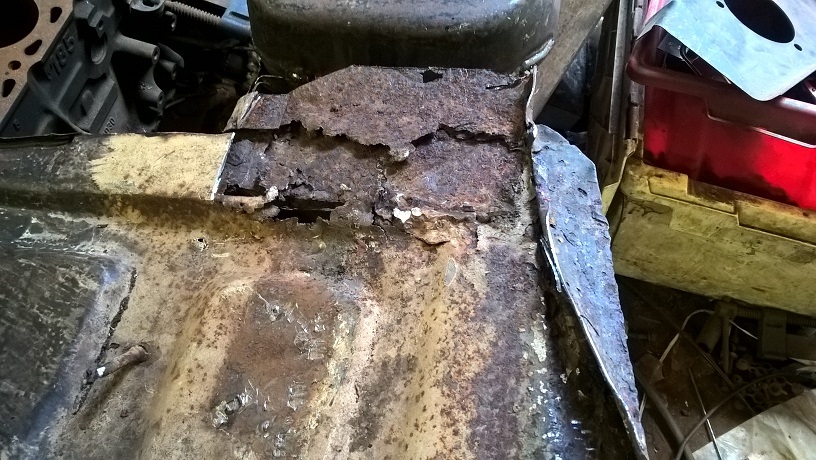
now rest of rust to remove.
I used a new strut top plate...but because i dont need any plate in front of the strutt tower i used the n/s plate on the o/f side but reversed..this gives me a nice long edge to reach the bulk head ect...
i also used a new side panel which i modified by removing an inch of the side to give a bit more wheel clearance and i removed an inch of the top by putting a bend in the opposite direction..this then reaches the scuttle panel..with no need for infill plates..
i made a new bulkhead upper lip...then welded the top plate on....the side panel is just placed for the moment untill i finish all the inner welding..
now ready for the wing rails /strengthening gussets ect..then tie it all in to the door post/scuttle...
cheers mark
Class.
The re-worked arch on the rear is much much better looking.
The throttle bodies confuse me. They move in and out??
I dont understand why?
1700cc MK1 ESTATE DONE. MK1 2DR STARTED
Thanks ,,i think they look better...the velocity stacks(trumpets'bell mouths) move up and down to increase or decrease the total overal length.its pulse tuning...
have a look on my other thread " down draught big valve pinto" theres a lot of info on there...cheers mark
Cheers
1700cc MK1 ESTATE DONE. MK1 2DR STARTED
superb work
just looked over the whole tread, fooking amazing job mark, i was looking at this at the start n thinking is this guy for real on what he is doing.....unreal what people can do when they put their mind n skills to it....love it....for 100 quid escort there is not much left of it.....
Thanks...i wouldnt do this on a good shell...but a scrapper deserves to be saved...and live again....if i ever finish.....cheers
Superb work keep at it
.
Need some updates mate.....
Matt
Amazing work, love the fact that the engine was designed first, then design a car around how wild the engine is... Kinda surprised it wasn't a convertible though....
Cracking work mate
 Posting Permissions
 Reply With Quote
.jpg)


.jpg)


Bookmarks