


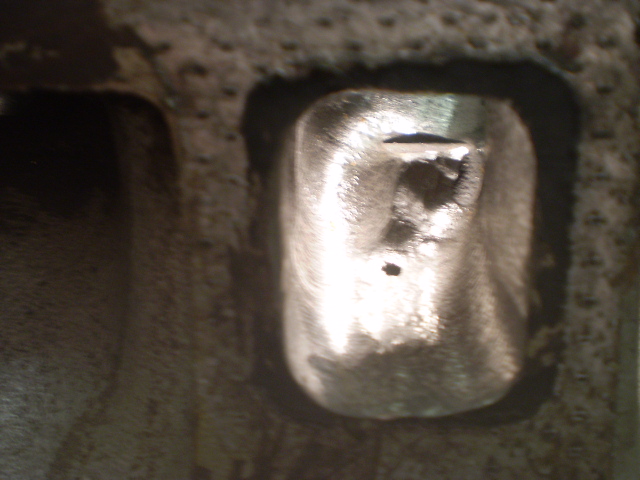
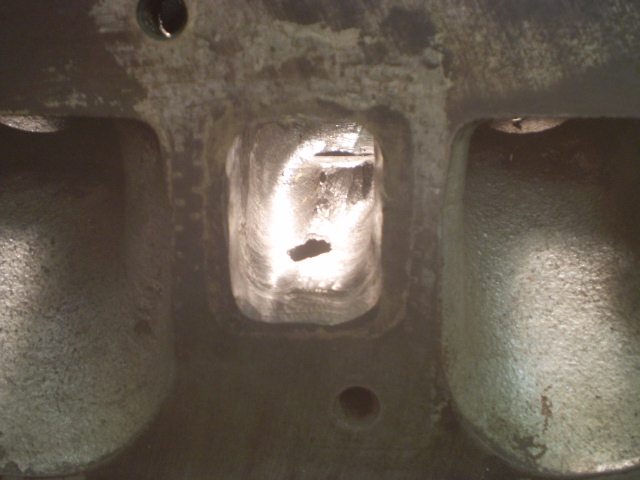
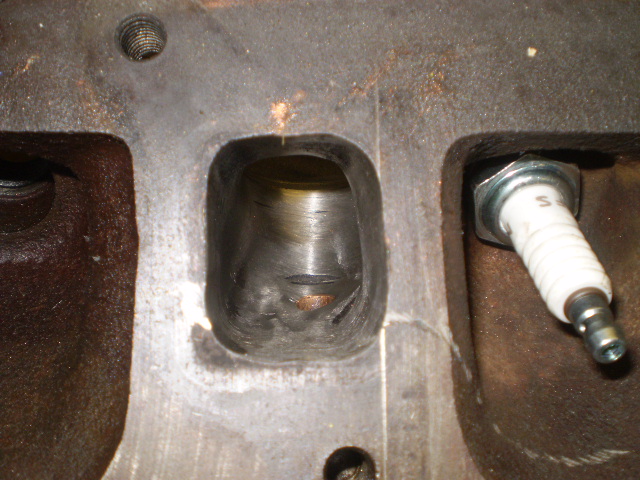
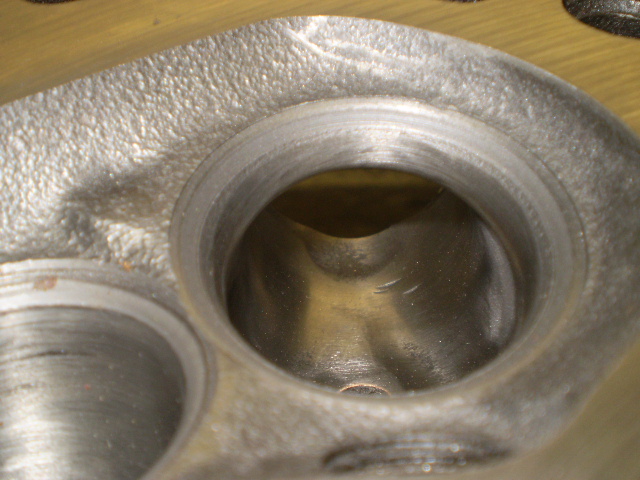
Here are a couple of photos of my first attempt at porting my injection pinto head, didn't exactly go to plan... straight into the water jacket in the roof of the exhaust ports!!
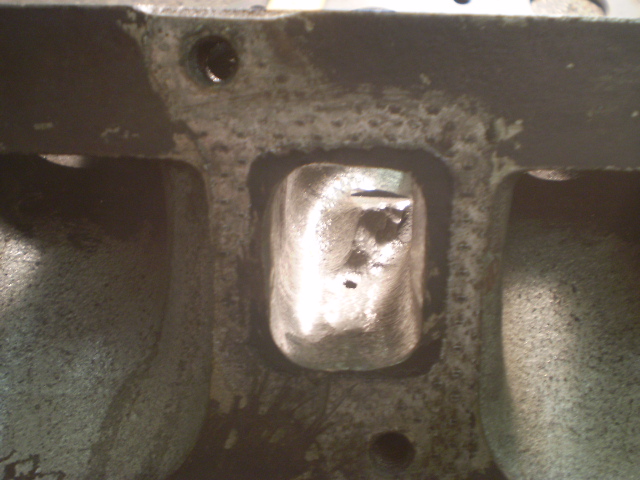

Here are a couple of photos of my first attempt at porting my injection pinto head, didn't exactly go to plan... straight into the water jacket in the roof of the exhaust ports!!
oops!
That should keep the bores nice and cool.
Oops indeed, in my inexperience I was doing all ports at once so very quickly lost my 'reference point' from a standard port, it wasn't possible to go through the water-jacket on my AR50!!
opps, i dont do much more than clean the port up in that area, the real restriction, is the guide boss and sharp turn in the port.
it may be you have a poor casting where the cores weren't properly aligned so that section of port was thinner than normal.
there is an old saying that goes " get it in, it will find its own way out" its still true today, ambitious reworking of exhaust ports rarely makes for big gains
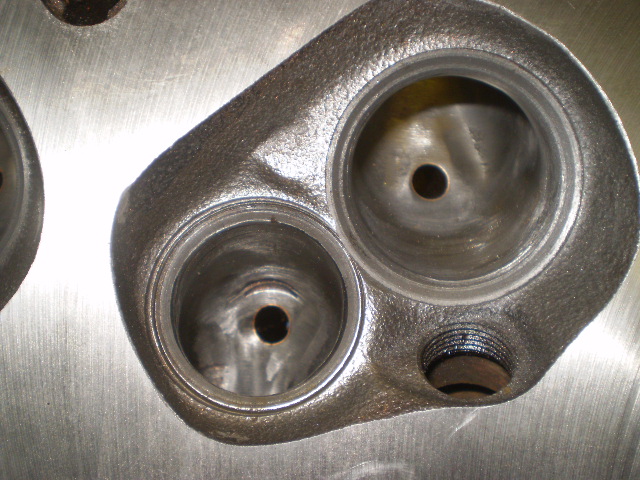
I was hoping to just re-shape the guide boss but it didn't go to plan. Fortunately I had another head so this time I've just removed the guide boss and taken a couple of mm off the side with the dog-leg all the way down to try and straighten it out, that and radius'd the short-side. Other than that i just cleaned it with a flap wheel.
Any of you Pinto tuning experts want a head to cut up???!!
how much work did you do on the inlet ports before the unfortunate problem with the exhaust? if you haven't done too much i will swap it for two or three runs on my superflow flowbench if your interested with the new head your doing, i live 3 miles north of scunthorpe
neil
Last edited by ncoll1; 19-04-2012 at 22:21.
I remember spending a lot of time with a milling machine in my late teens doing a Pinto head & then on the last port blending it in & breaking through........grrrrrr.....frustrated or what !! At that time, I just threw it in the skip & moved onto the next head casting.......on the second attempt we ended up with a nice job......eventually !!
Neil, you're more than welcome to the head, I hadn't touched the inlets so you can have free-reign on them. And 3 miles North of Scunthorpe must nearly be in the Humber??! I wont be doing much more to the other head but out of curiosity it would be interesting to know what it flows.
Shit happens, you're not alone
let me know when you would like to call up, the only time we have problems with the river humber is at spring tidesOriginally Posted by dollie007
neil
get some JB weld in there and plug up the holes and then dress it up with a flap wheel
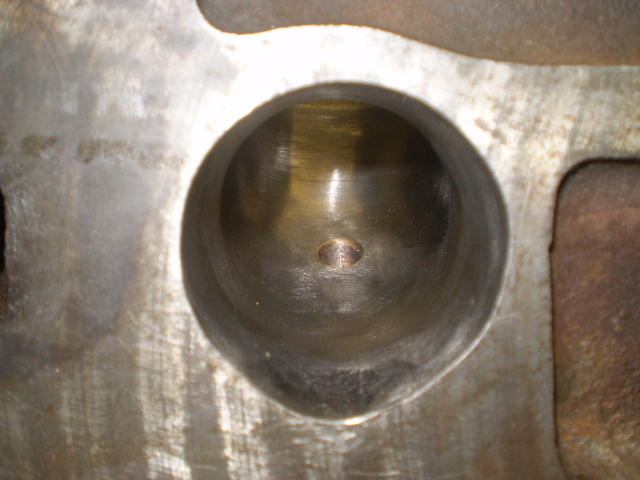
Well, version 2 was much more satisfactory, I'd go as far as saying I'm pleased with the result, might even get a chance to try it on a flow-bench and see if it flows or just looks pretty!!
2nd head already had K-liners in so I left them and just took out the guide boss completely
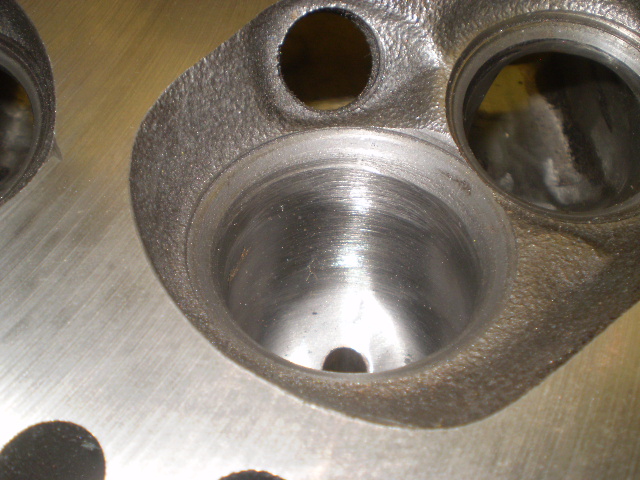
very pleased with my nicely radiused short-side turn
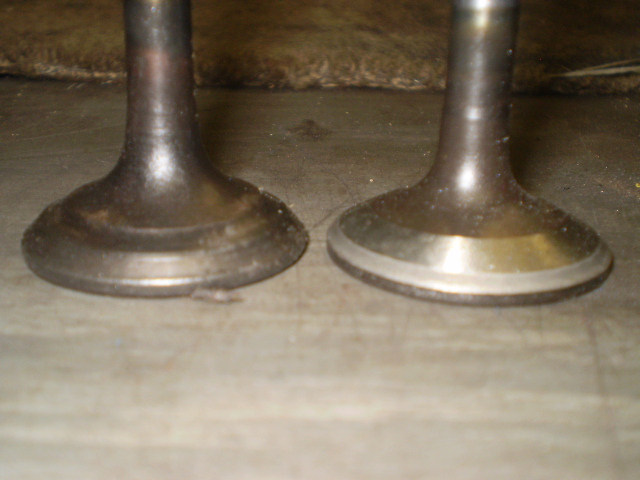
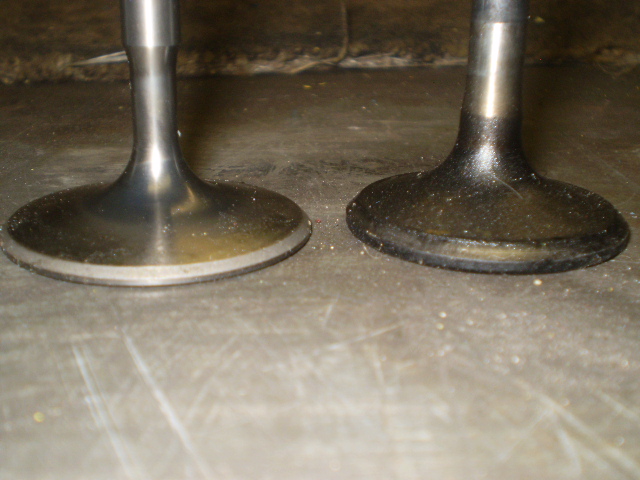
then I had the exhaust valves back-cut as per Mr Vizard's book
I think the REC inlet valves are a thing of beauty
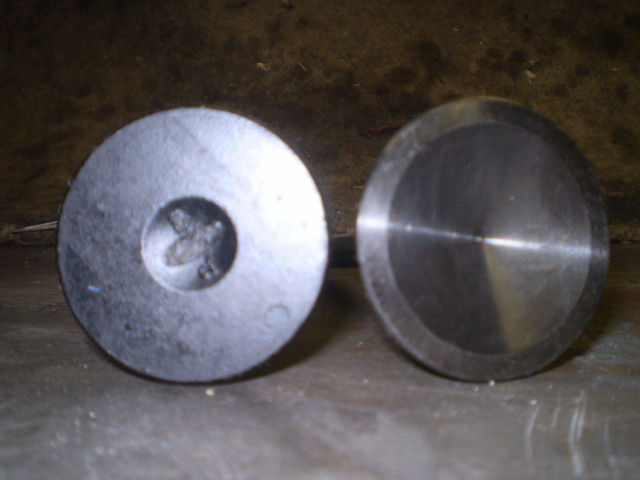
dished inlet valves are playing havoc with my compression ratio calcs for skimming the head
if anyone spots any glaring errors please shout up!!!
Oliver
Last edited by dollie007; 25-04-2012 at 16:46.
Do you not grind cast heads?? i thought you only milled alloy heads???
that looks like its come out pretty well fella
its not dead till it's buried!
T.I.T engineering. "Feel the power!"
The head on my pinto only has 1mm seats so looking at your pics there is still some that can be done.
Yes I'm pretty sure I could go further but it's for the road so I went very safe with 2mm seats, and I think if I was to go further I would leave it to the professionals as my talent is insufficient!!
The only place I would do more work is where the seats merge into the combustion chamber. Put in a scrap valve to protect the seat and grind away the ridge around the valve to get a nice smooth transition into the chamber.
Tom
To finish first, you must first finish
you can cut the damaged head to "see" the thickness and the shape of the water jackets to avoid a failure to your new project.
 Posting Permissions
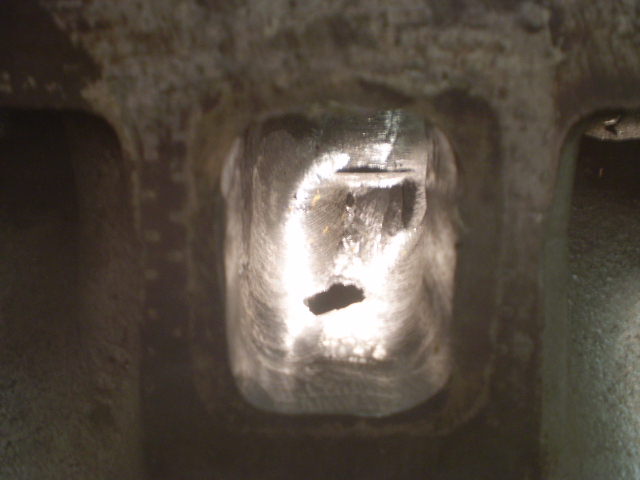
 Reply With Quote


Bookmarks