


Seeing as nearly everyone has a resto in hand I thought I would start putting mine on here.
Not a big a project as some of you, but thought I would share my "ups and downs" associated with my Cosworth.
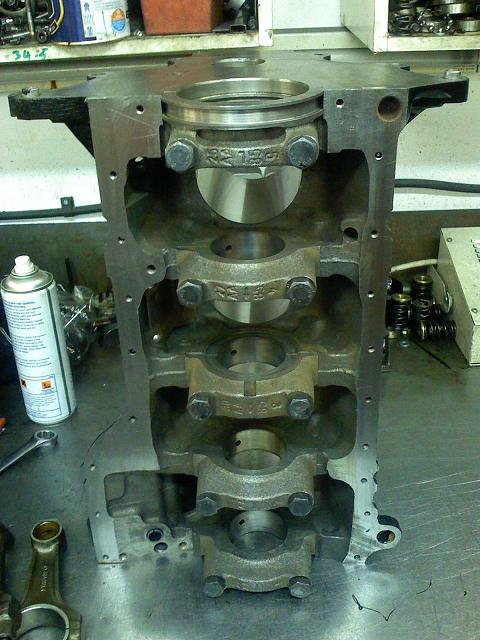
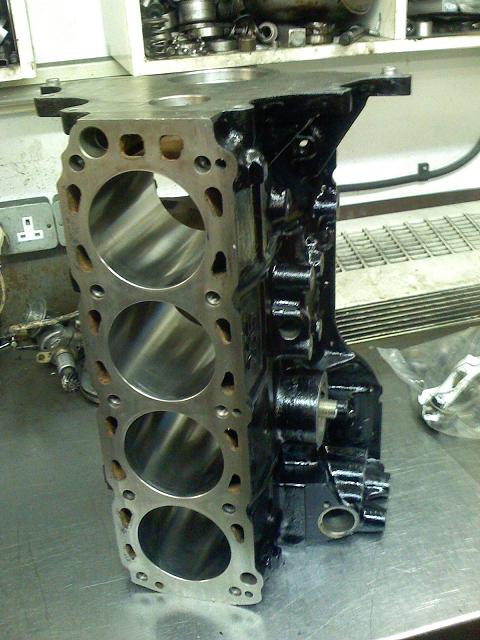
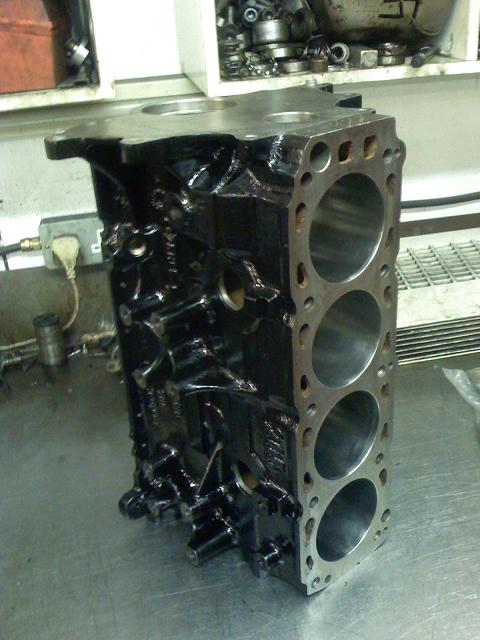
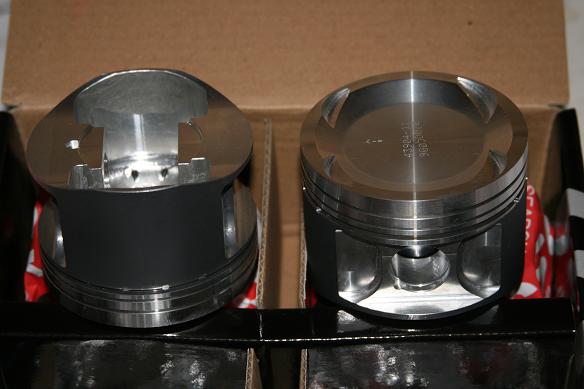
As most of you will know, I am having the engine rebuilt by Clint. No4 big end went and it was making a terrible noise!Anyway, the crank has been re-ground and new pistons (oversize) have been fitted along with another con-rod for No4 piston. This also means that the block has to be bored oversize too. All bearings have been replaced for new and obviously oversize.
I am also having the head "slightly flowed" with new valve stems fitted as well as the valve seats re-cut. Seeing as I am having the head flowed, I thought it best to have some nice shiny new vernier cam pulleys to set it all off!Along with a full set of new gaskets, of course.
This is the crank before the re-grind
And after the work had been done...............looks brand new!

That's the engine side of it and I will post some pics as soon as I get the engine back from Clint.
The other problem I had with the car was that it was always wet in the driver's foot-well, even when the car hadn't moved. So I decided, while it was off the road I would investigate where it was coming from. Took all the interior out, including the sound deadening from the drivers foot-well. It wasn't easy to find, but eventually (well, hopefully prayfound it coming from just under where the fuse box is. It's not actually coming from the fuse box itself, but where the two panels meet. I think the seal has perished and has started to rust........hence, cracks have appeared. It definately isn't a hole, so I dried it all off (with the Missus's hair dryer!
) and then used plenty of silicone sealer. It's a really bad place to try and repair it by welding.
While I was repairing the water leak on the drivers side, I had to remove the N/S inner wheel arch liner as I had had a "little" fire in the engine bay, before the engine went off to Clint's.
Wasn't too bad, if you can look at it like that. All I did was melt the inner wheel arch liner, steering rack boot n/s, some engine loom (all that's been sorted now) and the bottom of the wing.
After I removed the liner I had a good nosy under the inner wing and found a crack (no innuendos please!) with lots of rust.
Well, here are some photos of how I went about it.....................
This is the offending rust!
And here it has been treated to Kurust
I then waited for the Kurust to dry and then applied "weld thru" Zinc Primer
I made a templet fro cardboard and then transfered this to mild steel.
cardboard templet.
Mild steel.
the steel was slightly rusty, so I just painted it with Kurust and then cleaned the metal.
And here's the finished repair...............
After I had finished I sprayed all the inner wing in Crystal Blue paint. Not that you will see it, but at least I know it's been done.
I know it's not the best in the World, but it's a damn sight better than it was.
More to come...................
Scouse.


")


 PS3 Gamertag...........Scouse21
 Reply With Quote


 Doing something is better than doing nothing!


 Will do!


 tommy 2000

Bookmarks