


OK, as promised, and just to keep the picture lovers happy, here is an update of the the last few nights work.
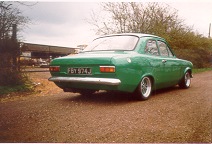
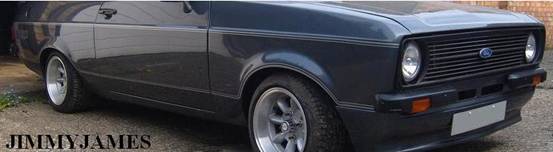
As you can quite clearly see, it's an Escort, and it has the usual complement of rot. I restored this car about 8 or 9 years ago, and since then it has been used as a daily car averaging about 12,000 miles a year, so all in all, I'm quite happy with the "minimal" work that is needed. Anyway, on with the pics....
Here we are with the area all cut out ready to tackle. The bonnet hinge bracket has also been removed due to the rot spreading into the joint where the bulkhead, inner wing and scuttle are joined. Removing the bracket also makes the job of repairing the drip rail much easier.
This is the same area shown from a different angle so you can see the extent of the corrosion. I dare say more will come out as we replace the 32 year old metal...
Starting to fill the hole now. Notice the use of galvanised sheet, this should increase the life span of the repair somewhat, although welding it is not recommended. Make sure you are in a well ventilated area, the fumes are heavy with Sulphur.
The splash panel is all closed up, and looking as good as Henry designed. Now for the inner wing and drip rail....
The new wing mounting band (Drip Rail) has been welded into position. You can see from the photo that the join has been made where the old rail rolls over. This was cut and the new rail scribed to form a butt joint, which was then welded from the outside. This has the nice effect of not leaving a bead of weld along the join which is visible from the engine bay. This should prove to be an invisible repair once the engine bay is painted again.
The worst job with drip rail replacement is the area at the back where the scuttle and rail are joined. Luckily, having repaired this area so often on so many Escorts, the original detail is easy to create. The new drip rails are designed to be welded on "as is", but their shape is not ideal for this purpose, so a cut is made, and the panel bent out to form a lip which can then be joined to the top of the splash panel. The whole area can then be treated with some brushable seam sealer on the engine bay side to give that original look.
More to follow....


 Reply With Quote
 Keep the pics coming.


 ) but I wanted to finish this particular job tonight, so the process of creation started....


 keep up the good work
  Gary
Gary


")


 That 15lbs could come in handy with all the extra metal being strategically inserted
 I wonderd where that was

Bookmarks