-
-
Re: Fostek's R&D department
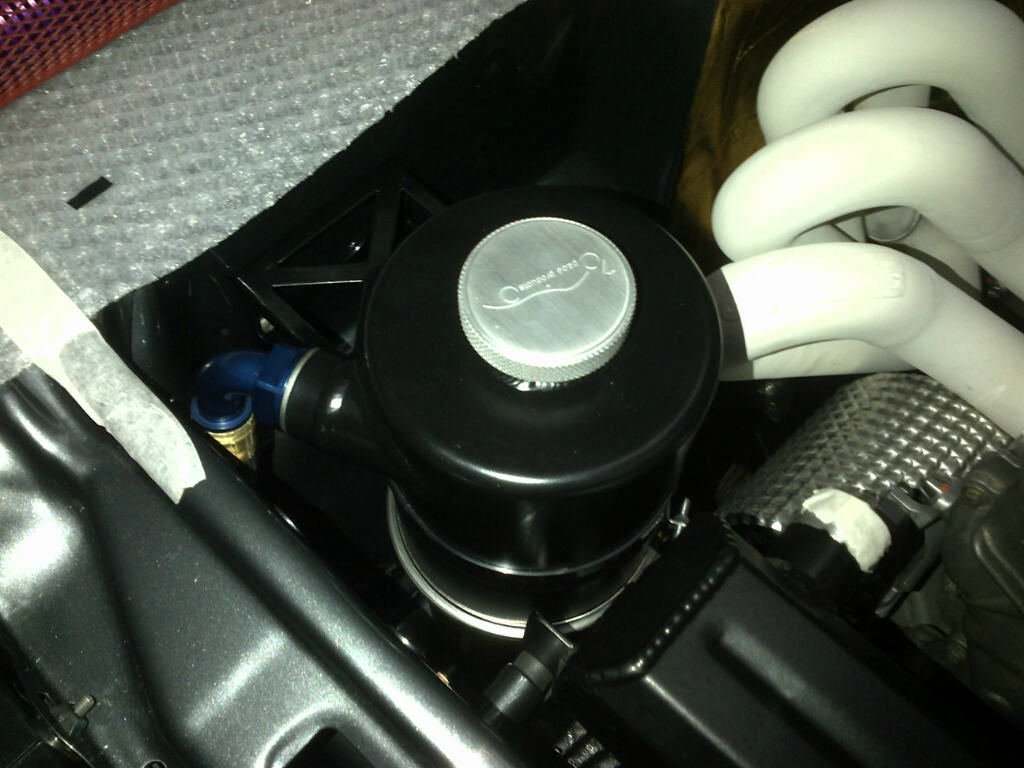
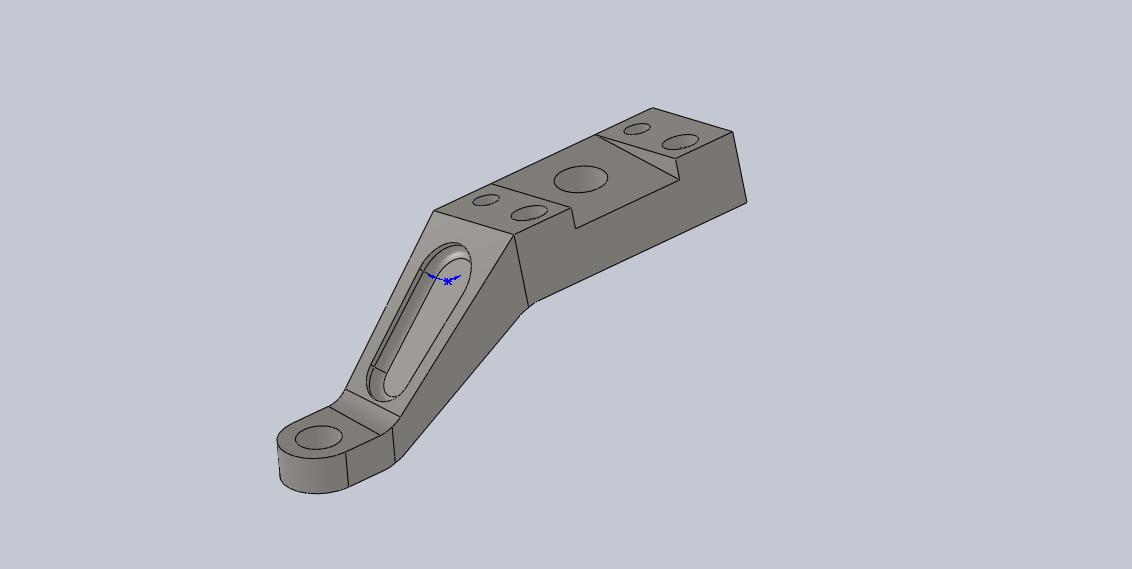
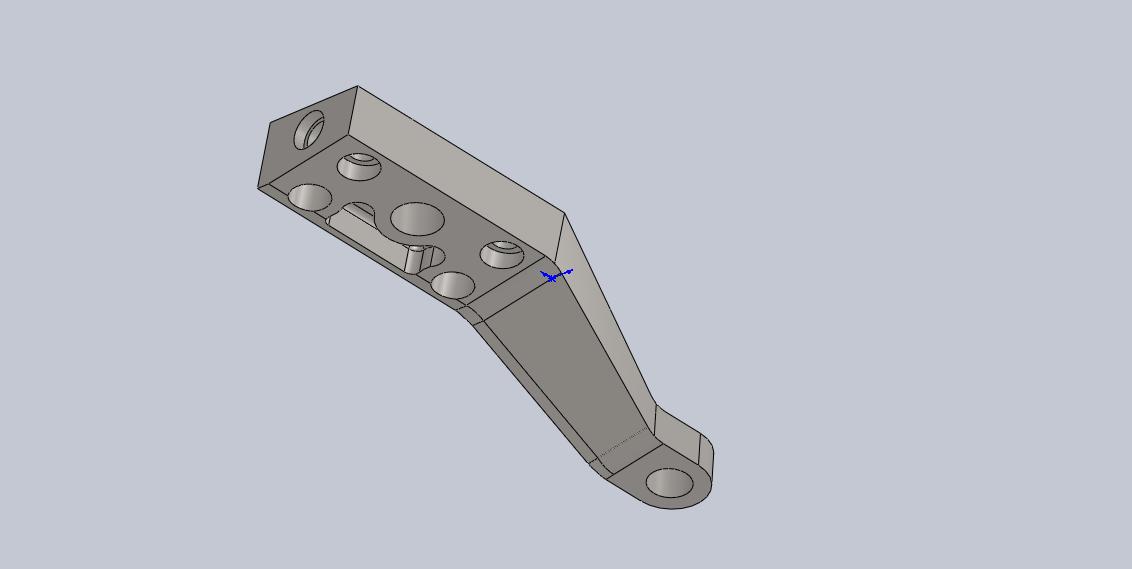
There's a prize if you can guess what these are: (Mark's not allowed to play)
wheres my prize
Comment
-
Re: Fostek's R&D department
whats the fuel pipe made from and where u buy it palDrive on
Comment
-
Re: Fostek's R&D department
Great looking car mate, keep us fully updated, mines in the process of full dipping and off to get all the fabrication work done, we have to touch base on my axel.
Comment
-
Re: Fostek's R&D department
Loving this thread....exceptional work guys, this car is gonna not only be the bees knees but probably one of my favourites
Comment
-
Re: Fostek's R&D department
Sorry for lack of updates; drowning in axles at the moment so this thing takes a back seat.
There's been a few more fairly important shiny bits arrived this week so I should have a bit of an update and some photos by the weekend.
I've also just placed an order for some rear dampers (that was a bit more complicated than I'd expected!) - I'm told to expect 5-6weeks delivery on these, and my plan is to have everything in place so as soon as they arrive, the axle can go in for good, and the car down on it's wheels. Only problem with this plan is I still haven't decided what to do about wheels!
Anyway, once it's rolling, it'll be going away for wiring loom, then to SBD for start-up/setting up, then it's hammer time
Comment
-
Re: Fostek's R&D department
out of interest how much taller is the sadev box when compared to a type9??Comment
-
Re: Fostek's R&D department
Which dampers did you go for in the end Tom?Comment
-
Re: Fostek's R&D department
I went for Reigers Paul, not that I've got any particular affiliation or preference for Reiger, but I know they're great kit and as I've already got Reiger on the front, it made sense to keep it matched... I discussed lots of options and settings with Mr Patai-Szabo of Reiger UK (great guy) including the latest Rebound Control Valve gubbins, which although a hoofing idea, and certainly an advantage on some surfaces, would mean cutting the tops off my turrets (at this stage in the build, that would bring on a proper, proper tantrum from me) and perhaps they just aren't needed for the sort of events this car is doing.... So, no RCV, just the normal 3-way adjustment, and a custom length for this chassis... Oh and some extra long flexi hoses so the reservoirs can go in the boot of the car - makes them easier to adjust in between stages (just lean in the boot rather than having to jack up the car) and stops the adjustment mechanism getting full of crap/water... So that's that! I hope they arrive on time as the car's booked in for wiring loom now!Comment
-
Re: Fostek's R&D department
OK, I promised an update, no major progress to be had but we're ticking a few jobs off the list...
Dry sump tank and radiator are now in for good. I had to weld a temperature sender boss in the oil tank, then it's been painted matt black to help radiate heat (needs some gold leaf on the side nearest exhaust, still) I was particularly happy with the mounting bracket (thanks Flintec) - laser cut and CNC folded from aluminium sheet, welded, powder coated, bolted to inner wing... You would not believe how strong and light this is, just what I like Now all that's left is to sort the oil tank breather. That got a bit complicated because of how close the top of the tank is to the underside of the bonnet, now ordinarily I'd have about 35mm to play with but 2 things gave me a headache; I misunderstood how big the breather hose has to be in order to not cause a restriction, and also that I've got something "different" up my sleeve with regards the bonnet, meaning there's a lot less space than I'd first thought... Never mind, nothing a bit of turning and welding won't sort out! Watch this space...
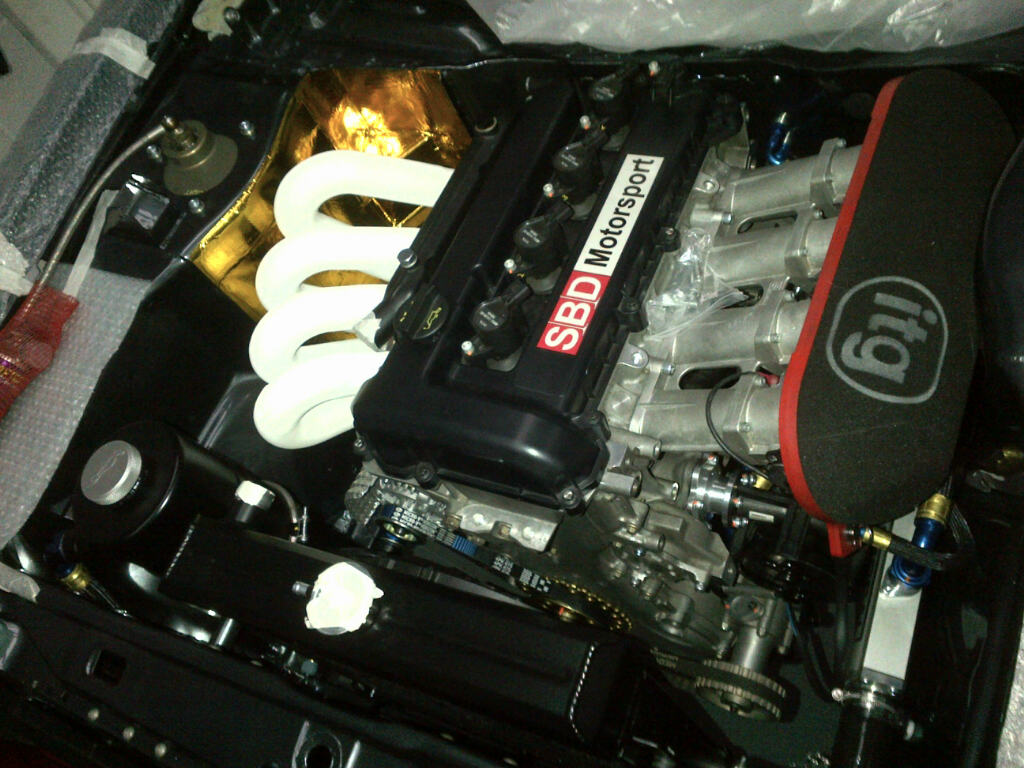
So apart from the fly-by-wire throttle motor, and maybe a strut brace, that's the engine bay pretty much complete...
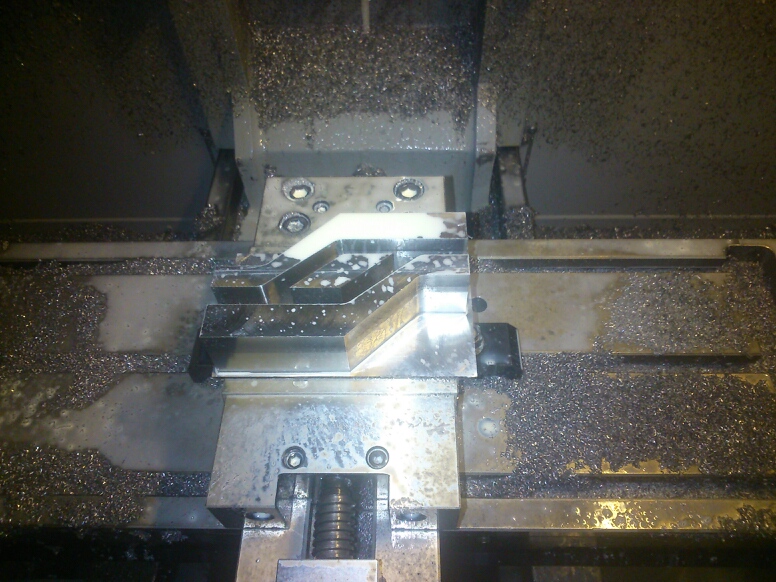
Anyway, some shiny bits arrived. I can't give too much away at the moment, but I think you can tell that this is an upright, complete with stub axle;
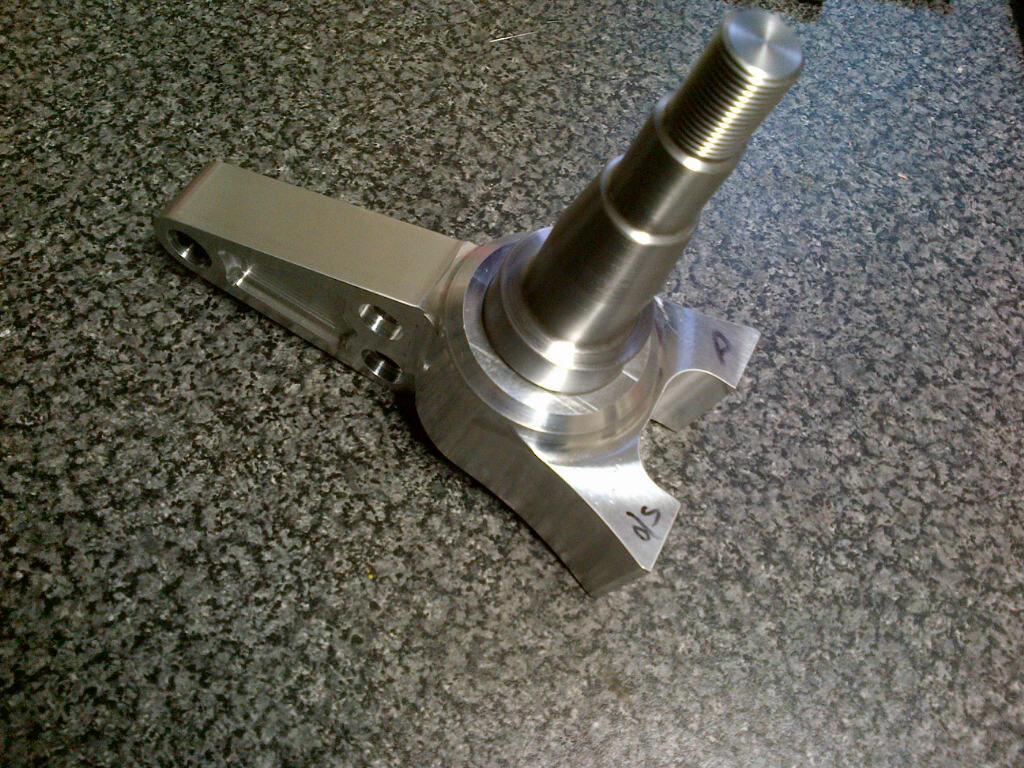
And here it is, mocked up on the car, just to check a few dimensions, measure the required disc > bell offset and a few other things.

I'll write a bit more about the braking system when the rest of the components are here, but in case you're interested, those are Performance Friction ZR40 calipers, 6-pot, monoblock construction (if there's any machinists reading this; how on earth do you go about machining the bores in these things? right angle head?) Anyway, the caliper clamps a 280x30mm thick cast iron rotor. The pistons look a bit of a funny shape - but what you are actually seeing there is a titanium cap, which is sitting on the end of the piston, separated by a ceramic insulating disc (the yellow band you can see if you look closely) which prevents heat getting from the pad into the piston and then brake fluid. Due to the fact the pistons are smaller than you find in a typical 4-pot, it means the "effective clamping diameter" is much closer to the edge of the disc... In round figures, these calipers on a 280mm disc will give the same clamping force as a typical 4-pot on a 304mm disc. The setup is intended for a Japanese race series called Formula Nippon (that name makes me chuckle every time). Apart from Formula 1 carbon/carbon brakes, which you're not allowed in UK rallying, I don't think you'll find better brakes to fit under 13" wheels. And to be honest, they don't really fit under 13" wheels - I'm probably going to have to make my own wheels to fit round these...
The hub, by the way, is a perfectly normal off-the-shelf GP4 hub, it's just I was a bit upset at how heavy it was so I showed it some love from the mill. Shaved not far off 3/4 kg off the pair! And the funny green/grey colour is a hard-anodised finish - looks a bit rough in the photo but it's actually a lovely colour; most anodising is decorative, i.e. it's meant to look pretty and has a dye in it so you can chose a colour that you fancy. This hard anodising process is a different process, you don't get to chose the colour, (the finished colour is a function of how long it's been in the solution and the grade of the parent alloy) but it comes out so hard you can just about take a screwdriver to it and not scratch it.
That's it for now, hopefully some more technical updates next week when I start to put the gearshift system together
Comment
 Tweet
Tweet


Comment