 Tweet
Tweet
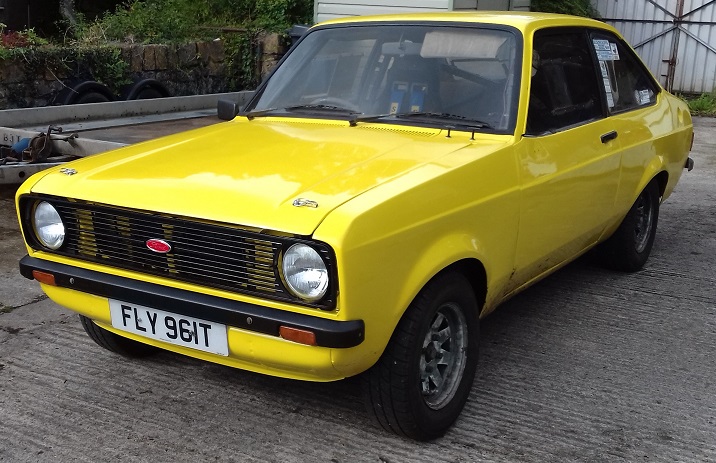
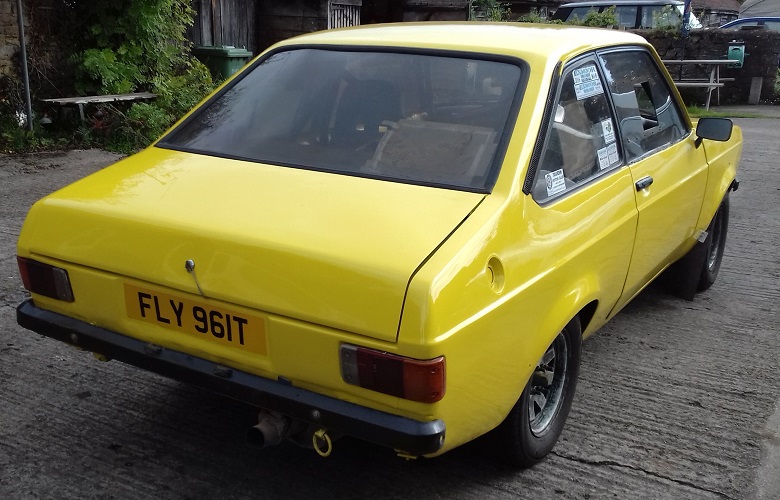
Re: GavinR's Mk2 Rally Car - FLY
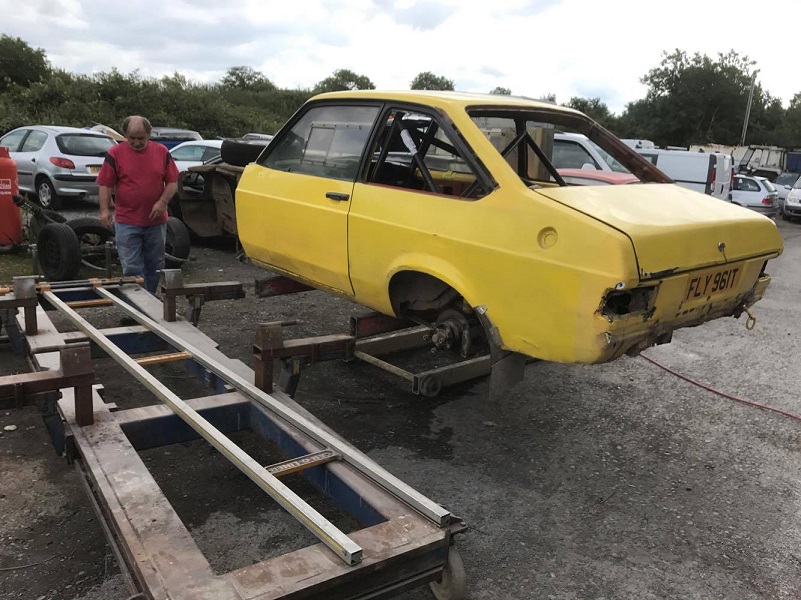
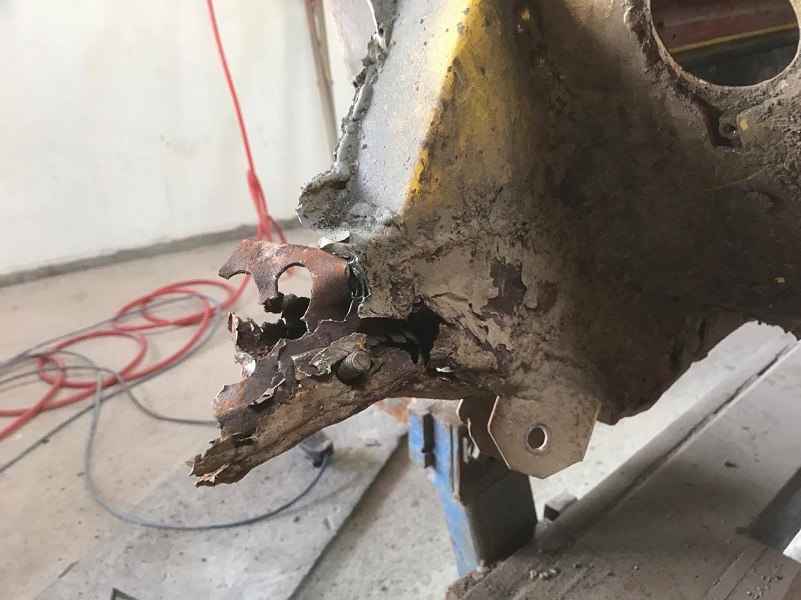
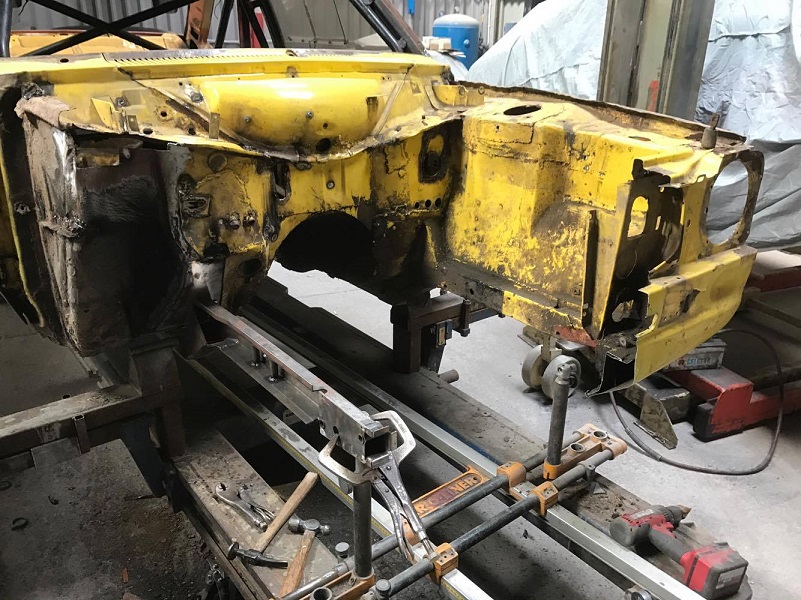
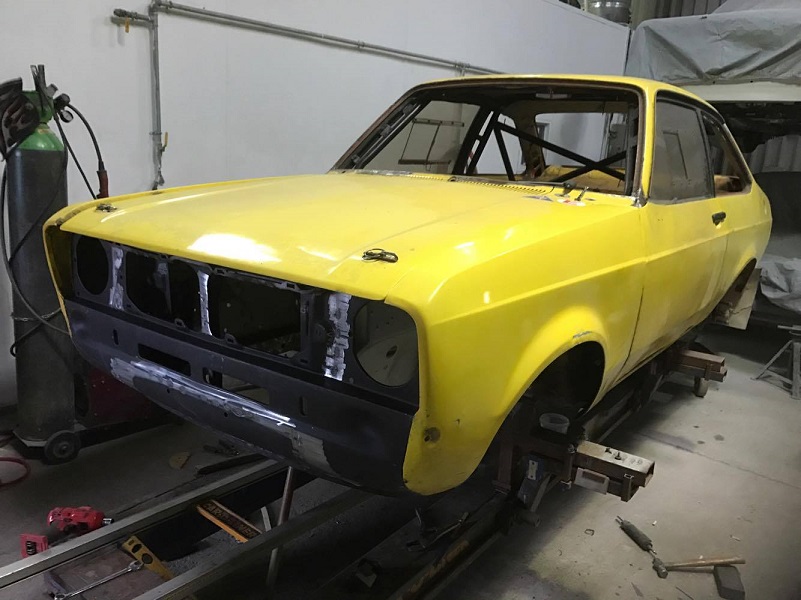
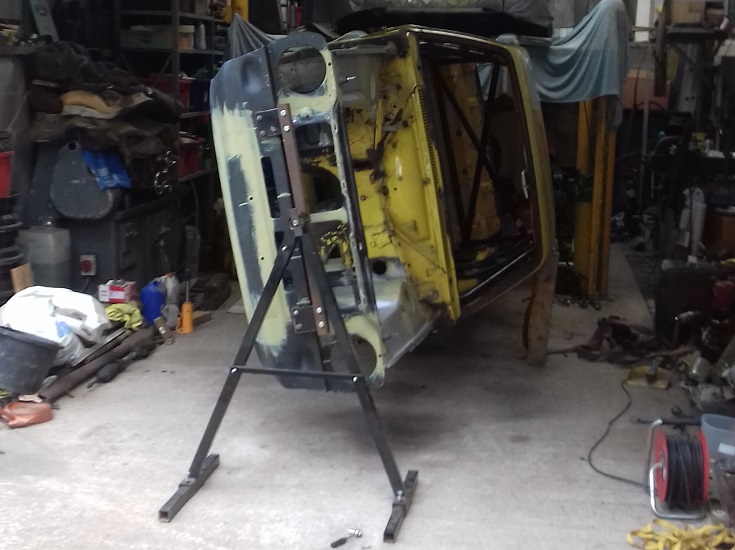
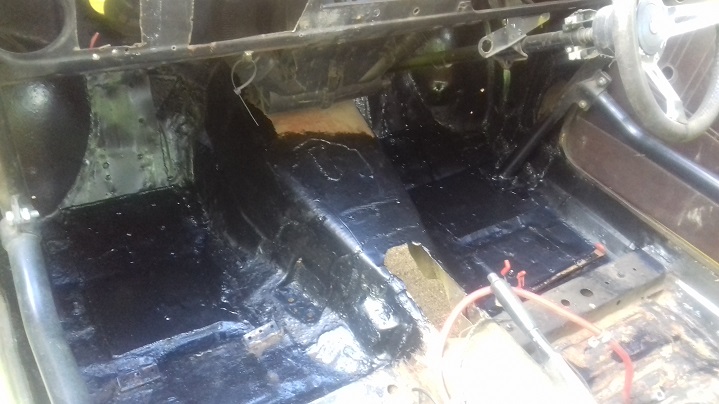
So I finished fully stripping Fly - it hasn't been this far back to a shell since 1993!
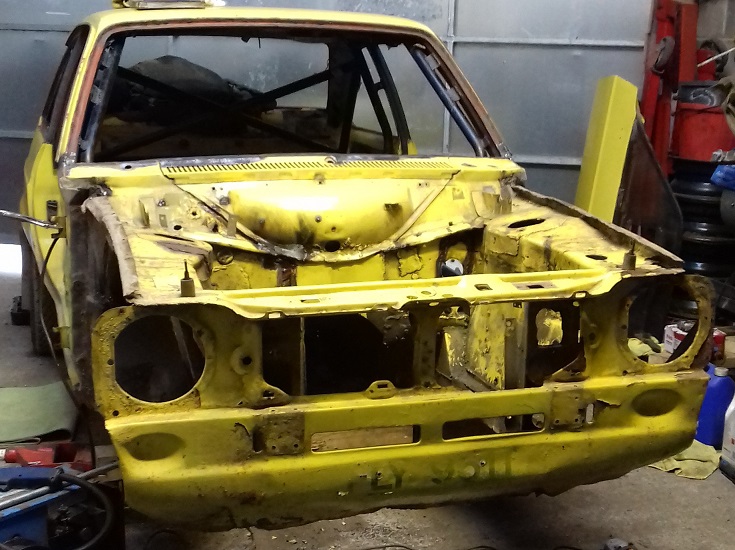
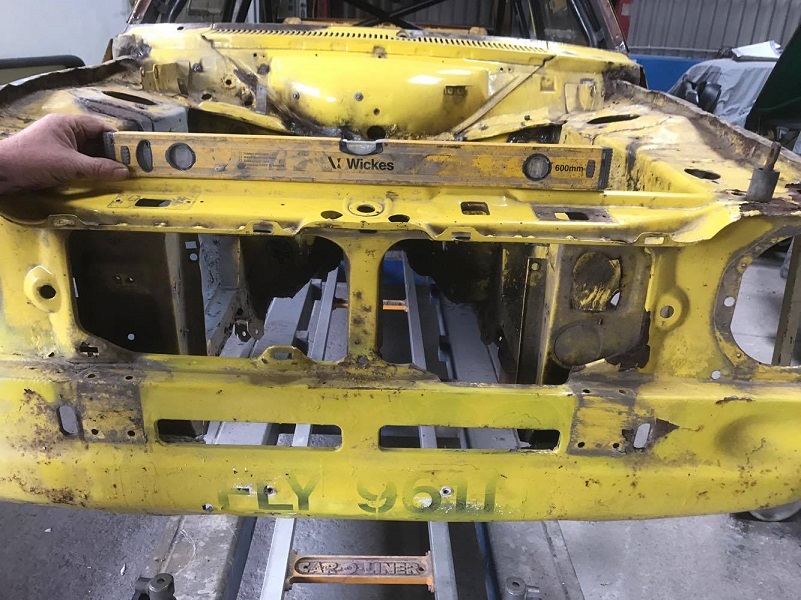
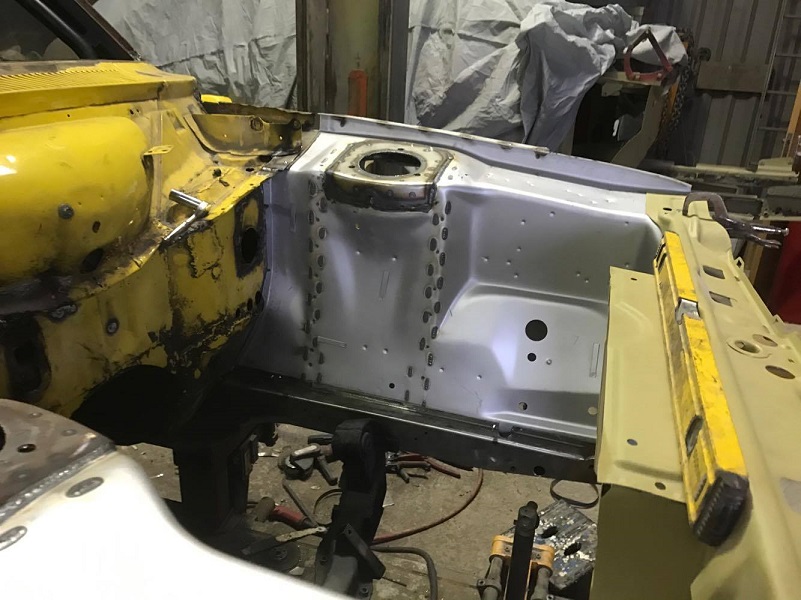
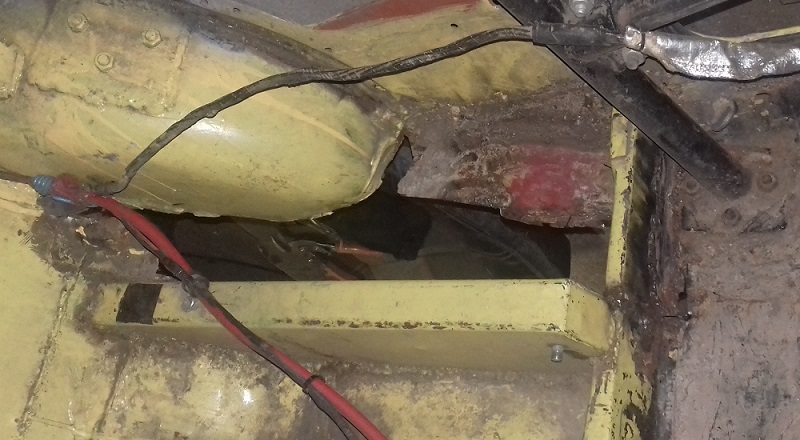
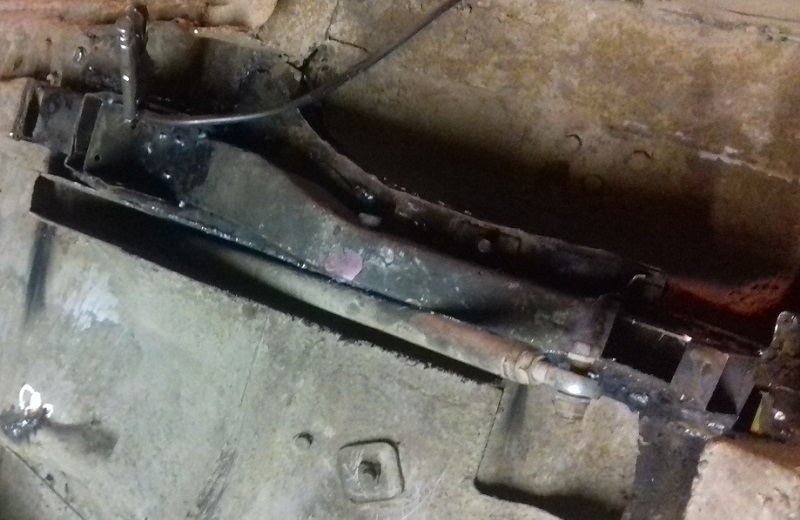
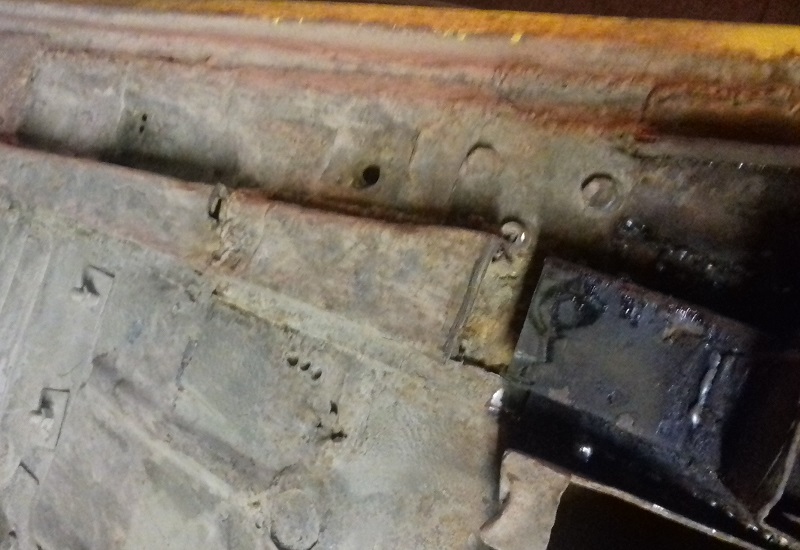
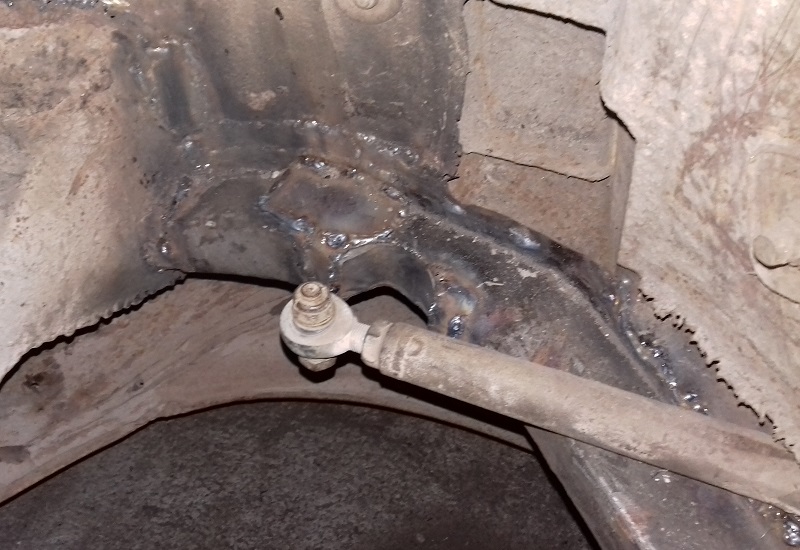
Just before Fly went down to James, I got on with welding the kick panels, bulkhead (inside and out), screen pillars, transmission tunnel (cracks around the gearstick hole).
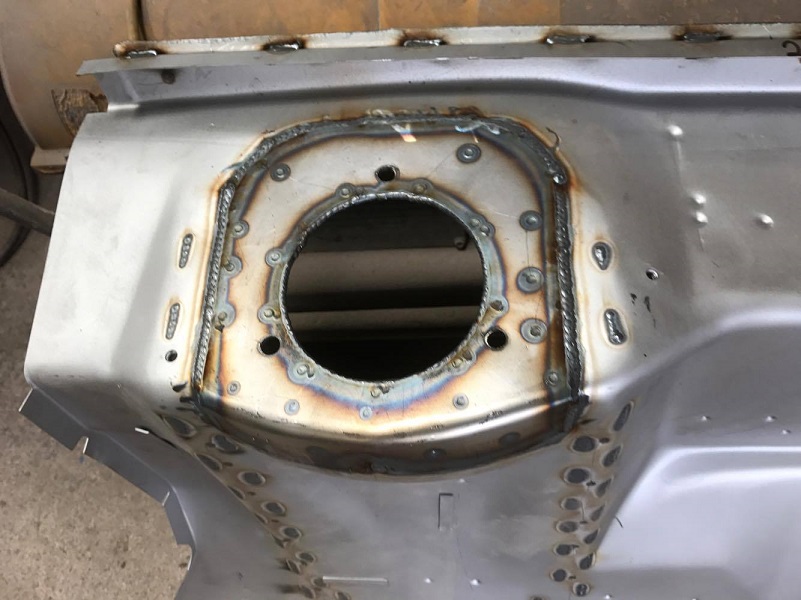
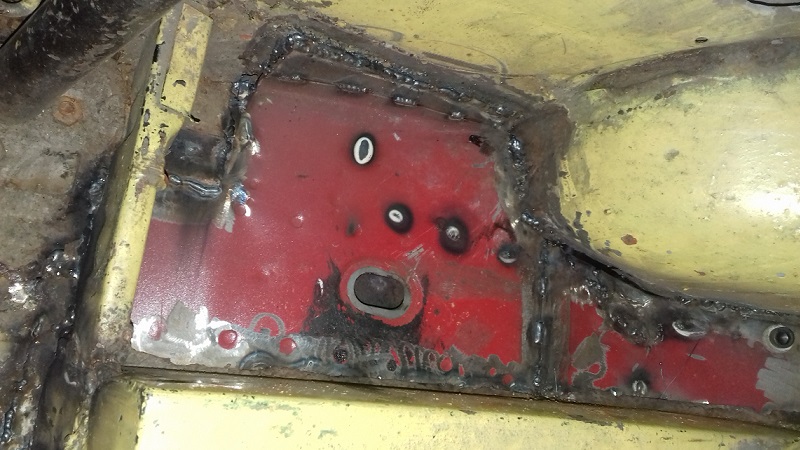
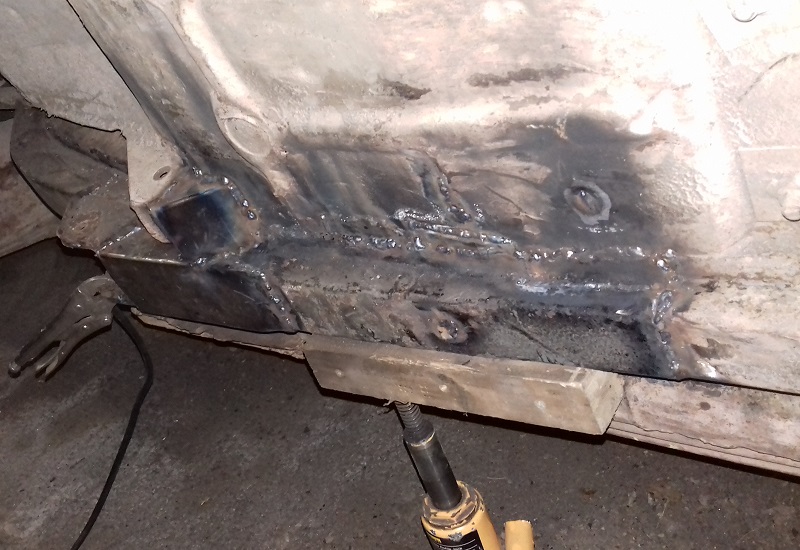
In the engine bay, I welded up some obsolete holes and cut out the wiring hole, turned it upside down and welded it back on. This should lower the wiring loom and make it come through the bulkhead underneath the air box - it was a bit tight before.

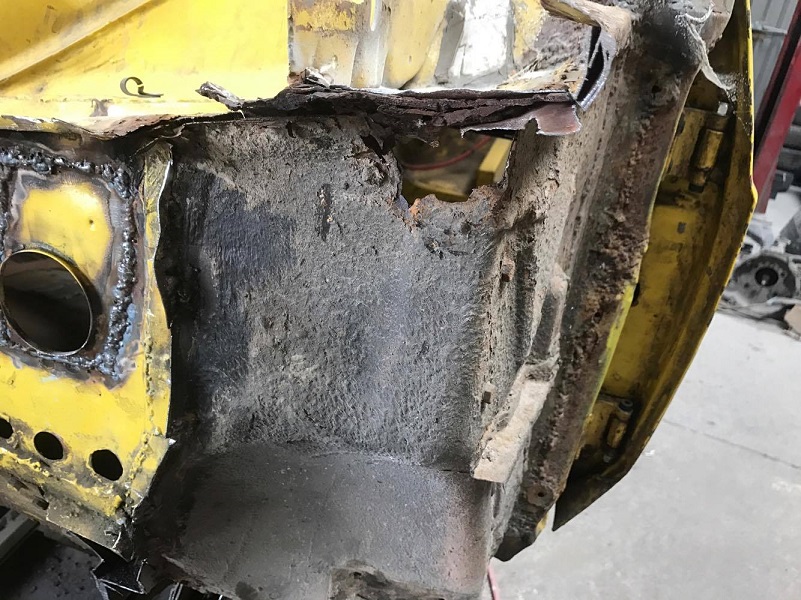
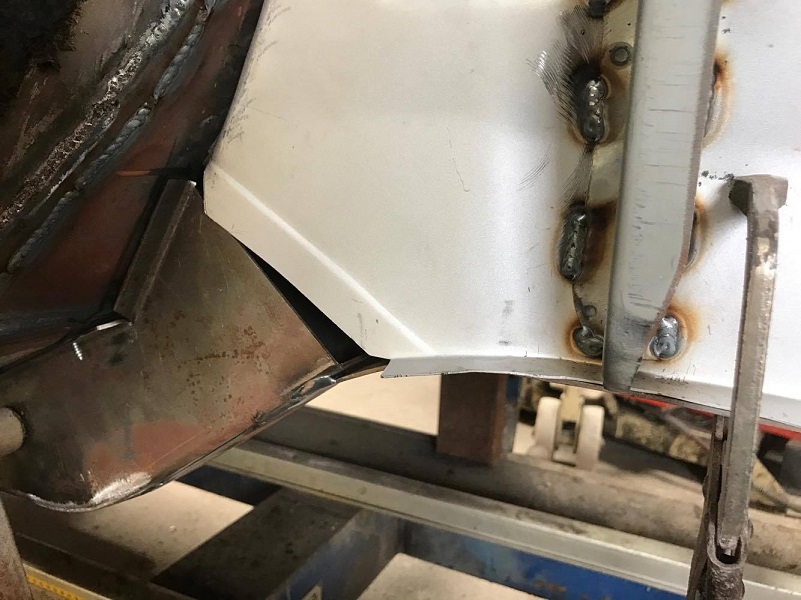
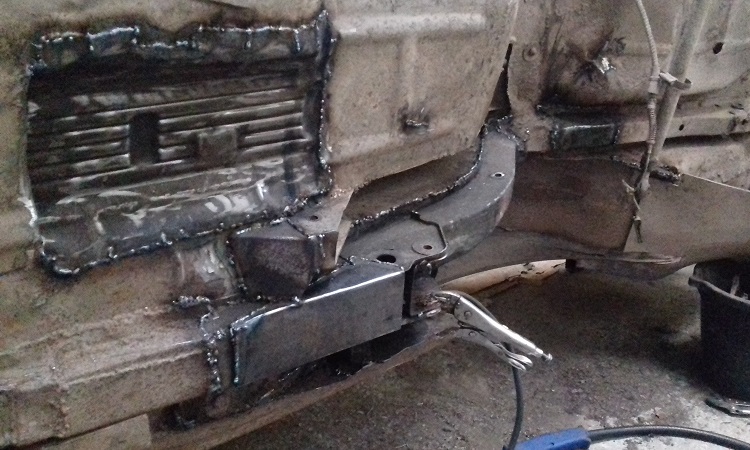
Quite a bit of welding on the rear panel, around the rear screen and where the quarter panel joins the bottom of the rear screen on one side.
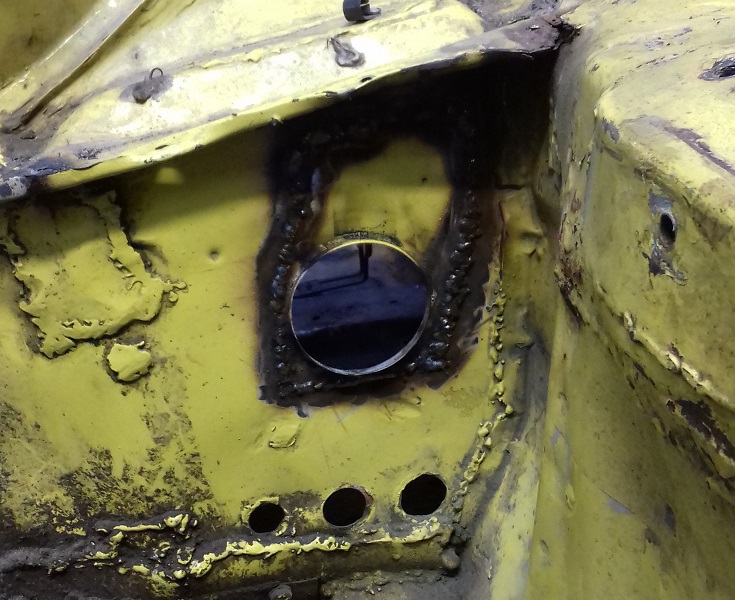
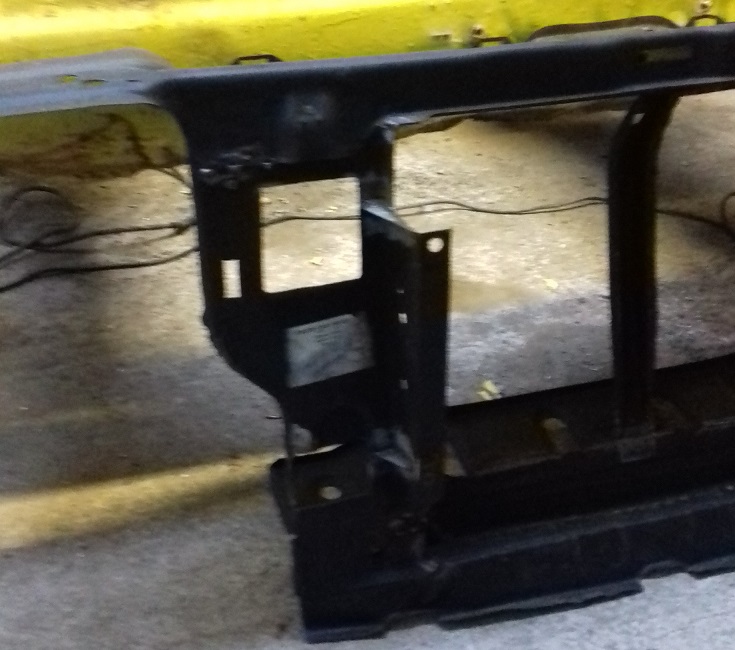
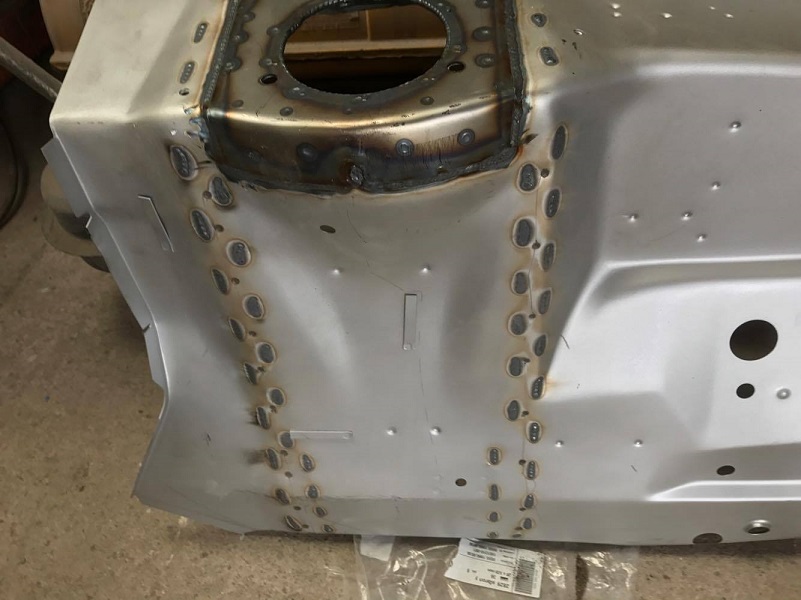
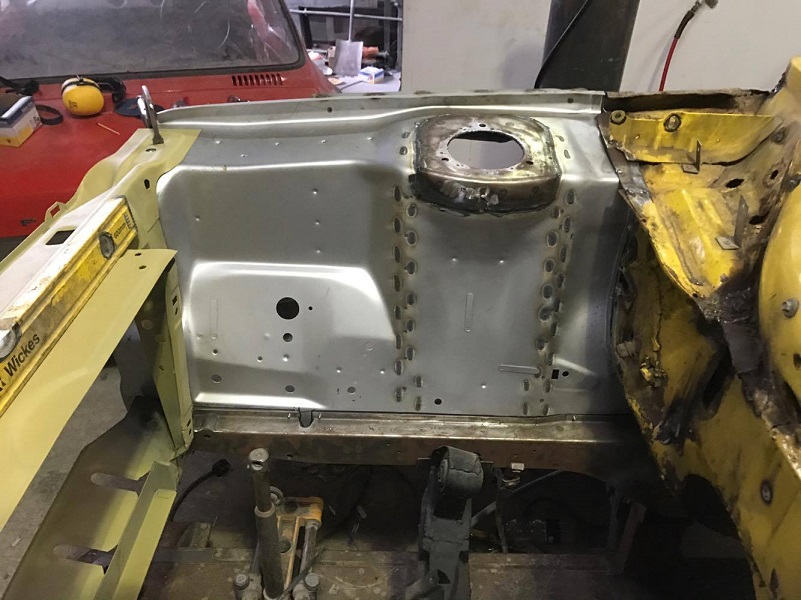
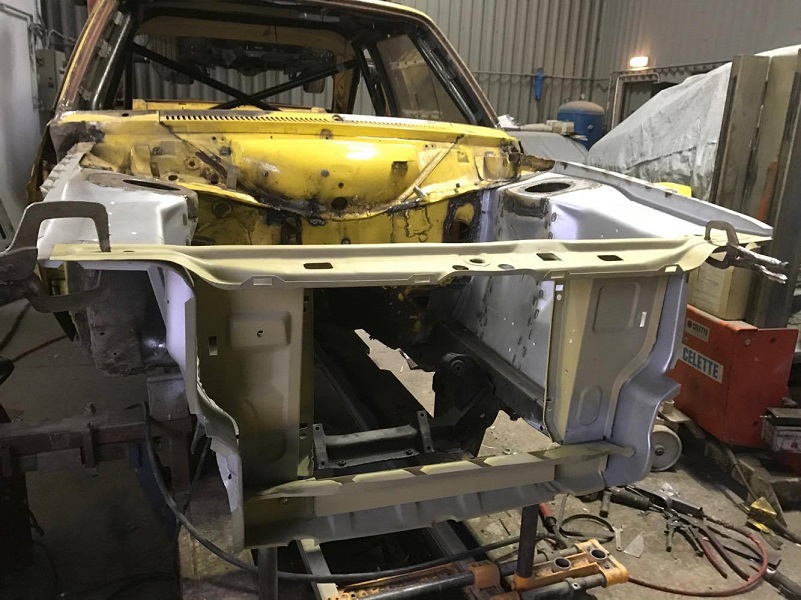
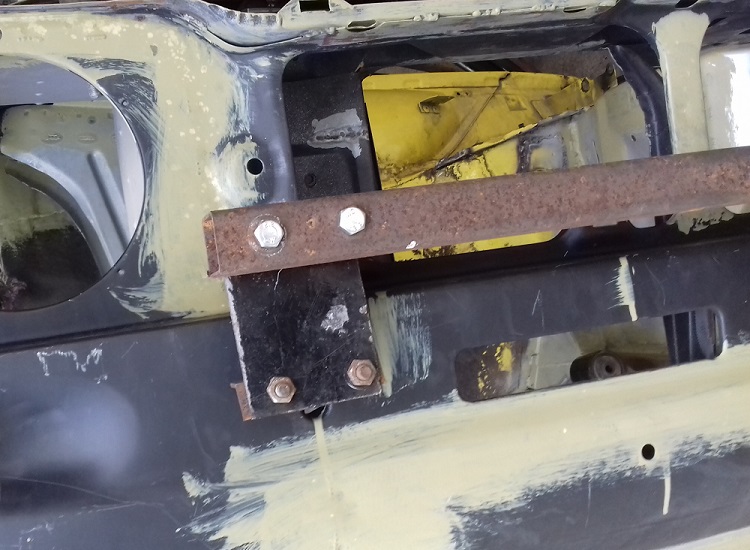
I've modified the new inner front panel to match the old one - cut out for the rad, holes for the oil cooler and air flow to the air box.
The driver's door also needed work on the front and rear corners, and there were cracks where the frame joins the door skin at the front.
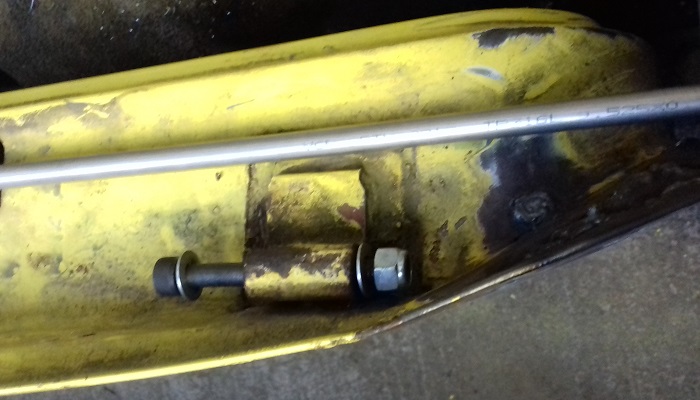
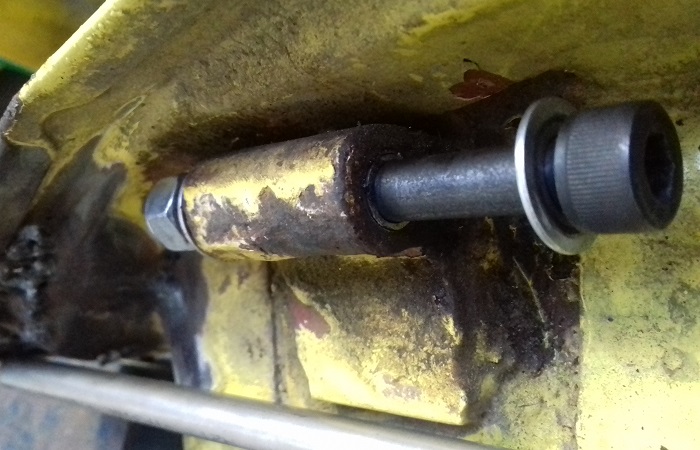
On both doors, the hinge pins were loose - after 3 days of soaking in oil, I knocked the pins out with a variety of punches and a large hammer! Not sure how to fix the loose hinges, I found some 3/8" x 16swg stainless tube on eBay, which works out to 8.1mm ID and 9.5mm OD. I drilled out the worn hinge parts on the doors to 9.5mm, knocked a small piece of tube in and bolted them up with M8 x 75mm Allen Bolts and nylocs. This has eliminated the play in the hinges, and I readjusted the doors to line up with the rear quarters. It should make it easier for James to line up the front wings when that part is completed, and will make the doors easier to remove in the future
It is also repeatable - when the tube wears, I can just fit another bit
So I finished fully stripping Fly - it hasn't been this far back to a shell since 1993!
Just before Fly went down to James, I got on with welding the kick panels, bulkhead (inside and out), screen pillars, transmission tunnel (cracks around the gearstick hole).
In the engine bay, I welded up some obsolete holes and cut out the wiring hole, turned it upside down and welded it back on. This should lower the wiring loom and make it come through the bulkhead underneath the air box - it was a bit tight before.
Quite a bit of welding on the rear panel, around the rear screen and where the quarter panel joins the bottom of the rear screen on one side.
I've modified the new inner front panel to match the old one - cut out for the rad, holes for the oil cooler and air flow to the air box.
The driver's door also needed work on the front and rear corners, and there were cracks where the frame joins the door skin at the front.
On both doors, the hinge pins were loose - after 3 days of soaking in oil, I knocked the pins out with a variety of punches and a large hammer! Not sure how to fix the loose hinges, I found some 3/8" x 16swg stainless tube on eBay, which works out to 8.1mm ID and 9.5mm OD. I drilled out the worn hinge parts on the doors to 9.5mm, knocked a small piece of tube in and bolted them up with M8 x 75mm Allen Bolts and nylocs. This has eliminated the play in the hinges, and I readjusted the doors to line up with the rear quarters. It should make it easier for James to line up the front wings when that part is completed, and will make the doors easier to remove in the future
It is also repeatable - when the tube wears, I can just fit another bit


 but i love it
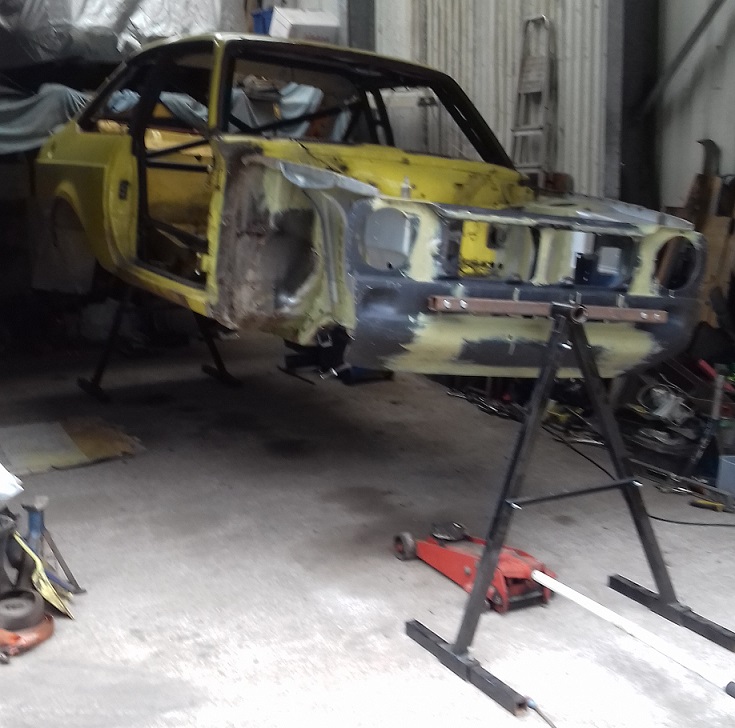


Comment